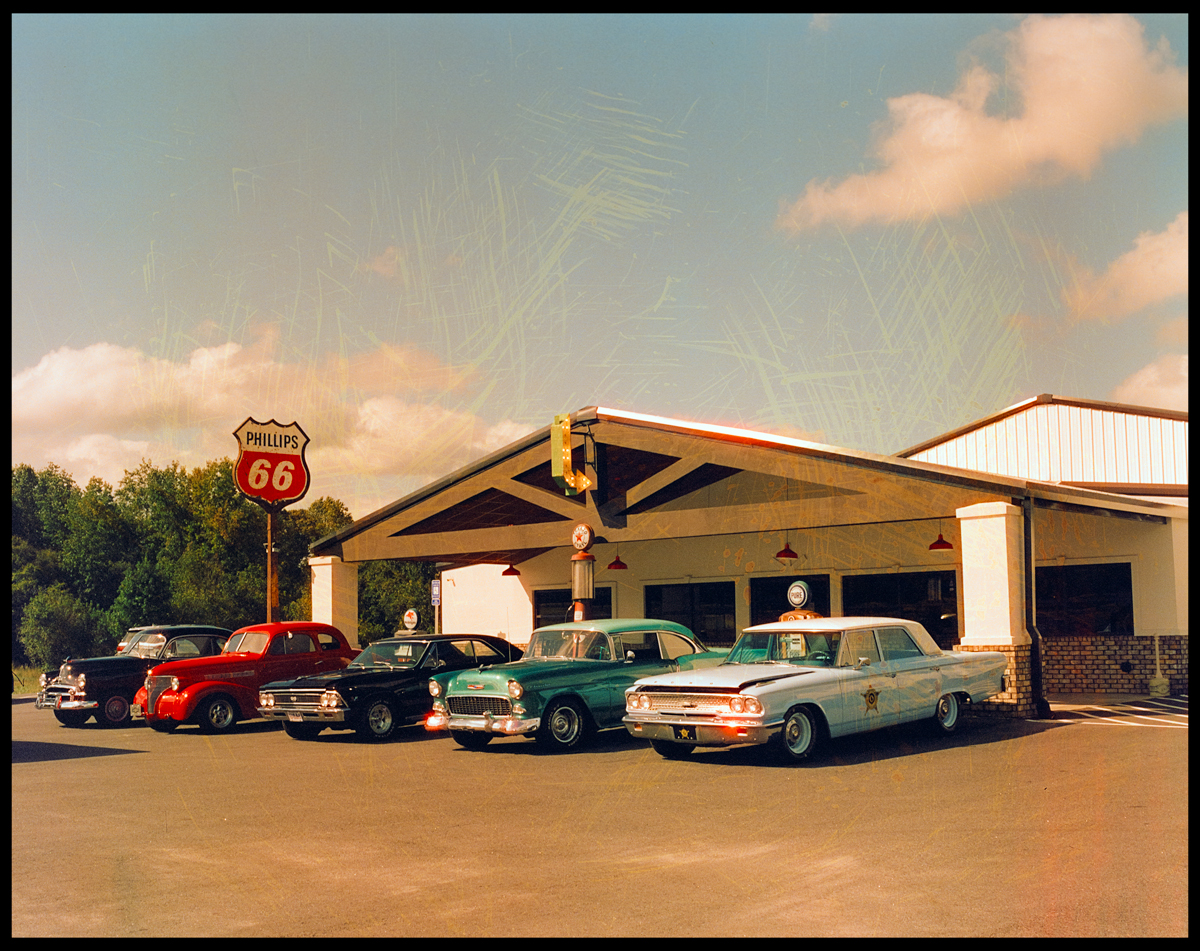
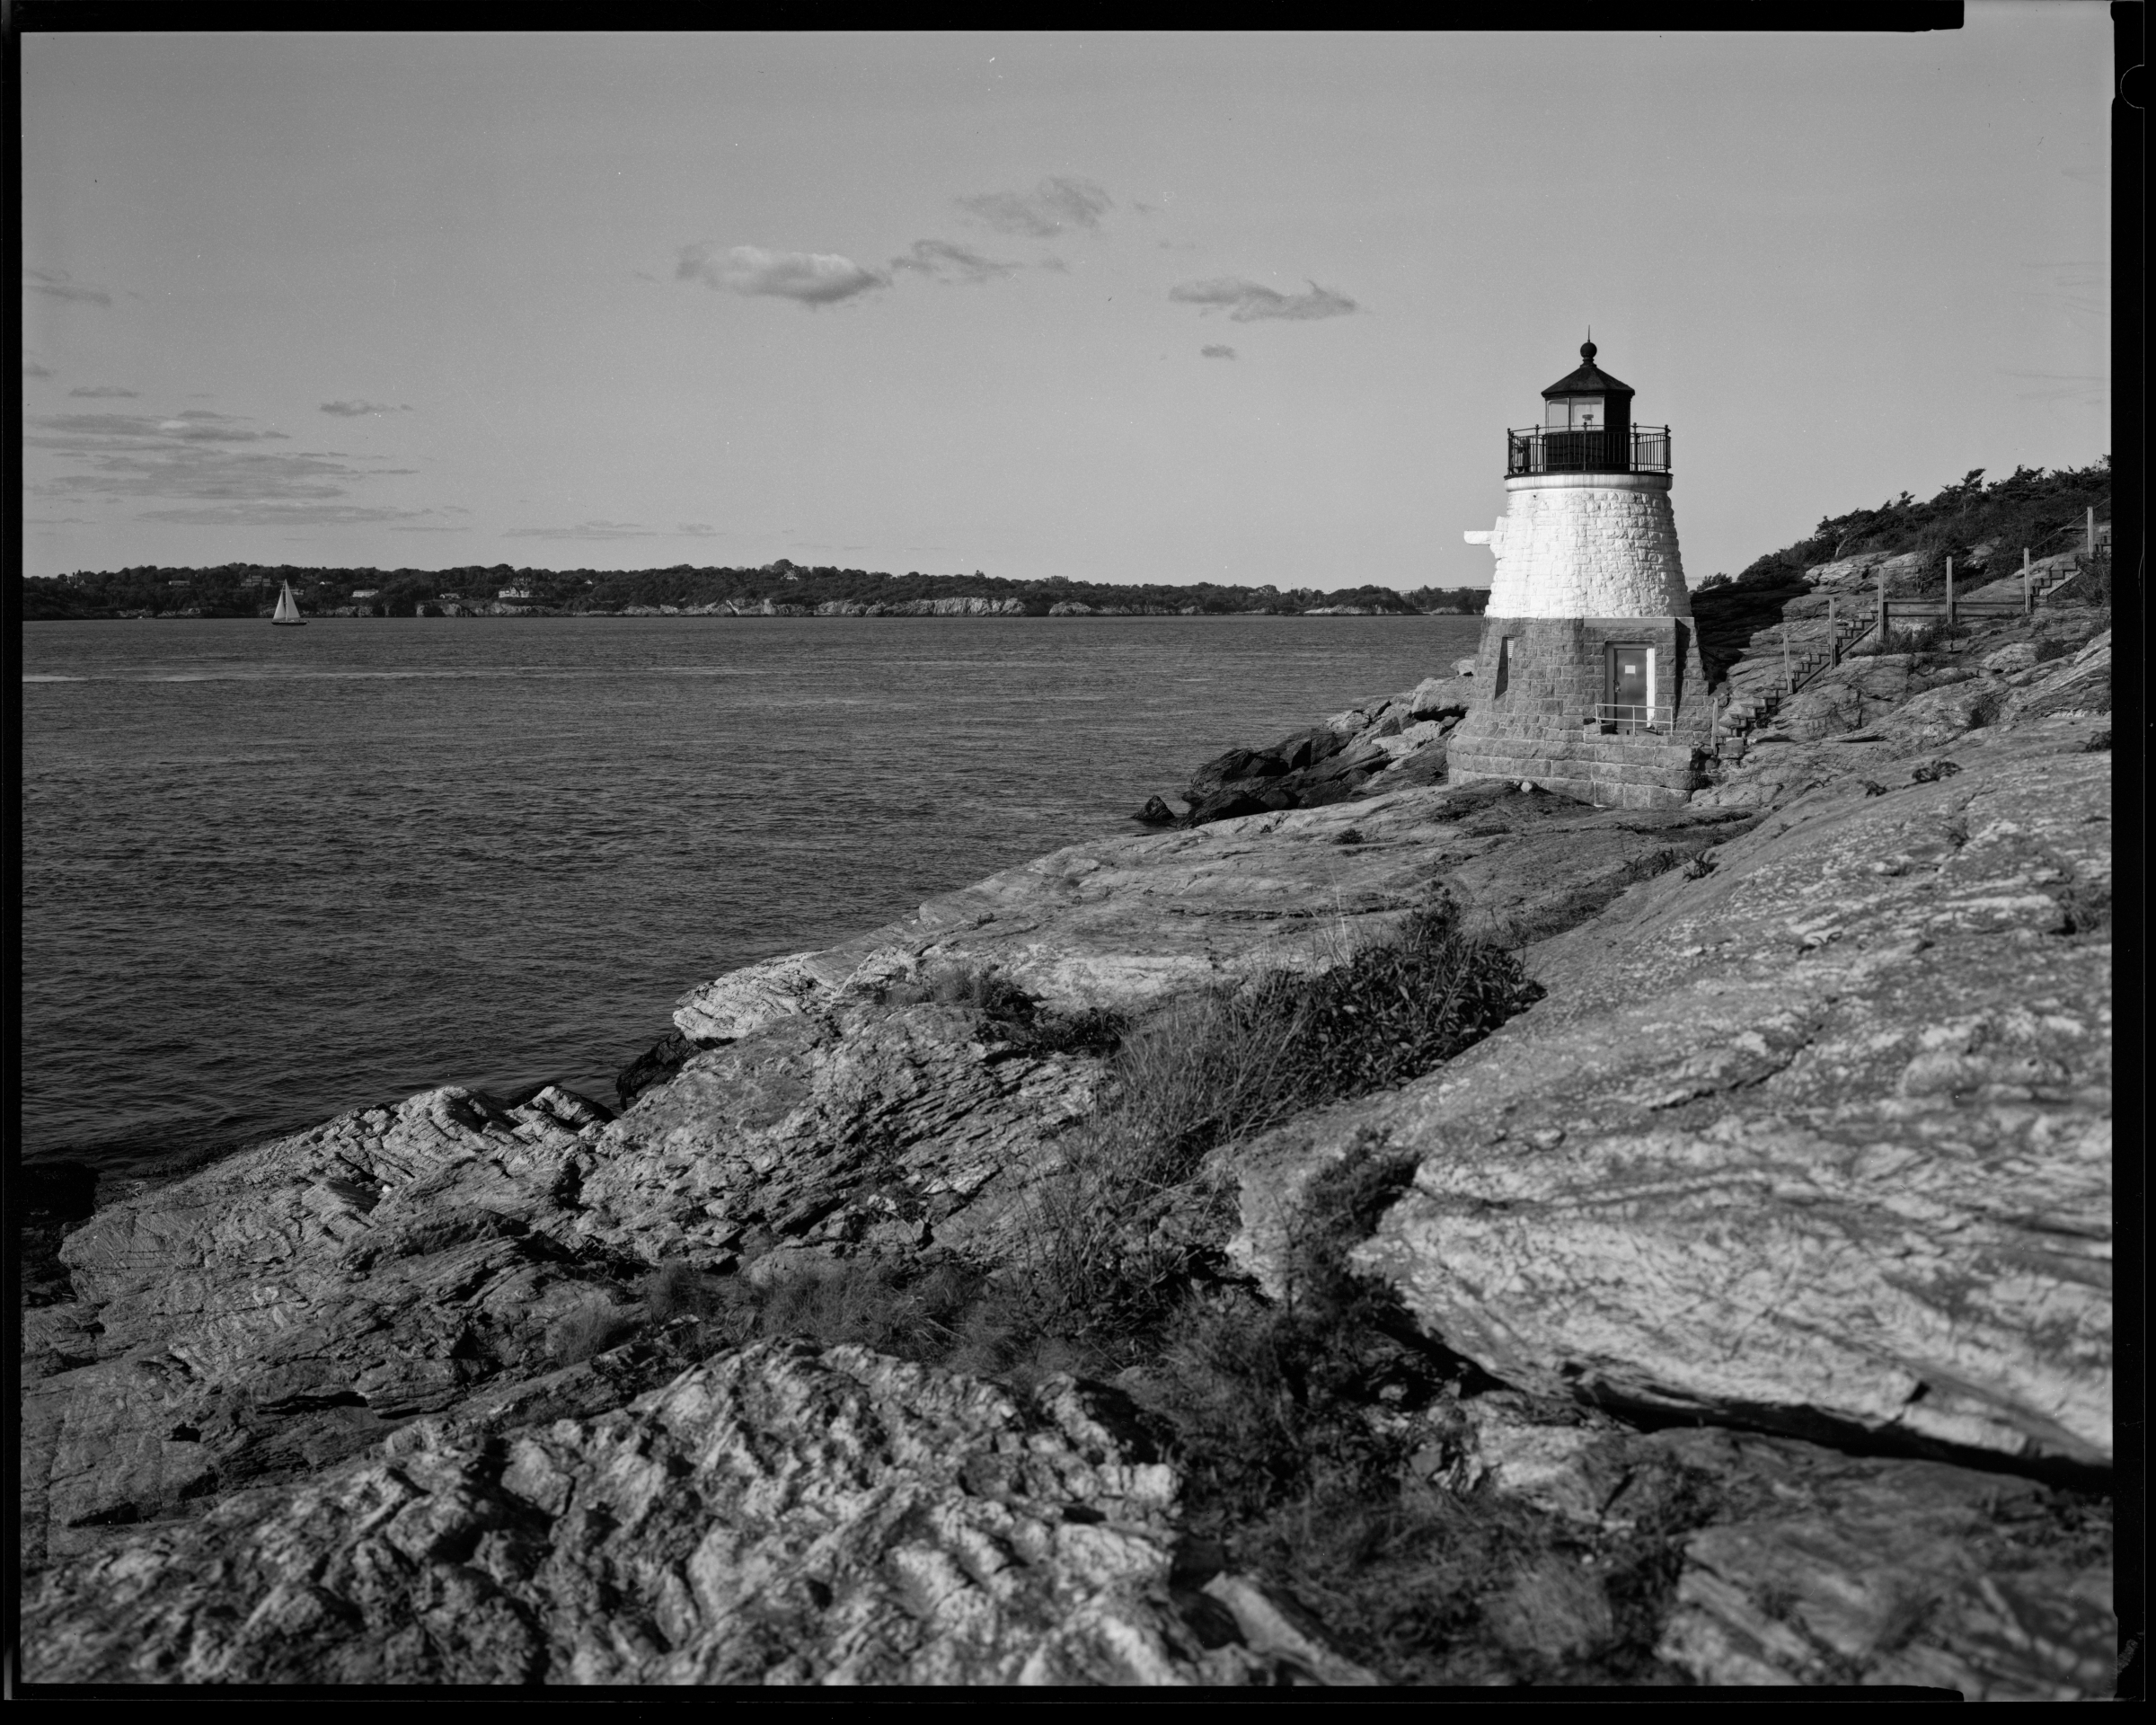
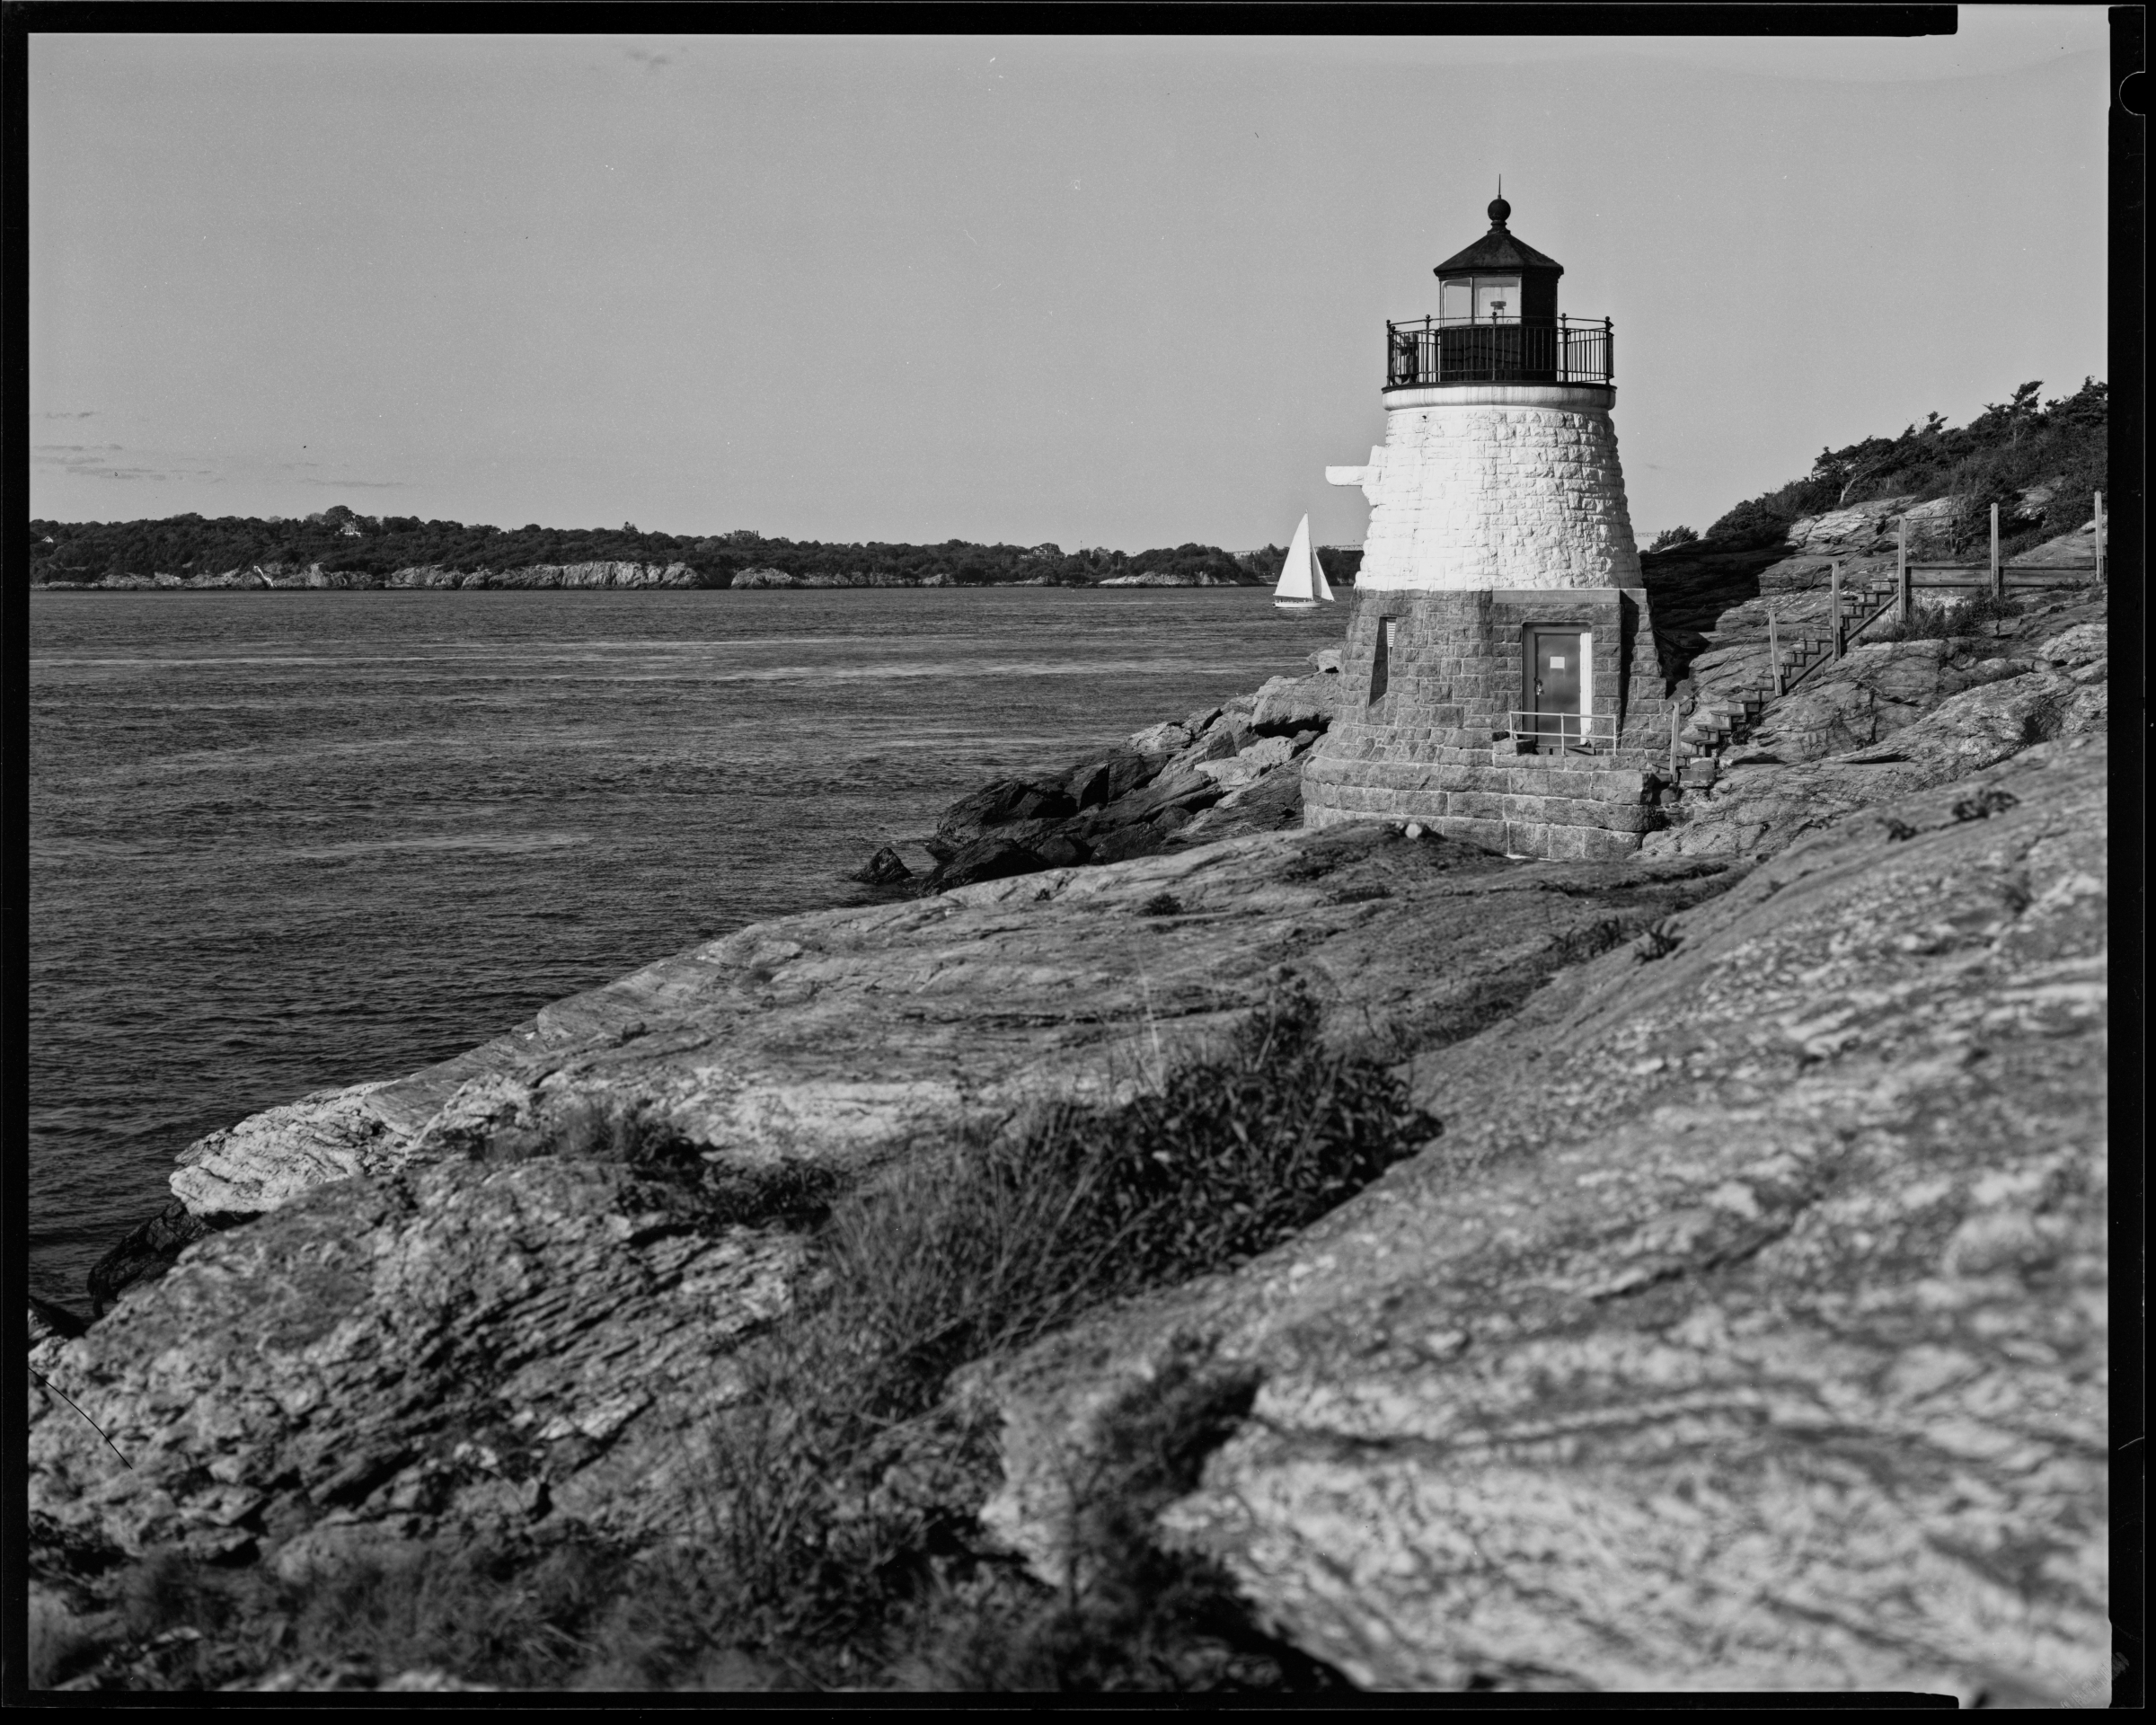
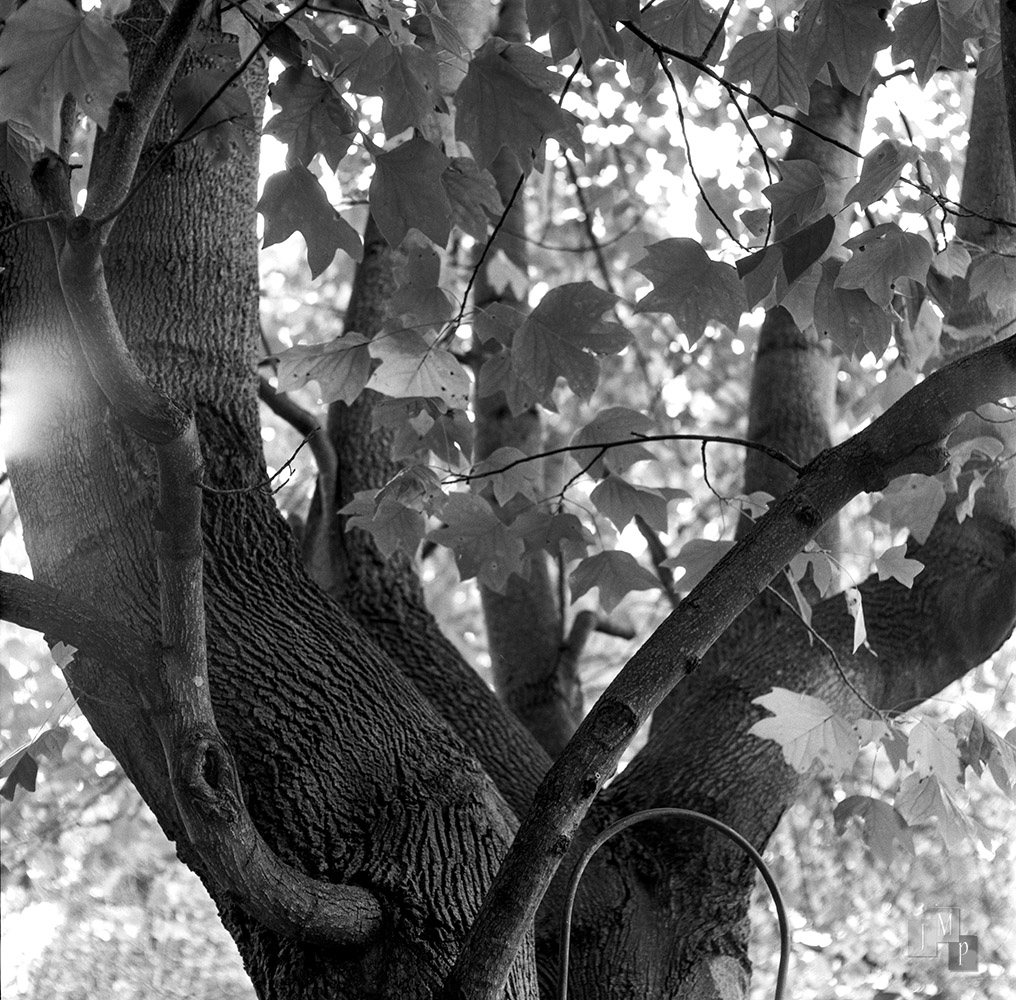
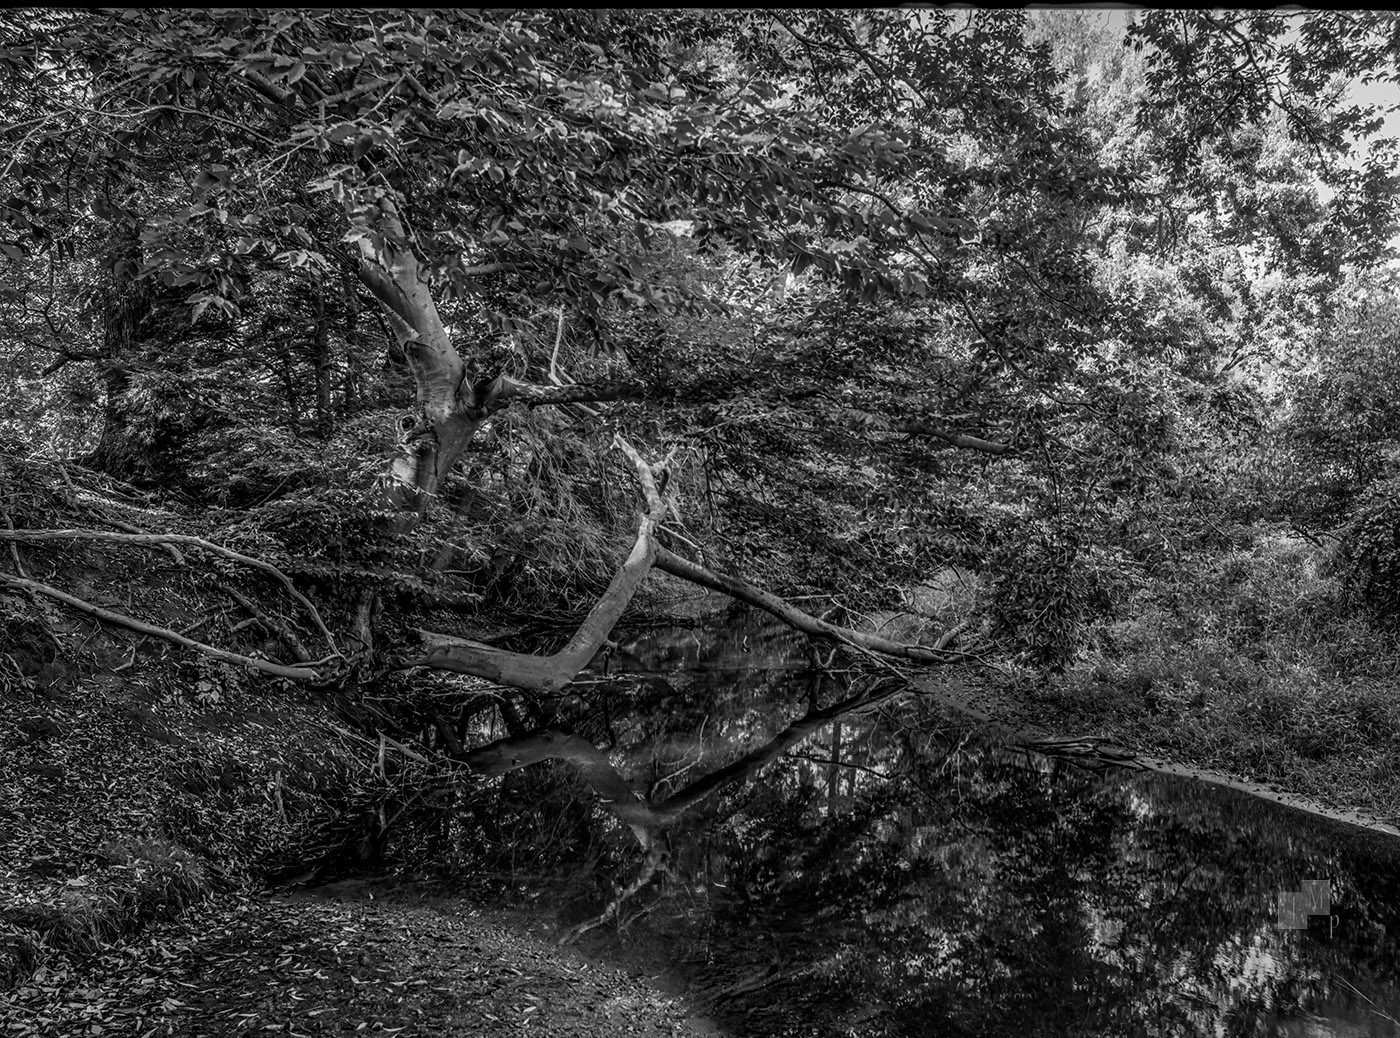
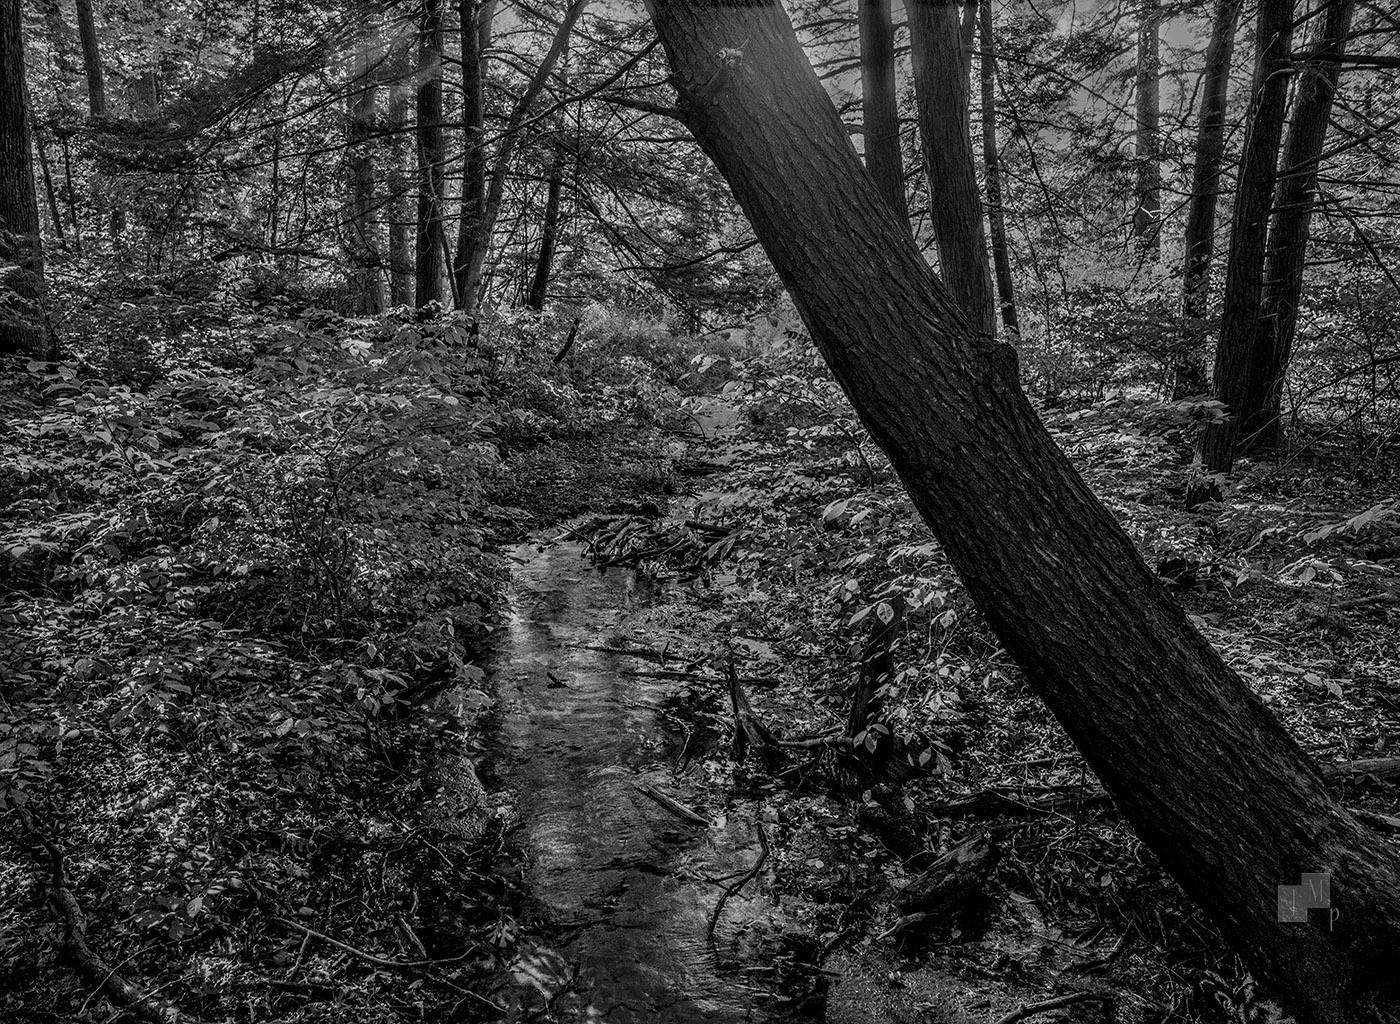
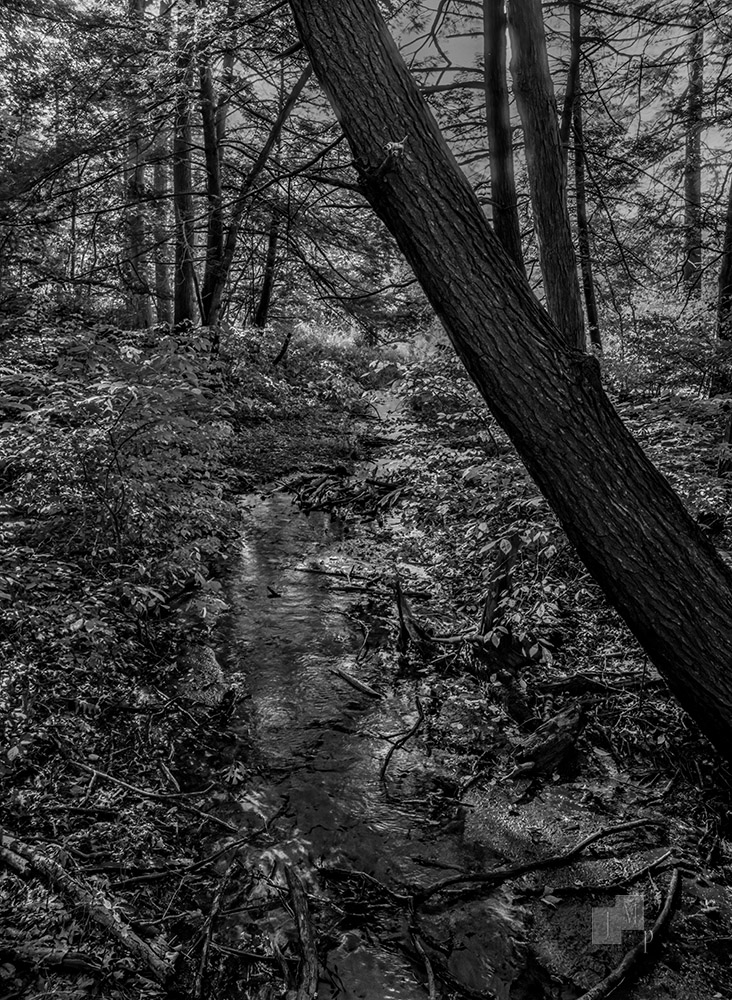
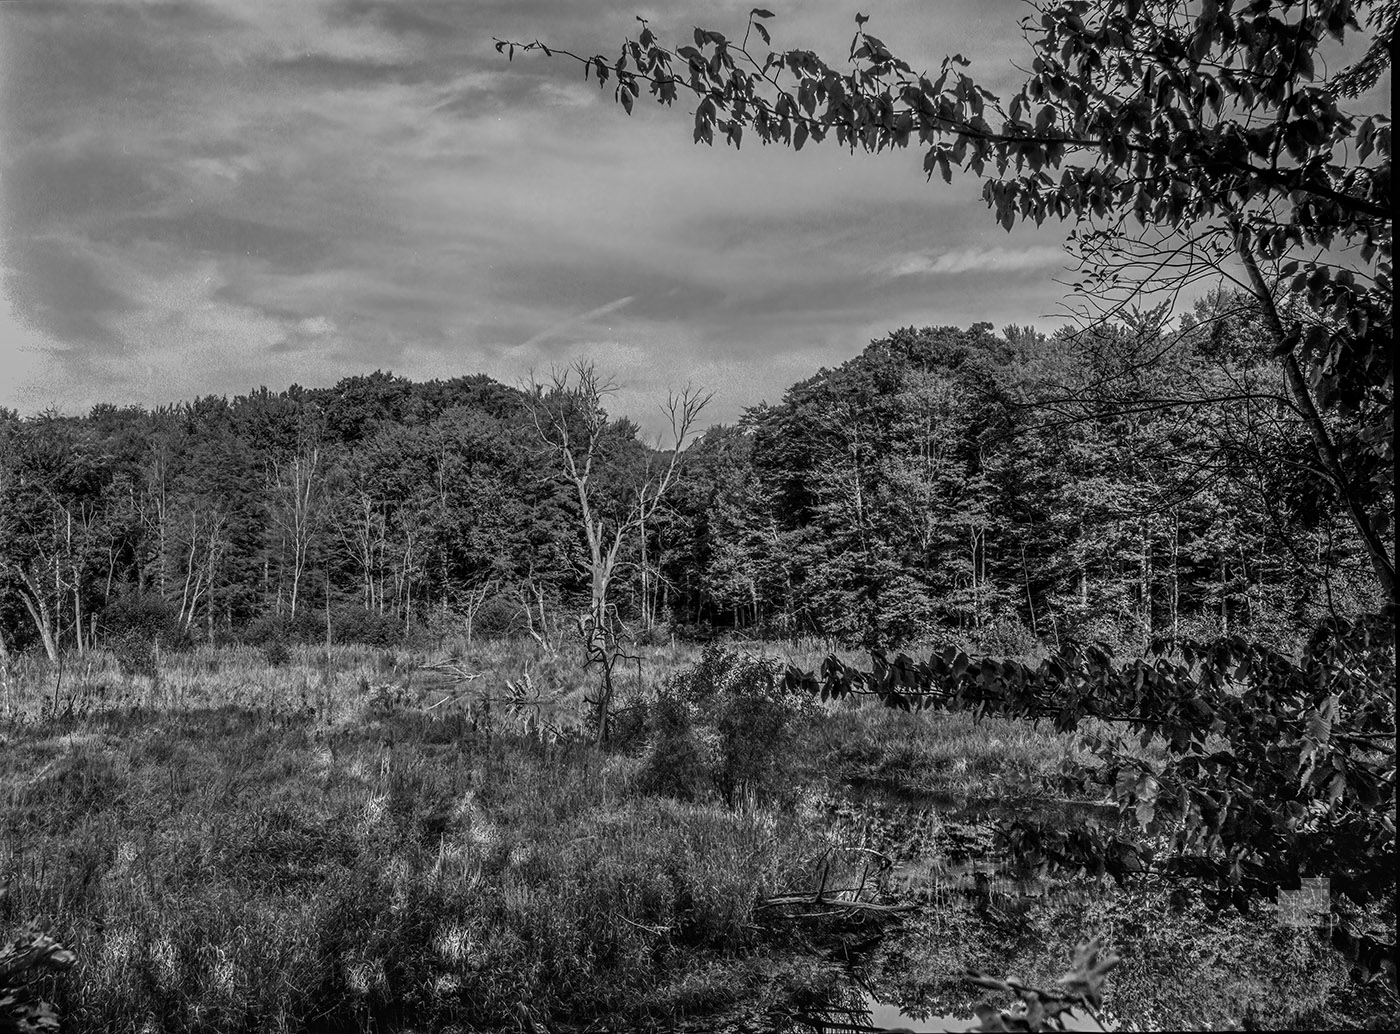
A trip over to Newport(RI) with my new Intrepid 8x10 Black (with release bail). I used the Fujinon 250mm f6.7 which covers the format with ease, and my new-to-me Kowa Graphic 360mm f9 APO which will cover 11x14. I tried the CatLABS X Film 80 II, but disappointed with random defects, mostly scratches, in the emulsion side. Good cheap film for testing purposes, but I won't use it for any serious stuff that I want to print & display.
The new to me TLR I picked up recently is a 63 year old Mamiya C3. It weights about as much as three Yashicaflex, or two Ikoflex TLRs. There is a humorous review online calling it the "Bart Simpson" of cameras. Mamiya would create problems as they engineered it's functions, and then have to make modifications for those problems. Though he pans the camera, it's quality craftsmanship, and lenses obviously impressed him. After having it awhile - I completely agree with his review assessment.
&t=14s
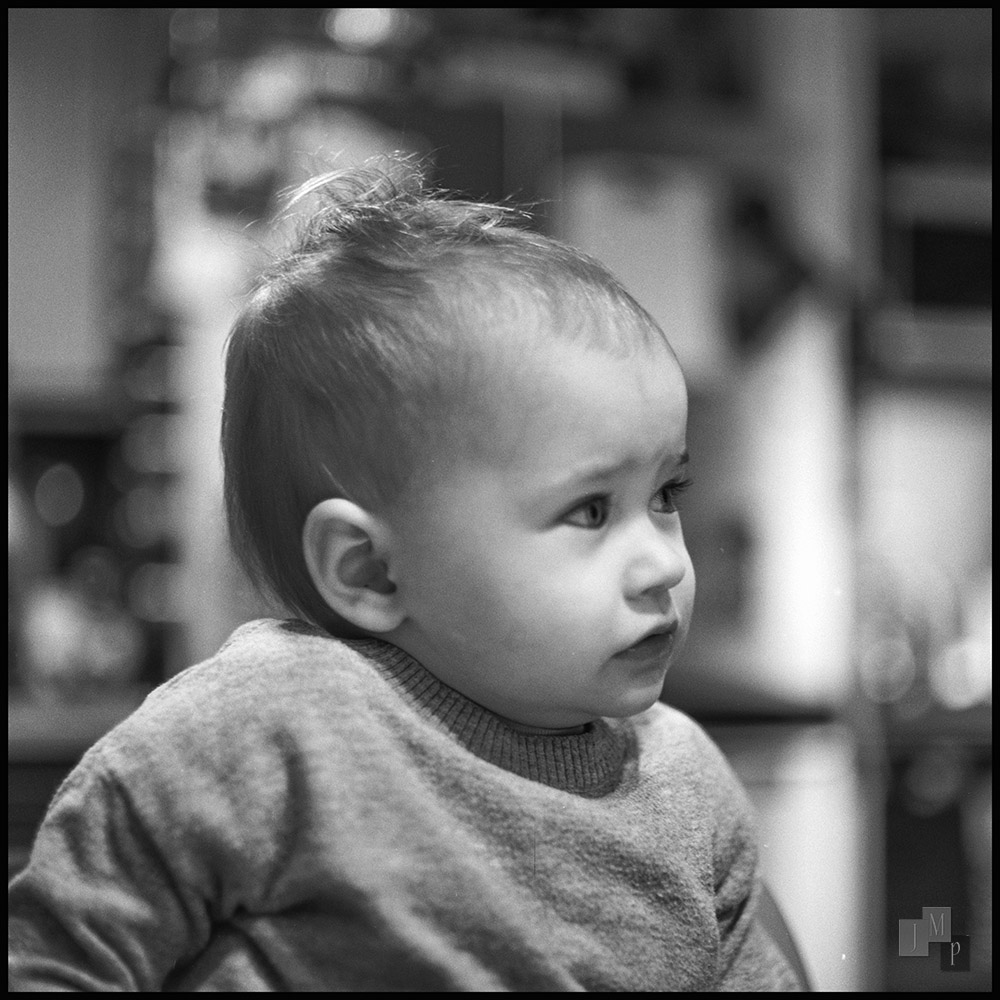
80mm f2.8 Sekor wide open either 15th or 1/30th of a sec - Kentmere 400, Xtol 12min @ 68 degrees
80mm f2.8 Sekor @ f4 & 1/125th of a sec - Kentmere 400, Xtol 12min @ 68 degrees
madNbad wrote:
Thank you for the assistance! For the most part, the images that I post are straight conversions from NLP. I try to do everything possible to avoid any digital manipulation but sometimes it's necessary. I did find the Previous button in the Tone Curve in Lightroom and was amazed how much just clicking that cleaned up the muddy images. I did switch back to the acrylic sheet instead of the ANR glass. I was getting good results with it and may try the glass at a later date. Here's one that was cleaned up uising the Previous Button.
Big Chair, Beaverton, Oregon
Fujica Super 6, HP-5, Rodinal 1:50
I've always wondered if people do any PP on their film scans. I don't see how you can NOT make at least an "auto levels" adjustment. White balance for color. A little contrast...
But I also get that some folks want the true vintage "film" look without any digital manipulation. eg: faded blacks, greenish tint from some Fuji emulsions, etc.
This is a dilemma that keeps me from shooting more film, because I just end up PP'ing scans until it could have been a digital capture. Even with the Holga. I have a few Lightroom presets that can make basically ANY image look like it was taken with a Holga.
And a well exposed and developed frame from my Fuji GW690II is extremely hard to distinguish from digital, so why bother with all that extra work?
I know why, but it does give me pause when I'm heading out to take some photos! :-)
Digitizing means that input RGB values are being mapped to output RGB values, so a curve is being applied. But that curve assumes a certain film curve, which can differ from one developing recipe to another. So if your developing recipe gives you a film curve that differs from the film curve that your digitizer assumes, or if your exposure is off, or if your assumed film speed is off, then your digital file will look off and so another curve adjustment will be needed.
I take the coward's way out and almost always use the PanF film curve in Silverfast/NegaFix and I use the exposure slider until I get something that looks halfway decent, though I like to err on the side of a flat initial scan. The scan then goes through final edits in C1, consisting of black point, white point, curve, and gray point. Editing in C1 rarely takes more than 5 minutes per scan ... unless it's a color scan in which case it can take anywhere between 5 minutes and 5 days.
Activatedfx wrote:
I've always wondered if people do any PP on their film scans. I don't see how you can NOT make at least an "auto levels" adjustment. White balance for color. A little contrast...
But I also get that some folks want the true vintage "film" look without any digital manipulation. eg: faded blacks, greenish tint from some Fuji emulsions, etc.
This is a dilemma that keeps me from shooting more film, because I just end up PP'ing scans until it could have been a digital capture. Even with the Holga. I have a few Lightroom presets that can make basically ANY image look like it was taken with a Holga.
And a well exposed and developed frame from my Fuji GW690II is extremely hard to distinguish from digital, so why bother with all that extra work?
I know why, but it does give me pause when I'm heading out to take some photos! :-)...Show more →
Activatedfx,
Before digital everything was an analog manipulation. Film choice, paper choice, polycontrast, burn & dodge, push and pull, lighting, film and paper development, exposure, filters, time of day, season - I could go on, but images don't just pop out ready to go from either film or digital cameras. The " true vintage "film" look usually included many mistakes. Bad exposures (light leaks - over, under, & double exposure), exhausted chemistry (spawned "cross processing") etc. These gave people a feeling of nostalgia. The rejects of the film era are popular now, because they occurred so frequently in the past.
Jim
Activatedfx wrote:
I've always wondered if people do any PP on their film scans. I don't see how you can NOT make at least an "auto levels" adjustment. White balance for color. A little contrast...
But I also get that some folks want the true vintage "film" look without any digital manipulation. eg: faded blacks, greenish tint from some Fuji emulsions, etc.
This is a dilemma that keeps me from shooting more film, because I just end up PP'ing scans until it could have been a digital capture. Even with the Holga. I have a few Lightroom presets that can make basically ANY image look like it was taken with a Holga.
And a well exposed and developed frame from my Fuji GW690II is extremely hard to distinguish from digital, so why bother with all that extra work?
I know why, but it does give me pause when I'm heading out to take some photos! :-)...Show more →
When I moved from using the Plustek and Silverfast to using a digital camera, I tried a lot of different versions of conversion software. Most were free and did an acceptable job but either needed a long learning curve or were not intuitive. The worst were the ones that wouldn't let you reset the image after making changes. As the camera setup became more sophisticated, the move to Negative Lab Pro made sense. It's fast, easy to use and offers a lot of options. Most of the B&W images I post are straight NLP conversions using the Linear Gamma preset. It gives good tonal range and if the negative needs a little push, it's easy enough to do with the NLP sliders. I'm not sure what happened with this latest batch. These were the first ones I scanned uing ANR glass and there may have been reflections. I went back to the acrylic sheet, have two rolls to develop from the same camera and it will be interesting to see the results!
lifeandmylens wrote:
So many things to say. This was from a roll of 500T that I removed the remjet on before exposure. 35mm is much easier, but really it's not worth the effort on either format. And there seem to be scratches or remjet remaining. Won't be doing that again. The other roll is even worse.
Secondly, it's on a Hasselblad 501cm with a A16 back. Thought I'd try it again. A great camera no doubt, but really a pain to focus. The throw feels miles long. Just sold it.
501 cm + 60mm f/3.5 + hacked 800T
Never tried the Hasselblad.
Focus is different to other TLR camera like Rollei?
These are from the other two rolls that I took with the Fujica Super 6. Like the first two rolls, the initial scans were flat and lifeless. With a couple of clicks in Lightroom, they were magically transformed. It feels like cheating but it did improve the images!
zi464 wrote:
Oh , I mean since the Hasselblads is also left/right reversal. What is the different compare to TLR cameras.
*************************
the lenses have a long enough focus throw they made an accessory focusing handle
*************************
Got it.
Pretty much exactly that. It's also a little bit more awkward to focus using the focusing ring on the lens while trying to balance the camera and check focus on the ground class, especially when the focus throw is very long. On something like a Rollei TLR the focusing action is on the body of the camera and is very fast and a short throw.