Desmolicious wrote:
Did you figure out how to use the dock w the F6? I have the dock and used it to tune my 35 and 50 Arts for my D850 when I had that. Now that has been replaced by a Z7 - which of course focuses perfectly as mirrorless - I'm thinking about revisiting the Art focus on the F6 (and my other film Fs).
The 35 Art focuses fine wide open (as seen from my pic above) but the 50 misses a little, which basically defeats the whole point of using it at 1.4. Maybe I should just reset it to its default setting. ...Show more →
I figured out a way that worked for me. Not sure it's the best way, but it worked. At least, this is what I think I did (it was around three years ago and I can hardly remember what I did yesterday). Get ready for something tedious!
0. Load up a roll of fine-grained, low-speed film (I used Acros II).
1. Use one of those little lens focus calibration ruler thingies.
2. Light it really well (I used a product photography soft box).
3. With your camera on a tripod, tape measure (or ruler) 0.3 meters from the image plane to the target.
4. Take the lens off the camera, attach to dock and set the correction to -20 using the software.
5. Remount the lens to the camera and take a picture of the target.
6. Repeat steps 4 and 5 for corrections of -15, -10, -5, 0, +5, +10, +15, +20
7. Move the camera to the next distance (0.4m) and repeat steps 4-6.
8. Move the camera to the next distance (0.7m) and repeat steps 4-6.
9. Go outside and point the camera at an object at infinity and repeat steps 4-6.
So, 4 distances x 9 exposures each = 36 frames. Develop the film, scan it and examine which range looks the best. For example, at 0.3m it might look good at 0, okay -5 and not good at +5. From that I know the correction is between 0 and -5.
0. Load up a second roll of fine-grained, low-speed film.
1. Repeat the same set-up as above.
2. (Using the above example of the range of correction at 0.3m) Take the lens off the camera, attach to dock and set the correction to -5 using the software.
3. Remount the lens to the camera and take a picture of the target.
4. Repeat steps 2 and 3 for corrections of -4, -3, -2, -1, and 0.
5. Move the camera to the next distance (0.4m) and repeat steps 2-4 based on the correction range determined for the distance from the first test roll.
6. Move the camera to the next distance (0.7m) and repeat steps 2-4 based on the correction range determined for the distance from the first test roll.
7. Go outside and point the camera at object at infinity and repeat steps 2-4 based on the correction range determined for the distance from the first test roll.
So, 4 distances x 6 exposures each = 24 frames which gives you room if you weren't exactly sure on the range to snap a few extra images. Develop the film, scan it and examine which number looks the best. Put the lens on the dock and set the appropriate correction at each distance. Voila! Perfectly tuned to your camera!
_jim_ wrote:
I figured out a way that worked for me. Not sure it's the best way, but it worked. At least, this is what I think I did (it was around three years ago and I can hardly remember what I did yesterday). Get ready for something tedious!
0. Load up a roll of fine-grained, low-speed film (I used Acros II).
1. Use one of those little lens focus calibration ruler thingies.
2. Light it really well (I used a product photography soft box).
3. With your camera on a tripod, tape measure (or ruler) 0.3 meters from the image plane to the target.
4. Take the lens off the camera, attach to dock and set the correction to -20 using the software.
5. Remount the lens to the camera and take a picture of the target.
6. Repeat steps 4 and 5 for corrections of -15, -10, -5, 0, +5, +10, +15, +20
7. Move the camera to the next distance (0.4m) and repeat steps 4-6.
8. Move the camera to the next distance (0.7m) and repeat steps 4-6.
9. Go outside and point the camera at an object at infinity and repeat steps 4-6.
So, 4 distances x 9 exposures each = 36 frames. Develop the film, scan it and examine which range looks the best. For example, at 0.3m it might look good at 0, okay -5 and not good at +5. From that I know the correction is between 0 and -5.
0. Load up a second roll of fine-grained, low-speed film.
1. Repeat the same set-up as above.
2. (Using the above example of the range of correction at 0.3m) Take the lens off the camera, attach to dock and set the correction to -5 using the software.
3. Remount the lens to the camera and take a picture of the target.
4. Repeat steps 2 and 3 for corrections of -4, -3, -2, -1, and 0.
5. Move the camera to the next distance (0.4m) and repeat steps 2-4 based on the correction range determined for the distance from the first test roll.
6. Move the camera to the next distance (0.7m) and repeat steps 2-4 based on the correction range determined for the distance from the first test roll.
7. Go outside and point the camera at object at infinity and repeat steps 2-4 based on the correction range determined for the distance from the first test roll.
So, 4 distances x 6 exposures each = 24 frames which gives you room if you weren't exactly sure on the range to snap a few extra images. Develop the film, scan it and examine which number looks the best. Put the lens on the dock and set the appropriate correction at each distance. Voila! Perfectly tuned to your camera! ...Show more →
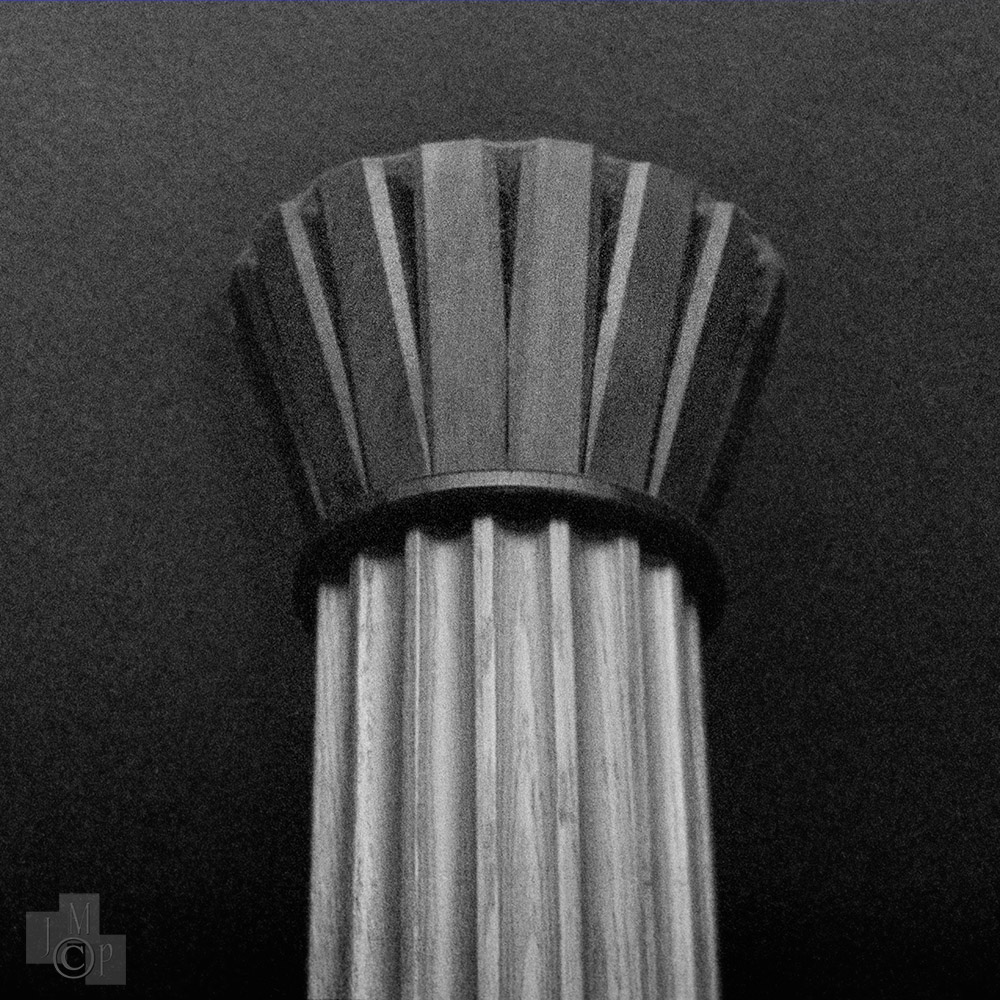
I souped my first Df96 monobath bulk loaded expired Tri-X rolls today. The film was from approximately 2000, and got buried in the glove box of my car. Well over 100 degrees many days, and freezing cold as many days for about a third of those 24 years. Then it got forgotten on my desk. I actually got confused which camera was loaded (two identical Nikon FM'S), and opened one half way through the roll. (Messed up about 5 frames) While loading the reel - one roll's leader shattered - it was so brittle. There is a base fog, and they are grainy - but it worked.
The most grainy roll - in Nikon FM version #3 with the Nikkor 50mm f1.2 ais wide open on the tea cup - I picked this subject, because I was expecting lots of grain, and thought a narrow DOF would play nice with it.
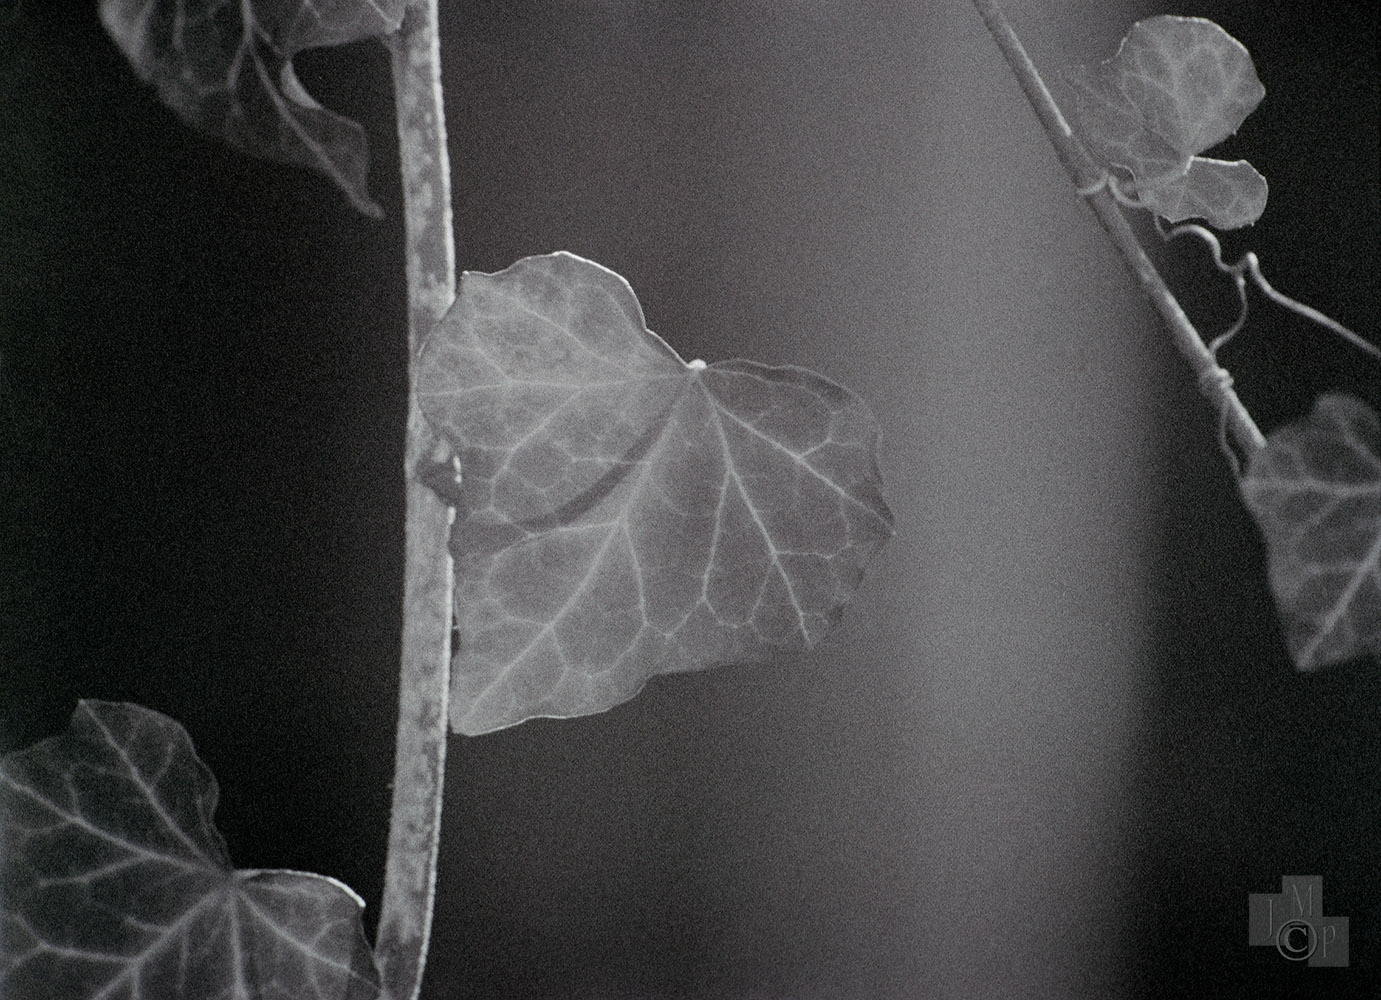
FM version #2 with the Nikkor-H.C 50mm f2.0 & 125mm f2.5 ais on the ivy
Who is this person that has been posting all these color images? What part of the Rolleicord V is the FM2? I still don't believe that you haven't been bodysnatched.
My Canon P bit the dust (I have a replacement coming; I tried to fix the issues myself but ran into problems and it would cost more to have it professionally repaired than to buy a new one), and as I was looking over the photos I've taken with it over the past year I found some from my second roll of Portra 400, shot early last spring.