Gary Clennan wrote:
ZF35.... The sky turned out kinda funky in these for some reason.
Looks like you simply overexposed the sky too much. Where the sky went green, the blue channel was clipped, and where it went grey, all three channels were clipped. In your last shots the clouds are partially burnt out white and grey from excessive use of highlight recovery too. Gotta watch that DR.
AhamB wrote:
Looks like you simply overexposed the sky too much. Where the sky went green, the blue channel was clipped, and where it went grey, all three channels were clipped. In your last shots the clouds are partially burnt out white and grey from excessive use of highlight recovery too. Gotta watch that DR.
Exactly what I was about to write....have been through this pain once before
Gary, all three with the ZF 25 are excellent. The highlights are a little blown on 2 of the 3 but I think you could clean that up for the most part in PP. The 25 is the least expensive of all Zeiss glass and gets the most criticism but you used it perfectly to its strength. Excellent work again! Heck, what's another $600, right
Samuli - your HDR work is by far the best I have seen (or my favorite I should say). What do you use? It is so natural looking and you retain the Zeiss look while boosting the DR of the shots which provides for some very dramatic shots.
AhamB wrote:
Looks like you simply overexposed the sky too much. Where the sky went green, the blue channel was clipped, and where it went grey, all three channels were clipped. In your last shots the clouds are partially burnt out white and grey from excessive use of highlight recovery too. Gotta watch that DR.
Thanks for the advice AhamB. I am truly lousy at PP but hope to get better. The main reason I try to get it right in camera is to avoid PP....
rsolti13 wrote:
Samuli - your HDR work is by far the best I have seen (or my favorite I should say). What do you use? It is so natural looking and you retain the Zeiss look while boosting the DR of the shots which provides for some very dramatic shots.
charles.K wrote:
Samuli, your HDR work is exceptional!!!
Are you guys serious. If I take a critical look to 21ZE f/9 HDR photo posted to previous page, I see that there are at least following faults:
- 1/3 image width from left the sky is blown, or at least clipping on some channels
- the right corner is darker than left corner
- a little haloing on some of the tree tops
This is more or less caused by selecting scene with too muh dynamic range, there are limits what HDR can do. I doubt I could do any better even I would spend more than 20s time with the image.
"Script" how I take HDR photos. This has formed over the years and is pretty much optimized from "spend minimum time on computer"-principle. While doing all as mass operations, this method requires less than 20s extra for each HDR photo as average on 12GB memory 8 core Mac Pro with very fast raid.
1. Pick a scene for which HDR technique would suite (or pick scene and find that your are forced to shoot HDR - more common for me)
2. Shoot 3 images in M-mode with the liveview+1.3-1.6stop bracketing+2s timer
3. Import photos to Apple Aperture (I apply GPS info with Exiftool while copying from card to hard drive, then I import to Aperture) and stack automatically by time
---- coffee break while waiting computer
4. Select all HDR photos (the automatic stacking and few tricks will help doing this just in few seconds)
5. Apply preset which maximizes dynamic range to selected photos (screen capture of my setting): black point 0.2 (default 3), recovery 1/5th of slider width (default 0), highlights 1/5 of slider (default 0)
6. Export photos to 16bit TIFFs with ProPhotoRGB (Photomatix Pro doesn't work well with Gamma 1.0 colorspace images, neither with narrow gamut e.g. sRGB)
---- coffee break while waiting computer
7. Drop 3 TIFFs at time to Photomatix Pro and apply default settings (screen capture of my setting), mostly no adjustment needed, sometimes I add add micro-smoothing and/or highlight smoothing if image is too dark, if mostly dark parts need more light then I add luminosity, also white point gets some use. Then I save the 16bit TIFF from Photomatix Pro. Delete the 3 TIFFs you have selected in Finder (same as Windows Explorer in M$). Repeat until there are only HDR TIFFs.
8. Import all HDR TIFFs to aperture
---- small coffee break while waiting computer
9. Select photos on last import session and apply preset (black point 2, very little amount of recovery, vibrancy 0.05 or saturation 0.05 or neither depending scenes shoot)
10. Perform image by image check and adjust if needed
PS. Many landscape photographers use HDR these days, but most of them don't mention it like they won't mention any other technical things of their photos.
rji2goleez wrote:
I'll contribute a bit more . . .
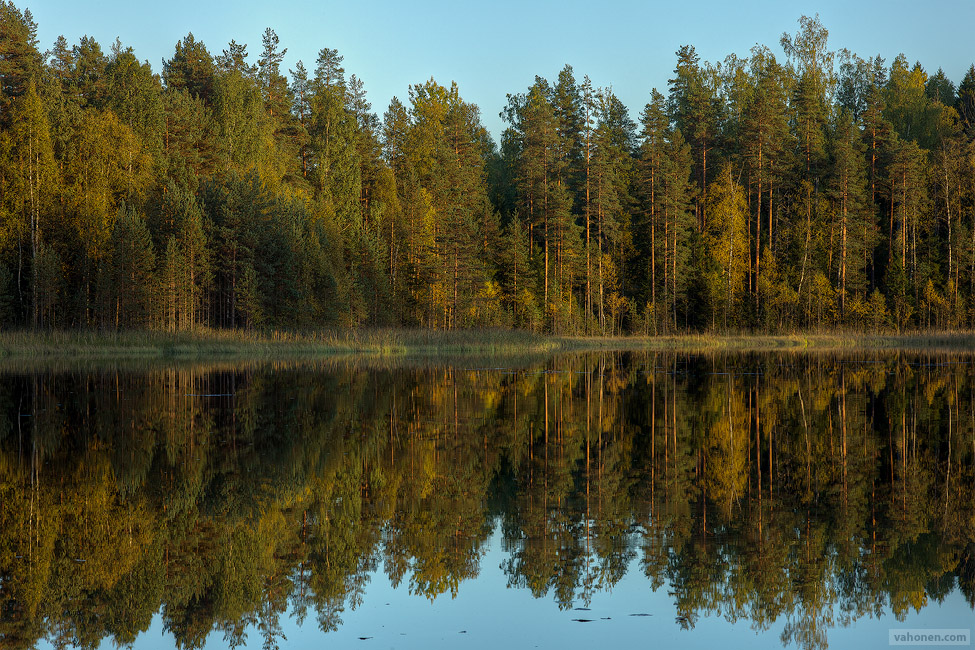
#3 - nice sky.
----------
Kortejärvi 16 - Carl Zeiss Makro-Planar T* 2/100 @ f/14, HDR, ISO 100
Samuli Vahonen wrote:
PS. Many landscape photographers use HDR these days, but most of them don't mention it like they won't mention any other technical things of their photos.
#3 - nice sky.
Samuli
I love the discussion regarding HDR but with as much as I shoot landscapes, I've never used the technique. All the images I've posted in this thread are without HDR (such as my most recent). Instead, I achieve my results using the gradient 'brush' in Lightroom along with other traditional techniques (levels, shadow/highlight, etc.). The gradient adjustment in Lightroom is my favorite tool and I have learned to use to apply a hard and soft gradient dependent on the image I'm adjusting. While I much prefer HDR results where you don't know that HDR was used, I have been satisfied without it. I typically under expose by 2/3 stop (contrary to the notion of exposing to the right) and can recover both shadow and highlights effectively.
I have nothing against HDR, just offering another perspective.
Thanks Gary. Loved your landscape shots on the previous page!
Shooting at night in the woods is really problematic - you can't see anything so composition is basically done by tedious trial and error for each exposure checking the resulting image and then making blind corrections to the position of the camera.
Four images limit? Perhaps it's a limitation when you use FM's image hosting. I use my own server and there is no limit on how many images I can post. I used to post 8 images at a time before but post typically 4-5 now.
No, not the image hosting but posting in this thread. When I hit 'post reply', I'm presented with a dialog box for writing text and posting up to four images. FM's image hosting is totally separate, isn't it?
I just enter the URL of the image into the text of the post - no dialog box and no limits on how many I can post. If you press the "quote" button on my last post you'll see how the images are inserted.