Desmolicious wrote:
Processing color neg film got transformed for me when I started using https://negativelabpro.com
Try it - they have a free demo.
Love that this thread is coming alive!
I actually took a look at negativelabpro to see if it would work with Ektachrome (positive film), but there was no mention of it working with anything but negative film...
grahamgibson wrote:
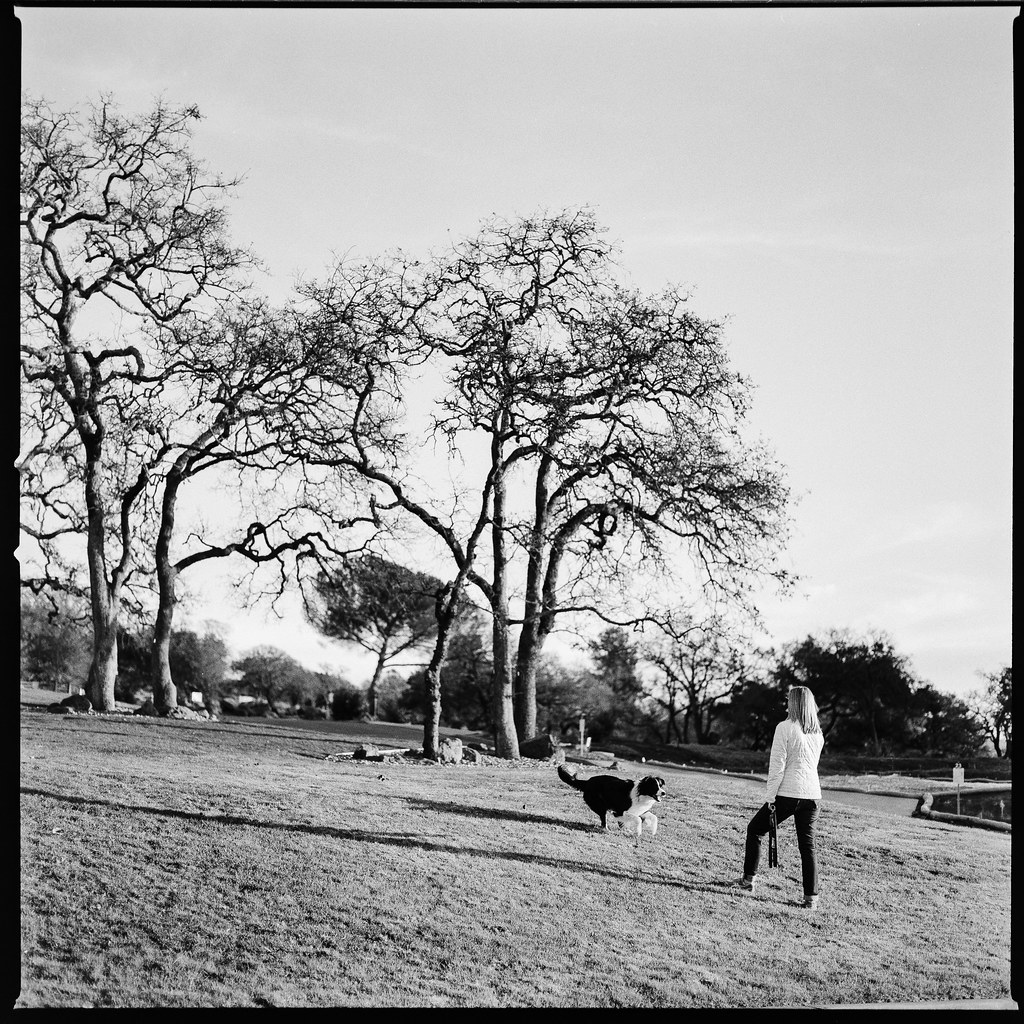
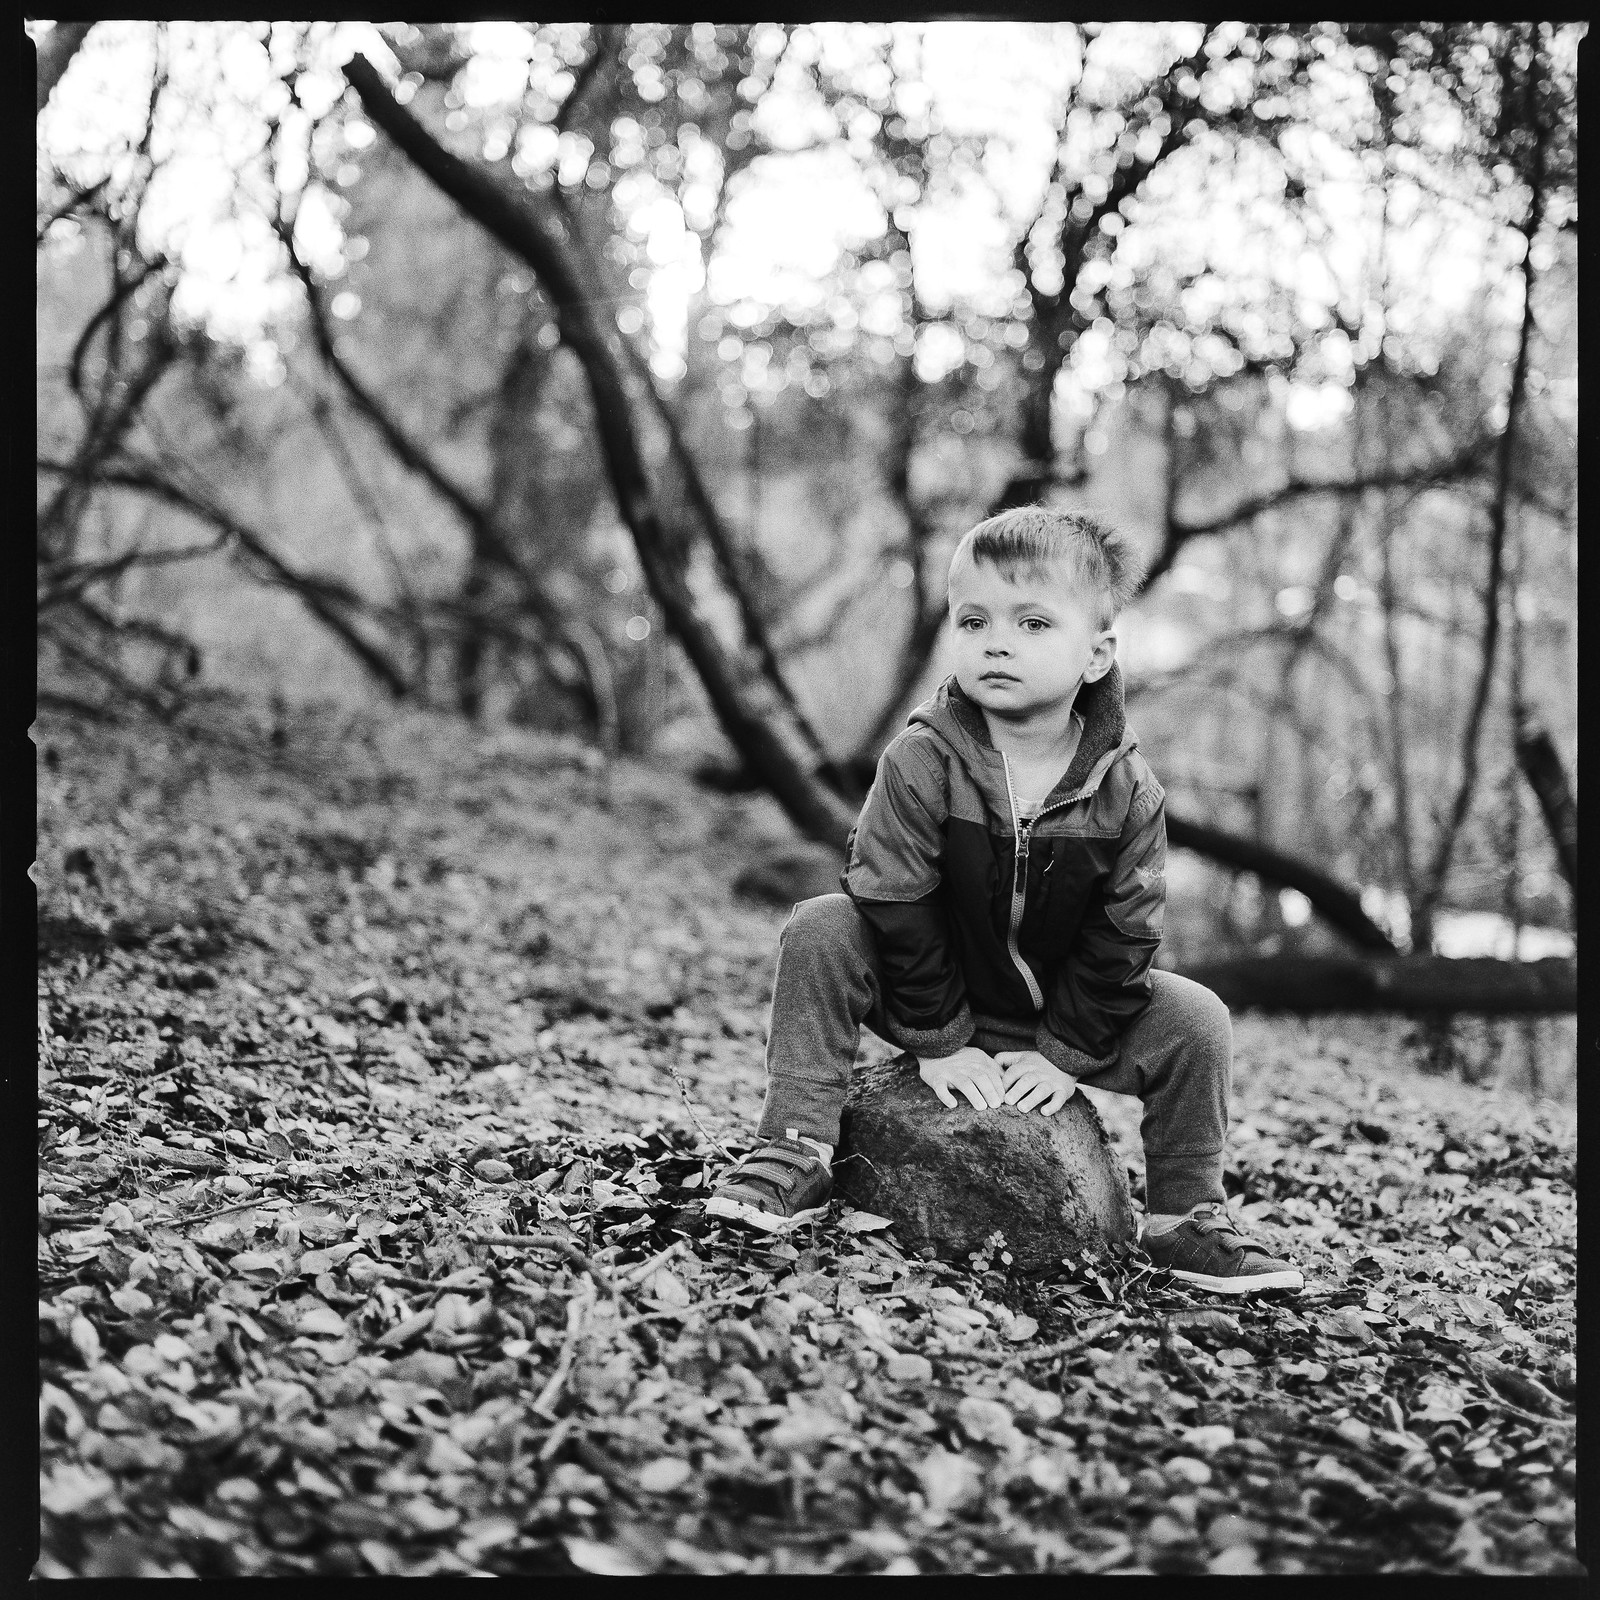
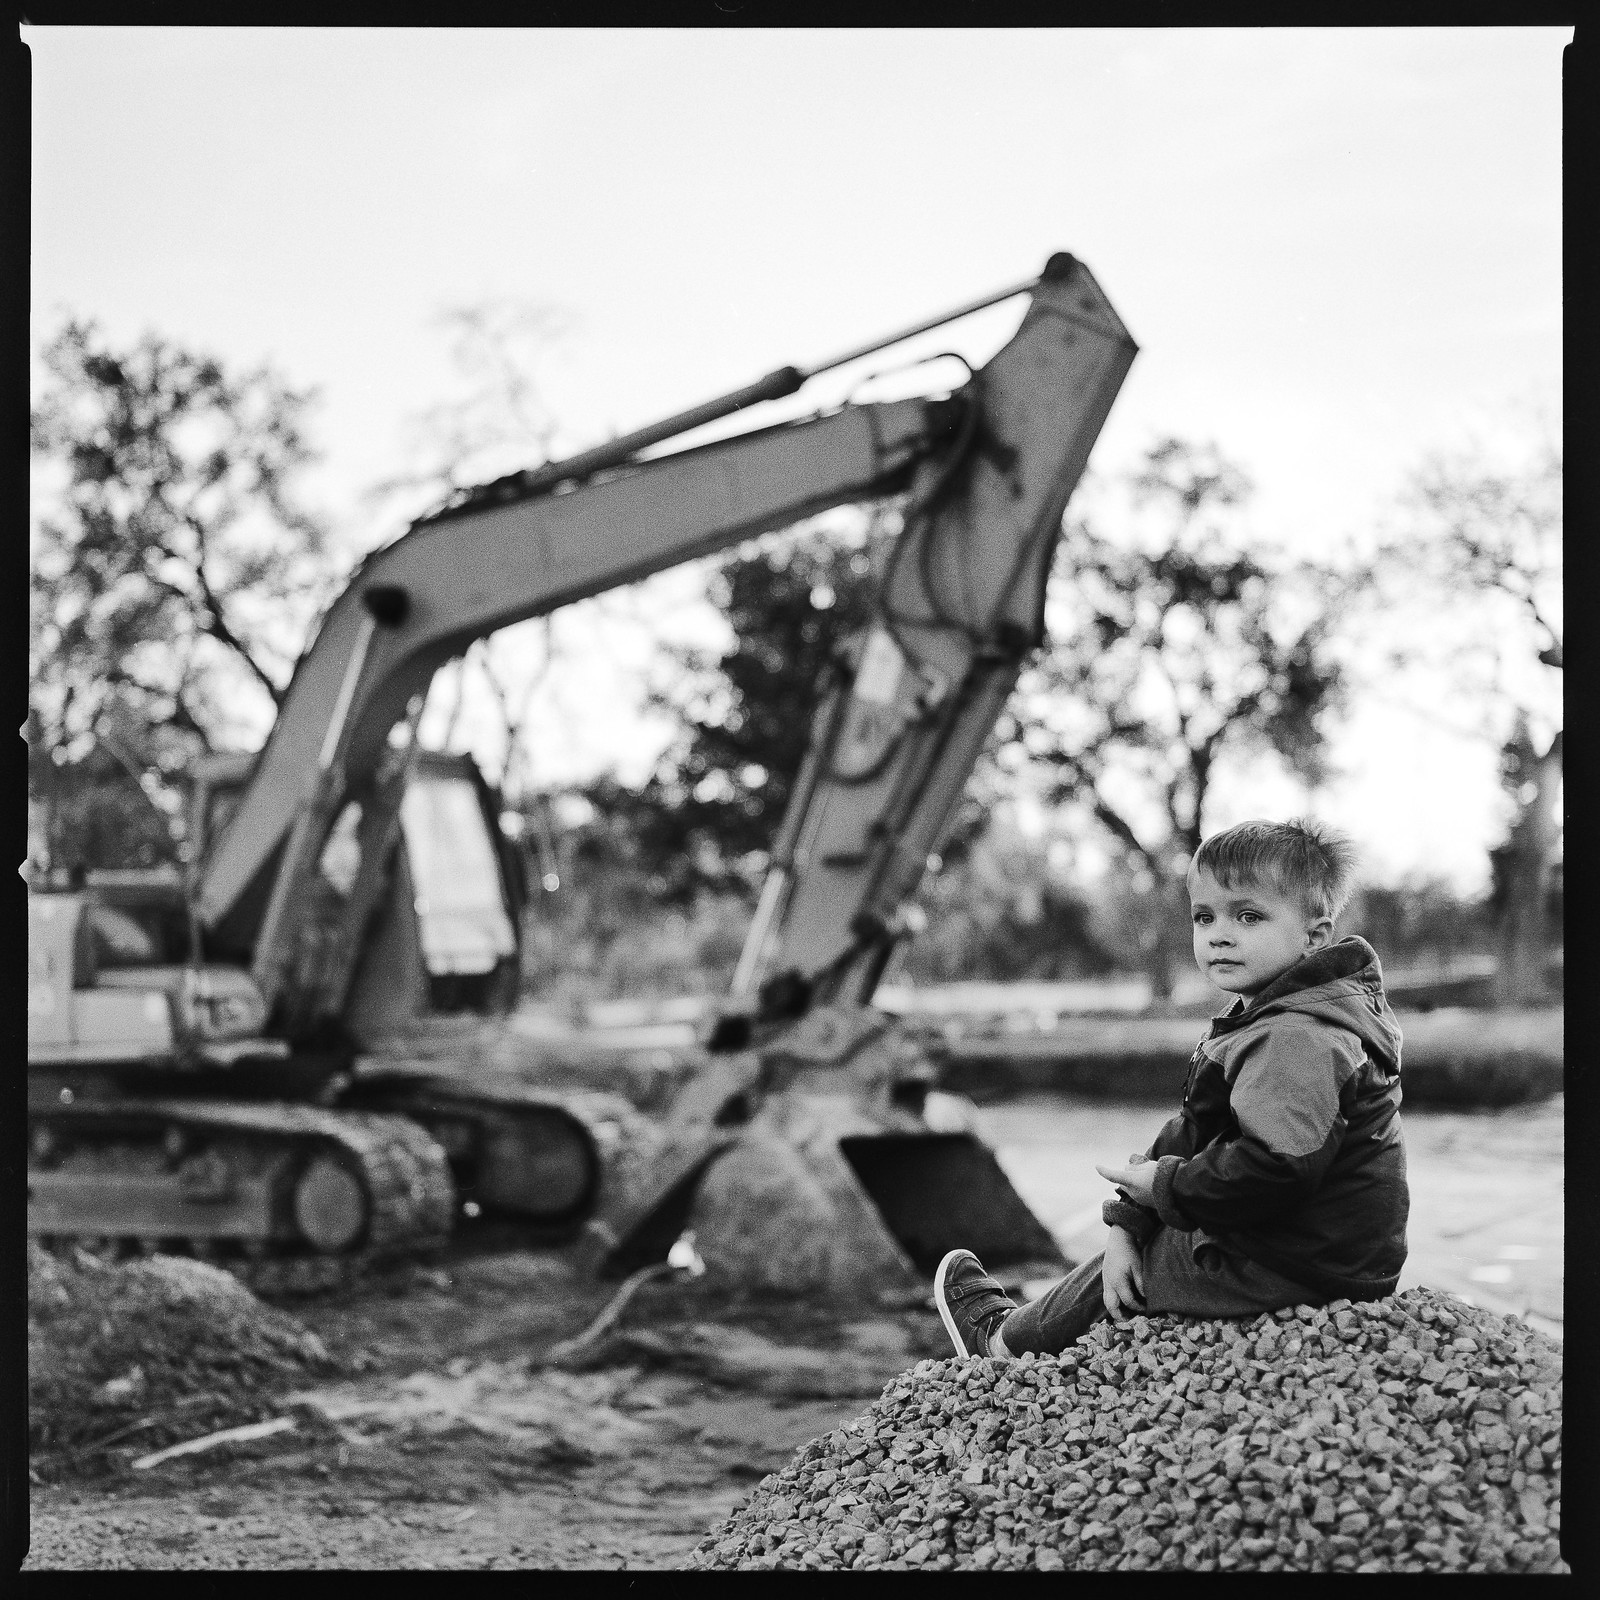
Scanning with my Sony A7rii. Here's what it looks like--if you follow this link to my flickr, I wrote up some thoughts about the setup/process:
Cool. I scan via A7ii and a cheap LED lightbox (daylight balanced and no pixel issues) using a Lomography "DigitaLiza" holder.
What I like about your scans is that you're getting the whole film, with the edge numbers and mask. How did you end up holding the film flat without glass on top?
FWIW, you can buy what is called "Anti Newton Glass" that will eliminate the "moiré" you described (which are called "Newton Rings"). I think I may consider trying AN glass to eliminate the DigitLiza holder, which I find frustrating.
For scanning, I'm doing one shot at a time. To hold things flat, I just ended up placing something above and below each frame on the glass (I used another piece of glass and a straight-edge... probably not the best in terms of care putting these on top of the film?). Before scanning, I cut my film into 3-shot strips which makes them easier to handle and store.
I read about the newton rings recently actually. I think I'm fine without a glass layer for now though. I picked up an anti-static brush to help control lint/dust which is the most annoying thing about this method so far.
I simply cobbled this setup together on the cheap with things I had around the house. I will get some professional scans done at some point to do a comparison. I do think my color results could be better if I had a more balanced light source. What LED lightbox are you using? It was hard to find something that I thought would provide a wide & balanced color spectrum.
The DigitaLiza opening is a little bigger than the film frame so you get a bit of the edge mask in the scans and just a tiny bit of the edge numbers. The frustrating part is that because the opening is a little bigger than normal holders, it grips less of the edges of the film strip. If the film isn't pretty flat, it can be quite a trick to get everything lined up and snapped shut with the whole film edge gripped cleanly. That said, once it's in there cleanly, you can keep the un-cut strip in the holder and gently slip it through like a conveyor belt to center each set of photos.
Re: dust: 1. I use a Swiffer and DustOff can to clean the area where I'll be loading up the film. 2. I pull the whole film strip through a film-specific anti-static cloth a few times. 3. Once the film is in the holder, I use a film-specific anti-static brush to loosen up anything that may have gotten on there while wrangling the film into the holder. 4. Just before starting to actually scan, I blow off both sides of the film with either a Rocket Blower, or (gently) with a DustOff can. This routine keeps things pretty clean.
I will try DSLR scanning one day but I just can't see myself having the patience to do so. The quality I get out of my flatbed is great and I can batch scan several images at the same time while I do other stuff. However, the samples I have seen on this thread look very good.
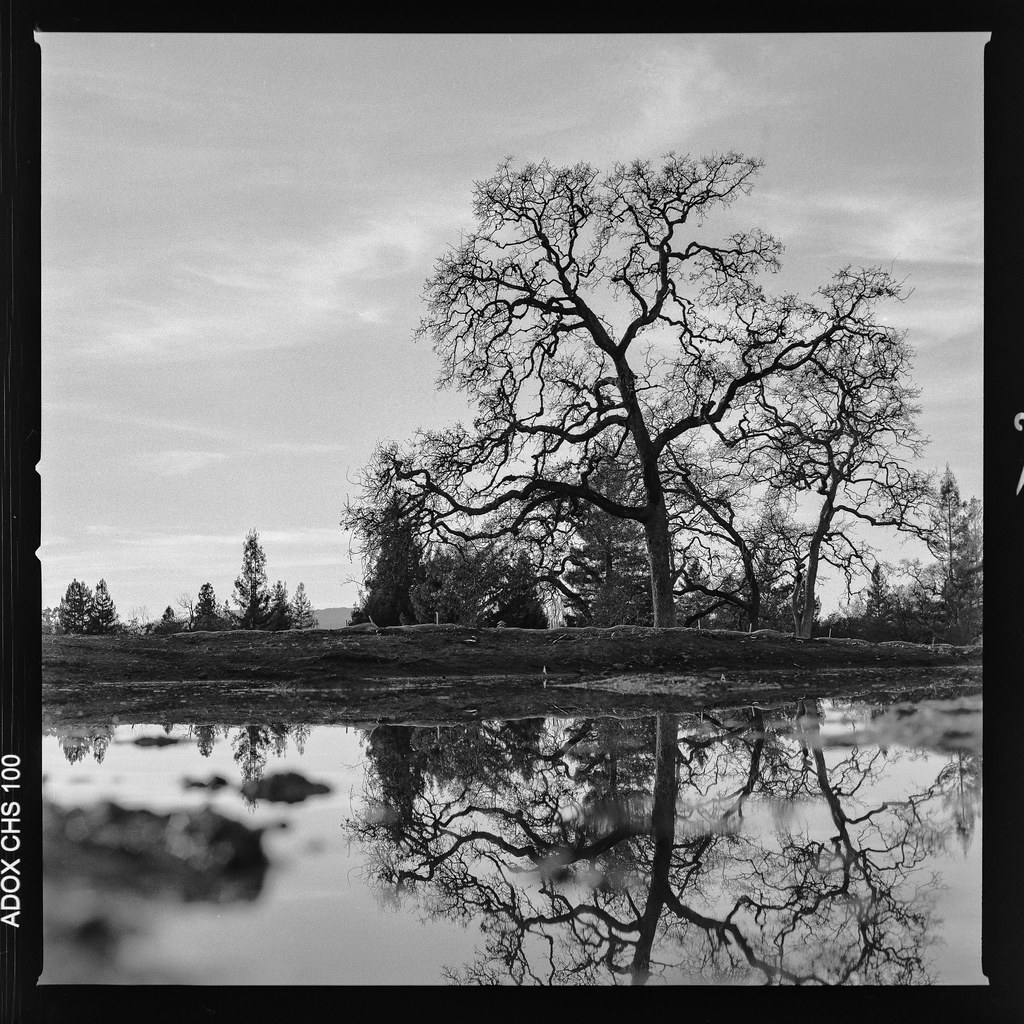
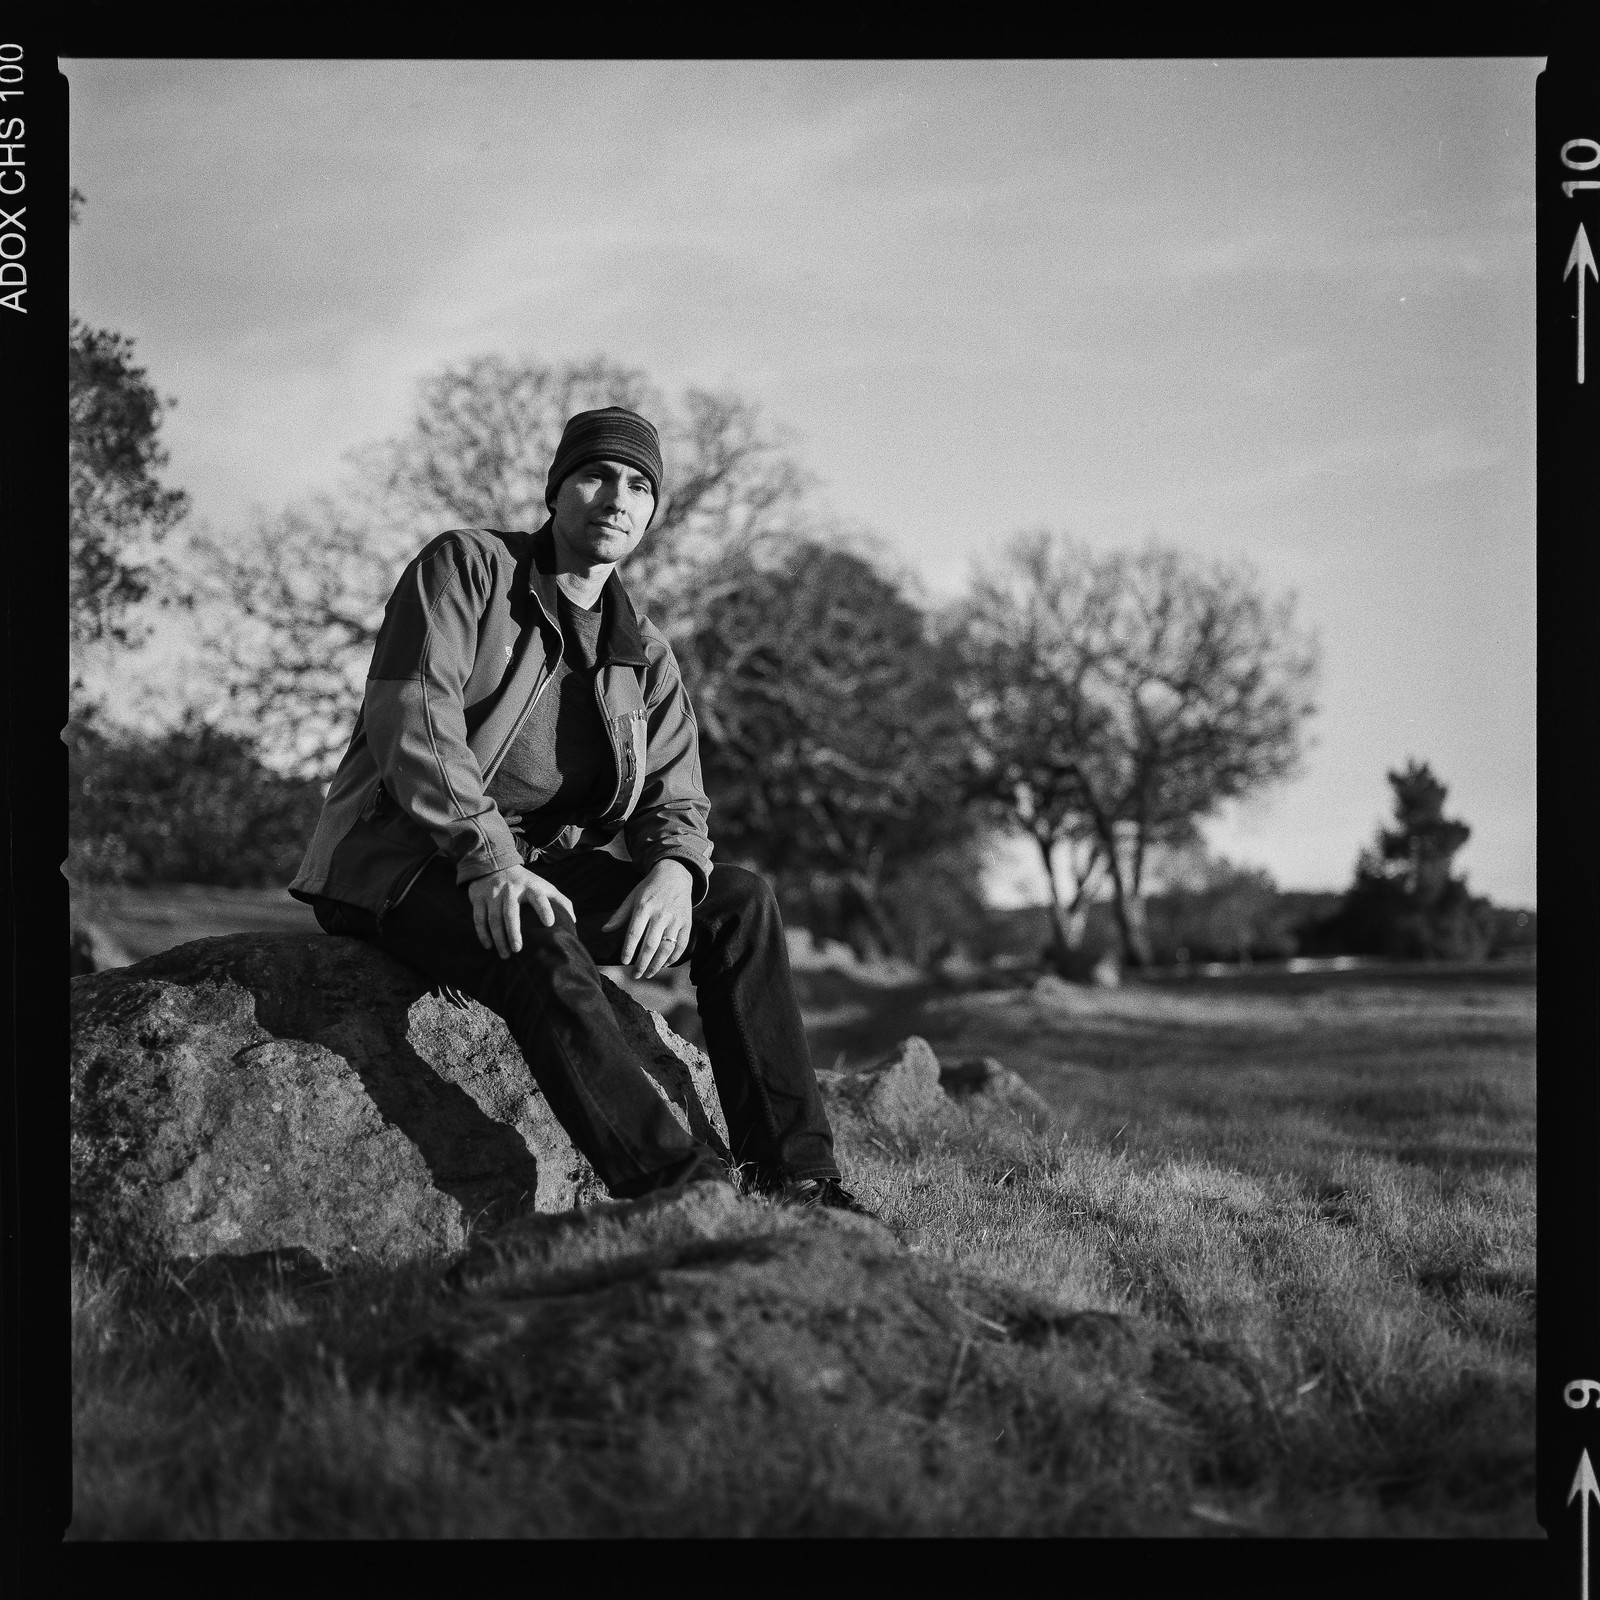
Took the Hasselblad 500 C/M + 80/2.8 CF out yesterday for a little exercise in the balmy 40º NYC weather.
T-Max 100 home developed in FF No. 1 Monobath. GX9/30mm macro scans. This time I tried putting the film directly on the lightbox with some little weights to hold the edges flat. Worked out amazingly well. No newton rings (the lightbox glass is a matte/frosted finish, so that's probably why). Fun to be able to get the edge numbers, etc.
The big white blobs in the foreground are chunks of ice that washed up from the East River.
Chick'n Shack sandwich on a bench in Brooklyn Bridge Park. 80mm + 8mm extension tube.
The 80mm is surprisingly sharp, especially with an extension tube. Peeling paint photo was taken at MFD of @16".
Activatedfx wrote:
Took the Hasselblad 500 C/M + 80/2.8 CF out yesterday for a little exercise in the balmy 40º NYC weather.
T-Max 100 home developed in FF No. 1 Monobath. GX9/30mm macro scans. This time I tried putting the film directly on the lightbox with some little weights to hold the edges flat. Worked out amazingly well. No newton rings (the lightbox glass is a matte/frosted finish, so that's probably why). Fun to be able to get the edge numbers, etc.
Great stuff! I meanwhile also prefer to have my medium-format film frames with the border. I don't find it disturbing but instead quite useful when selecting a suitable frame of several similar shots taken e. g. at different exposure times. I can quickly see from the scan which is most suitable for a darkroom print and grab it according the number on the side.
Desmolicious wrote:
The end result is the same but there are differences:
1. The flip out screen flips out further on the D850, and can angle away from the body at 90 degrees. This is very useful for viewing when the camera is on a copy stand (i.e. when I scan 120 film). I was really surprised that the screen on the Z7 does not have at least the same range of motion. It is still workable, but worse than the D850.
2. No need to remember to use the mirror up pre-exposure function on the Z7, as there is no mirror! (to reduce vibration when using the copy stand).
3. For some unknown reason, the film digitizer mode on the D850 is missing on the Z7. I found it really useful to preview images. I have no idea why Nikon left this off, and hope that they will introduce it with a firmware update.
4. When scanning film, the LiveView mode on the D850 nailed focus immediately whereas on the Z7 it seems to hunt a little bit more. Not sure if it is because I used the 60 AF-D lens on the D850, but the G version on the Z7 (as the Z does not AF with D lenses).