Post your recent film shots!
p.1737 #1Post your recent film shots!
fjablo wrote:
https://live.staticflickr.com/65535/55418441273_d464ed9005_z.jpgtop of sentinel dome by Chris, on FlickrBeautiful picture with a lot more potential if converted differently. It currently has a cyan cast and overall missing contrast. Did you convert manually? If so I can highly recommend this guide: https://www.alexburkephoto.com/blog/2019/10/16/manual-inversion-of-color-negative-film
If you don’t want to convert manually and also don’t want to pay for NLP or Smartconvert, try NegPy. It’s hosted on GitHub and is an open source film conversion software built with Python.This is the kind of feedback I want. While I feel like my stuff is decent in black and white, I do not know what I'm doing with color. I scan using a cinestill cs-lite set to "cool", and a sony mirrorless with daylight white balance with manual exposure set just before zebras/highlight clipping shows up. From there, my process has shifted from darktable+negadoctor to lightroom classic + NLP. In lightroom, I set white balance with the border, invert using NLP and the Noritsu setting, and then... start flapping around with NLP white balance settings until it looks ok to my eye. Sometimes it comes out nice as-is, sometimes it looks weird and I need to randomly adjust more. I don't look at the histogram or curves. Since I really don't naturally "get" color, I think my color photos come out fine, not amazing. I'll walk through that blog post. But really, maybe step one for me is getting a color theory book, or taking a watercolor class or something. I'd love to hear what's worked for others.
Also, I work in software, and find it painful how many times I've manually done this while STILL not being able to articulate how I'd automate to a ~90% good starting point (whatever 90% even means).I scan using a cinestill cs-lite set to "cool"
Why? By doing that you already have made sure that your images will look blue/cyan.
You need a neutral/daylight light source setting.Button says “cool (color negative)” and I not so smart so I push the button.Not sure if NLP can be fooled by this - easiest is try by taking two pics of the same negative 
It should *not* have an impact as long as none of your color channels is clipping. NLP works on the raw file and shifts white balance a lot anyway. The idea behind the cool light source is that you get a bit more signal to noise ratio in your green and blue color channels, which would otherwise be underexposed a lot given the orange mask.
Learned a bunch tonight. I tried all permutations of a photo with a cool backlight, a photo with a white backlight, and inversions with NLP using frontier or noritsu color models, and whether I set NLP white balance to "auto-neutral" or off (testing @Desmolicious comments). I skipped the extra dropper white balancing too.
What I found was that the crummy place I had originally edited from was the result of me unthinkingly inverting BEFORE I cropped to just the square negative. I'm scanning square images with a 3:2 aspect ratio camera. So, there are big areas of the negative that are black, which has to trip up NLP. This process doesn't negatively impact black and white.
Landed on this: for color negative, the cool backlight setting -> crop to the actual negative (a square here) -> invert with NLP defaulting to auto-neutral wb. This is using the "LAB - Standard" tone profile in NLP. No edits, all sliders untouched. Better?
 cool-backlight-cropped-nodropper-whitebalance-noritsu-nlp-auto-neutral by Chris, on Flickr
Cloud75 wrote
Desmolicious wrote
Cloud75 wrote
fjablo wrote
Cloud75 wrote
mamiya 6 + 50mm f/4 + ektar 100, pointed away from the big things in Yosemite everyone knowshttps://live.staticflickr.com/65535/55418441273_d464ed9005_z.jpgtop of sentinel dome by Chris, on Flickr
If you don’t want to convert manually and also don’t want to pay for NLP or Smartconvert, try NegPy. It’s hosted on GitHub and is an open source film conversion software built with Python.
Also, I work in software, and find it painful how many times I've manually done this while STILL not being able to articulate how I'd automate to a ~90% good starting point (whatever 90% even means).
Why? By doing that you already have made sure that your images will look blue/cyan.
You need a neutral/daylight light source setting.
It should *not* have an impact as long as none of your color channels is clipping. NLP works on the raw file and shifts white balance a lot anyway. The idea behind the cool light source is that you get a bit more signal to noise ratio in your green and blue color channels, which would otherwise be underexposed a lot given the orange mask.
Learned a bunch tonight. I tried all permutations of a photo with a cool backlight, a photo with a white backlight, and inversions with NLP using frontier or noritsu color models, and whether I set NLP white balance to "auto-neutral" or off (testing @Desmolicious comments). I skipped the extra dropper white balancing too.
What I found was that the crummy place I had originally edited from was the result of me unthinkingly inverting BEFORE I cropped to just the square negative. I'm scanning square images with a 3:2 aspect ratio camera. So, there are big areas of the negative that are black, which has to trip up NLP. This process doesn't negatively impact black and white.
Landed on this: for color negative, the cool backlight setting -> crop to the actual negative (a square here) -> invert with NLP defaulting to auto-neutral wb. This is using the "LAB - Standard" tone profile in NLP. No edits, all sliders untouched. Better?
cool-backlight-cropped-nodropper-whitebalance-noritsu-nlp-auto-neutral by Chris, on FlickrJul 26, 2026 at 02:31 AM

p.1737 #2Post your recent film shots!
Cloud75 wrote:
fjablo wrote
Cloud75 wrote
Desmolicious wrote
Cloud75 wrote
fjablo wrote
Beautiful picture with a lot more potential if converted differently. It currently has a cyan cast and overall missing contrast. Did you convert manually? If so I can highly recommend this guide: https://www.alexburkephoto.com/blog/2019/10/16/manual-inversion-of-color-negative-filmIf you don’t want to convert manually and also don’t want to pay for NLP or Smartconvert, try NegPy. It’s hosted on GitHub and is an open source film conversion software built with Python.
Also, I work in software, and find it painful how many times I've manually done this while STILL not being able to articulate how I'd automate to a ~90% good starting point (whatever 90% even means).
Why? By doing that you already have made sure that your images will look blue/cyan.
You need a neutral/daylight light source setting.
It should *not* have an impact as long as none of your color channels is clipping. NLP works on the raw file and shifts white balance a lot anyway. The idea behind the cool light source is that you get a bit more signal to noise ratio in your green and blue color channels, which would otherwise be underexposed a lot given the orange mask.
What I found was that the crummy place I had originally edited from was the result of me unthinkingly inverting BEFORE I cropped to just the square negative. I'm scanning square images with a 3:2 aspect ratio camera. So, there are big areas of the negative that are...Show more →
Another way to take the rebate out of NLP's consideration is to up the buffer % on the initial dialog.
Jul 26, 2026 at 07:04 AM
p.1737 #3Post your recent film shots!
Cloud75 wrote:
If you don’t want to convert manually and also don’t want to pay for NLP or Smartconvert, try NegPy. It’s hosted on GitHub and is an open source film conversion software built with Python.This is the kind of feedback I want. While I feel like my stuff is decent in black and white, I do not know what I'm doing with color. I scan using a cinestill cs-lite set to "cool", and a sony mirrorless with daylight white balance with manual exposure set just before zebras/highlight clipping shows up. From there, my process has shifted from darktable+negadoctor to lightroom classic + NLP. In lightroom, I set white balance with the border, invert using NLP and the Noritsu setting, and then... start flapping around with NLP white balance settings until it looks ok to my eye. Sometimes it comes out nice as-is, sometimes it looks weird and I need to randomly adjust more. I don't look at the histogram or curves. Since I really don't naturally "get" color, I think my color photos come out fine, not amazing. I'll walk through that blog post. But really, maybe step one for me is getting a color theory book, or taking a watercolor class or something. I'd love to hear what's worked for others.
Also, I work in software, and find it painful how many times I've manually done this while STILL not being able to articulate how I'd automate to a ~90% good starting point (whatever 90% even means).I scan using a cinestill cs-lite set to "cool"
Why? By doing that you already have made sure that your images will look blue/cyan.
You need a neutral/daylight light source setting.Button says “cool (color negative)” and I not so smart so I push the button.Not sure if NLP can be fooled by this - easiest is try by taking two pics of the same negative
It should *not* have an impact as long as none of your color channels is clipping. NLP works on the raw file and shifts white balance a lot anyway. The idea behind the cool light source is that you get a bit more signal to noise ratio in your green and blue color channels, which would otherwise be underexposed a lot given the orange mask.Learned a bunch tonight. I tried all permutations of a photo with a cool backlight, a photo with a white backlight, and inversions with NLP using frontier or noritsu color models, and whether I set NLP white balance to "auto-neutral" or off (testing @Desmolicious@ comments). I skipped the extra dropper white balancing too.
What I found was that the crummy place I had originally edited from was the result of me unthinkingly inverting BEFORE I cropped to just the square negative. I'm scanning square images with a 3:2 aspect ratio camera. So, there are big areas of the negative that are...Show more →
Looks good to me!
My philosophy with NLP is "less is more".
I've found that every choice bakes in a specific look that is hard to change or adjust later on. Most of my pics get additional minor adjustments in LR.
Another thing that really helps is to only convert pics from a single photo shoot/lighting scenario in the same batch. It helps make the conversion better, and it makes it easier to just adjust one pic and sync the settings to the others.
Here are the Setting I use:
Convert
Edit
Edited on Jul 26, 2026 at 02:13 PM · View previous versions
fjablo wrote
Cloud75 wrote
Desmolicious wrote
Cloud75 wrote
fjablo wrote
Beautiful picture with a lot more potential if converted differently. It currently has a cyan cast and overall missing contrast. Did you convert manually? If so I can highly recommend this guide: https://www.alexburkephoto.com/blog/2019/10/16/manual-inversion-of-color-negative-filmIf you don’t want to convert manually and also don’t want to pay for NLP or Smartconvert, try NegPy. It’s hosted on GitHub and is an open source film conversion software built with Python.
Also, I work in software, and find it painful how many times I've manually done this while STILL not being able to articulate how I'd automate to a ~90% good starting point (whatever 90% even means).
Why? By doing that you already have made sure that your images will look blue/cyan.
You need a neutral/daylight light source setting.
It should *not* have an impact as long as none of your color channels is clipping. NLP works on the raw file and shifts white balance a lot anyway. The idea behind the cool light source is that you get a bit more signal to noise ratio in your green and blue color channels, which would otherwise be underexposed a lot given the orange mask.
What I found was that the crummy place I had originally edited from was the result of me unthinkingly inverting BEFORE I cropped to just the square negative. I'm scanning square images with a 3:2 aspect ratio camera. So, there are big areas of the negative that are...Show more →
Looks good to me!
My philosophy with NLP is "less is more".
I've found that every choice bakes in a specific look that is hard to change or adjust later on. Most of my pics get additional minor adjustments in LR.
Another thing that really helps is to only convert pics from a single photo shoot/lighting scenario in the same batch. It helps make the conversion better, and it makes it easier to just adjust one pic and sync the settings to the others.
Here are the Setting I use:
Convert
- Basic Color Model 99% of the time, sometimes None will fix bad color shifts
- Pre-Saturation - 2
- Roll Analysis on
- Roll Process - Pro Lab
- Adjust Border Buffer so that only exposed negative is visible (be sure to exclude sprocket holes and DX edge coding)
Edit
- Settings - NLP Standard
- Tone Profile - This is the main decision I make, I pretty much always cycle through all the options for every batch I convert. Sometimes they all get the same one, other times it's different for specific photos. The ones I end up using the most are LAB - Standard, LINEAR, LINEAR - Gamma (especially for B&W), and LINEAR - Deep. The other LAB profiles are good for specific scenarios, e.g., very thin or dense negs or ones that need more/less contrast.
- WB - Leave it on Auto-Neutral unless there's an obvious issue, then try other options to get it close enough. Auto-Cool works well sometimes for conversions that are too warm, for example. Final WB adjustment in LR if needed.
- HSL - Mostly just leave this on Lab, but sometimes use one of the others for a specific look
- Sometimes I'll use the general exposure/contrast sliders, but not always
- I never touch any of the other more fine grained options
Edited on Jul 26, 2026 at 02:13 PM · View previous versions
Jul 26, 2026 at 10:45 AM


p.1737 #7Post your recent film shots!
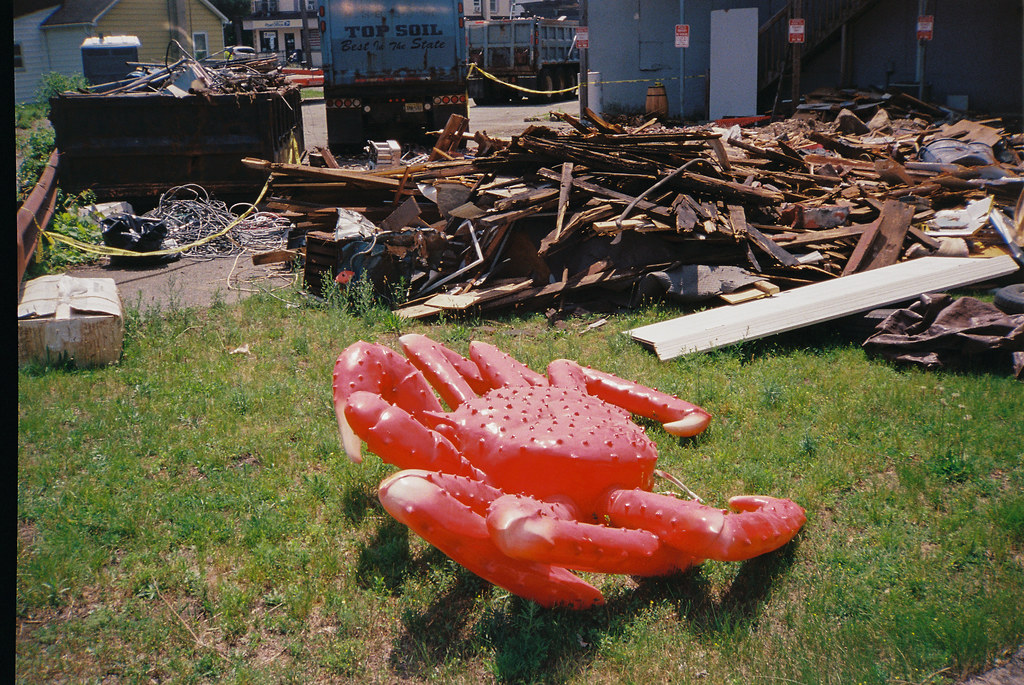
nikon fm2n + nikkor 28mm f2.8 ais + ektar 100. Thanks for the negative inversion learning this weekend.
 cape meares by Chris, on Flickr
 cape meares by Chris, on Flickr
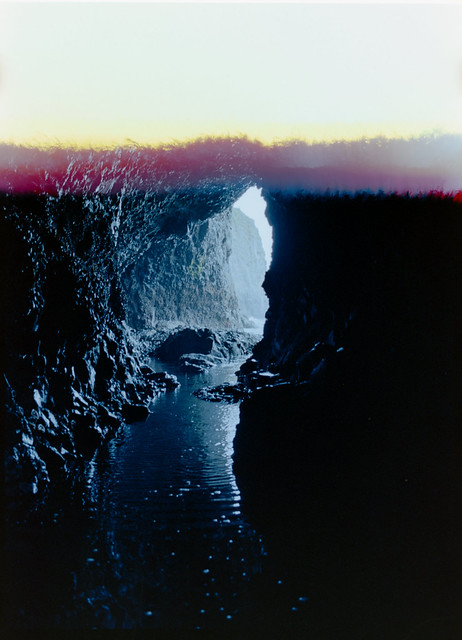 cape meares cave burnt frame by Chris, on Flickr
cape meares by Chris, on Flickrcape meares by Chris, on Flickrcape meares cave burnt frame by Chris, on FlickrJul 26, 2026 at 11:52 PM
p.1737 #8Post your recent film shots!
James Markus wrote:
The Tone dslr scanning system is a hit with me. I paired it with an old castoff laptop that I installed MX Linux and Entangle to monitor the negatives as I turn the advancement dials. Finally I can get perfectly centered shots showing the rebate, and I can fill the frame using a Nikon GP-2 Camera Focusing Stage gears utilizing the max resolution of the camera. This also allows instant 90 degree orientation switching when going from 4.5x6 or 6x7.
Looks great. How do you store your 120 film? Do you leave it uncut, and if you do, what do you put it in?
The Tone dslr scanning system is a hit with me. I paired it with an old castoff laptop that I installed MX Linux and Entangle to monitor the negatives as I turn the advancement dials. Finally I can get perfectly centered shots showing the rebate, and I can fill the frame using a Nikon GP-2 Camera Focusing Stage gears utilizing the max resolution of the camera. This also allows instant 90 degree orientation switching when going from 4.5x6 or 6x7.
Looks great. How do you store your 120 film? Do you leave it uncut, and if you do, what do you put it in?
Jul 27, 2026 at 12:16 AM
p.1737 #9Post your recent film shots!
Light Lens Lab 35mm f/2 Eight Element sample picture.
M6 Camera; Kodak Double-X 5222 B&W film; ISO 250; with XTOL1:1 development.
Click for my detail review of this lens.
Edited on Jul 27, 2026 at 08:48 PM · View previous versions
M6 Camera; Kodak Double-X 5222 B&W film; ISO 250; with XTOL1:1 development.
 |
||
 |
||
|
|
||
 |
||
|
|
||
 |
||
|
|
||
 |
||
|
|
||
 |
||
|
Click for my detail review of this lens.
Edited on Jul 27, 2026 at 08:48 PM · View previous versions
Jul 27, 2026 at 03:48 AM
p.1737 #10Post your recent film shots!
Cloud75 wrote:
James Markus wrote
The Tone dslr scanning system is a hit with me. I paired it with an old castoff laptop that I installed MX Linux and Entangle to monitor the negatives as I turn the advancement dials. Finally I can get perfectly centered shots showing the rebate, and I can fill the frame using a Nikon GP-2 Camera Focusing Stage gears utilizing the max resolution of the camera. This also allows instant 90 degree orientation switching when going from 4.5x6 or 6x7.I do cut it into strips and store in archival sheets like these.
Archival Sheets link
Jul 27, 2026 at 08:07 AM
|
p.1737 #11Post your recent film shots!
Around some towns...
Montreal, Quebec. Yashicamat LM, Kodak Gold 200
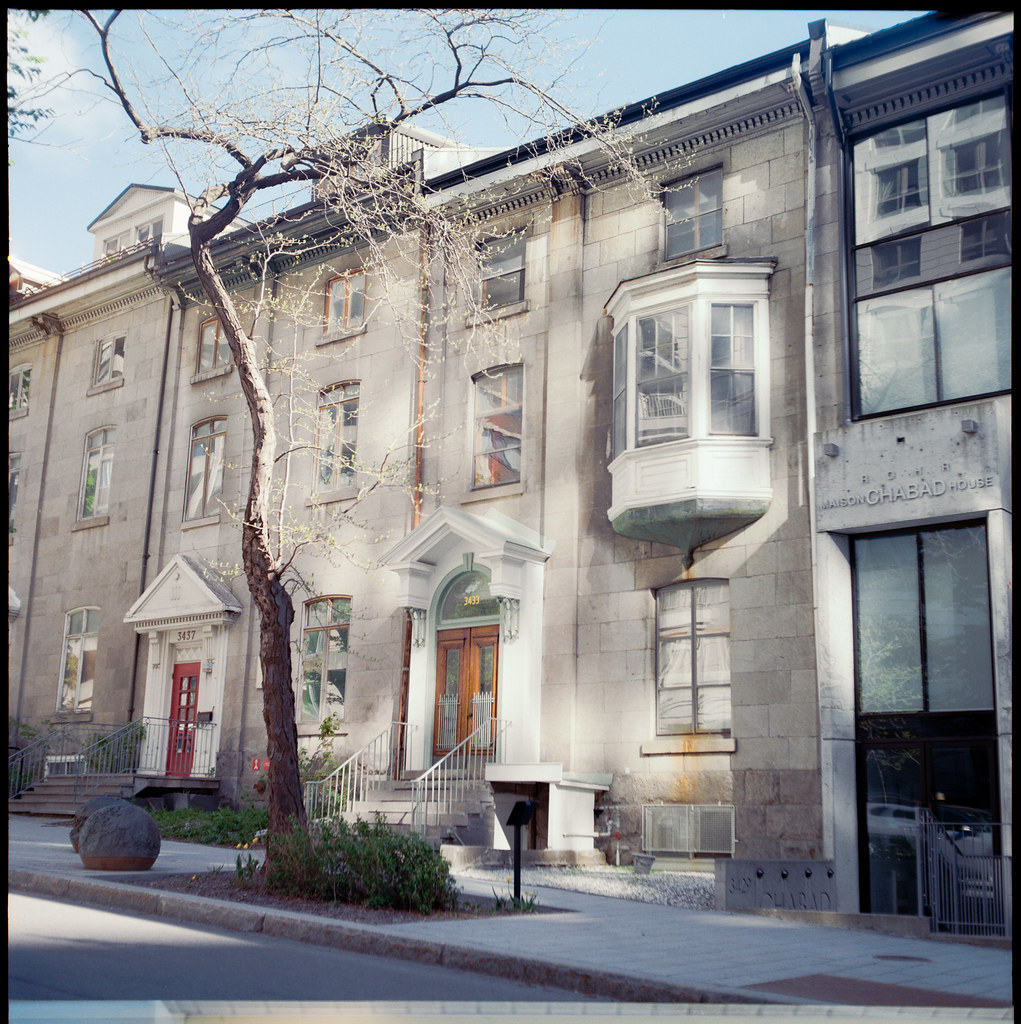 Montreal, Quebec by Spencer Hochstetler, on Flickr
Kingsport, Tennessee. Hasselblad 500cm, Kodak Gold 200
 Kingsport, TN by Spencer Hochstetler, on Flickr
Montreal, Quebec. Yashicamat LM, Kodak Gold 200
Montreal, Quebec by Spencer Hochstetler, on FlickrKingsport, Tennessee. Hasselblad 500cm, Kodak Gold 200
Kingsport, TN by Spencer Hochstetler, on FlickrJul 27, 2026 at 10:59 AM
p.1737 #12Post your recent film shots!
Cloud75 wrote:
nikon fm2n + nikkor 28mm f2.8 ais + ektar 100. Thanks for the negative inversion learning this weekend.
https://live.staticflickr.com/65535/55422441914_37888343c7_z.jpgcape meares by Chris, on Flickr
https://live.staticflickr.com/65535/55422424099_93840c81af_z.jpgcape meares by Chris, on Flickr
https://live.staticflickr.com/65535/55422643650_f032f487a1_z.jpgcape meares cave burnt frame by Chris, on Flickr
You nailed it! Looking good!
Love the motion in the first pic.
nikon fm2n + nikkor 28mm f2.8 ais + ektar 100. Thanks for the negative inversion learning this weekend.
https://live.staticflickr.com/65535/55422441914_37888343c7_z.jpgcape meares by Chris, on Flickr
https://live.staticflickr.com/65535/55422424099_93840c81af_z.jpgcape meares by Chris, on Flickr
https://live.staticflickr.com/65535/55422643650_f032f487a1_z.jpgcape meares cave burnt frame by Chris, on Flickr
You nailed it! Looking good!
Love the motion in the first pic.
Jul 27, 2026 at 12:21 PM
p.1737 #13Post your recent film shots!
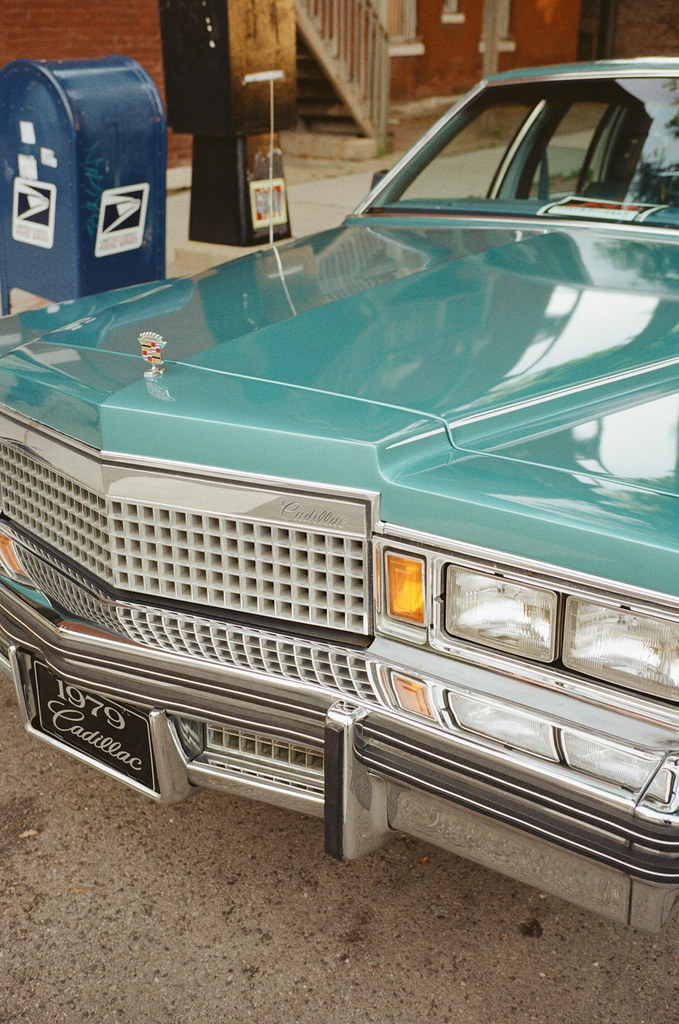
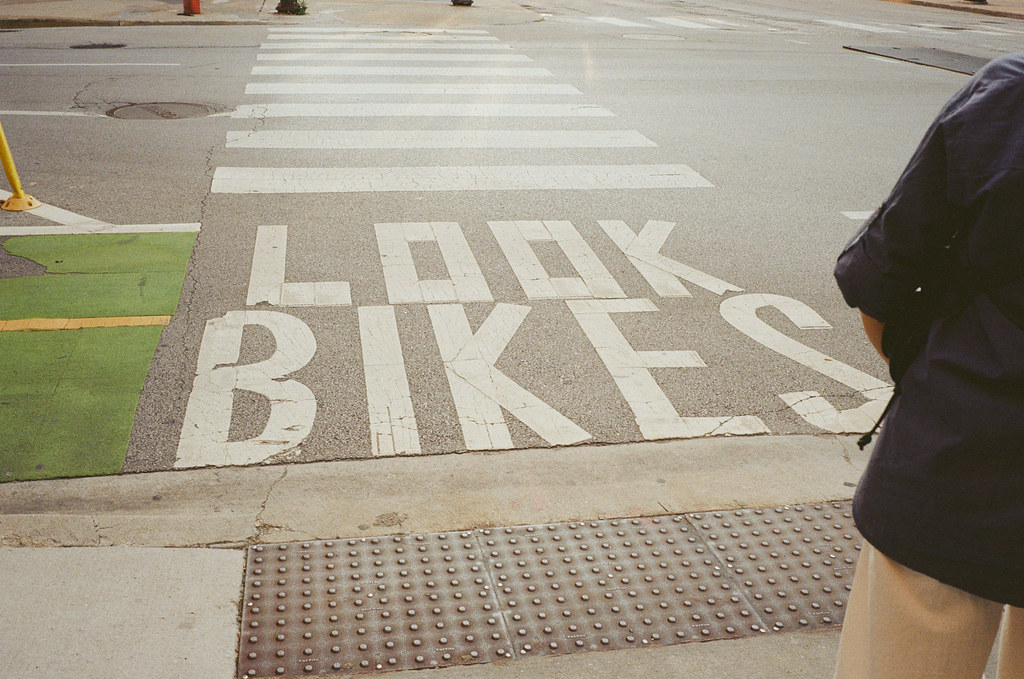
New to me Leica MP + Voigtlander 35mm f/2 Ultron + Kodak Gold 200


Jul 27, 2026 at 04:17 PM
p.1737 #14Post your recent film shots!
Kentmere 400
MC Zenitar M 16mm f/2.8
Fujica ST 705

Edited on Jul 27, 2026 at 06:16 PM · View previous versions
MC Zenitar M 16mm f/2.8
Fujica ST 705
Edited on Jul 27, 2026 at 06:16 PM · View previous versions
Jul 27, 2026 at 06:07 PM


p.1737 #17Post your recent film shots!
Desmolicious wrote:
https://live.staticflickr.com/65535/55422441914_37888343c7_z.jpgcape meares by Chris, on Flickr
https://live.staticflickr.com/65535/55422424099_93840c81af_z.jpgcape meares by Chris, on Flickr
https://live.staticflickr.com/65535/55422643650_f032f487a1_z.jpgcape meares cave burnt frame by Chris, on FlickrYou nailed it! Looking good!
Love the motion in the first pic.
Thanks!
Cloud75 wrote
nikon fm2n + nikkor 28mm f2.8 ais + ektar 100. Thanks for the negative inversion learning this weekend.https://live.staticflickr.com/65535/55422441914_37888343c7_z.jpgcape meares by Chris, on Flickr
https://live.staticflickr.com/65535/55422424099_93840c81af_z.jpgcape meares by Chris, on Flickr
https://live.staticflickr.com/65535/55422643650_f032f487a1_z.jpgcape meares cave burnt frame by Chris, on Flickr
Love the motion in the first pic.
Thanks!
Jul 27, 2026 at 06:44 PM
p.1737 #18Post your recent film shots!
Desmolicious wrote:
R9, 50 Lux, Fojak 200
https://live.staticflickr.com/65535/55418849067_37d1fde5f0_c.jpg
Another wonderful image. I’m a bit curious as to when and why you grab the R9? …. I ask because I have a Contax RTSiii, which would be the Japanese answer to the R9.. with the bit of Japanese high tech of the time. I love the camera and lenses. The vacuum pressure plate really does work, but I don’t use it much.
R9, 50 Lux, Fojak 200
https://live.staticflickr.com/65535/55418849067_37d1fde5f0_c.jpg
Another wonderful image. I’m a bit curious as to when and why you grab the R9? …. I ask because I have a Contax RTSiii, which would be the Japanese answer to the R9.. with the bit of Japanese high tech of the time. I love the camera and lenses. The vacuum pressure plate really does work, but I don’t use it much.
Jul 27, 2026 at 07:53 PM
p.1737 #19Post your recent film shots!
Desmolicious wrote:
Leica R9, 50 Lux, Fojak 200
Yeah this park may be a dump, but at least you can do fun stuff there.
https://live.staticflickr.com/65535/55424496646_27aefc8508_o.jpg
No Film other than Kodak
No Shopping for P&S Cameras
No Hipsters
No Wanna Be Hipsters
No Digital Photography
No Oregonians
No Washingtonians
No Hair longer than you Collar
No Fishing
No Spaming
No Sales Tax (Oops, wrong state)
Defiantly No Cats
Leica R9, 50 Lux, Fojak 200
Yeah this park may be a dump, but at least you can do fun stuff there.
https://live.staticflickr.com/65535/55424496646_27aefc8508_o.jpg
No Film other than Kodak
No Shopping for P&S Cameras
No Hipsters
No Wanna Be Hipsters
No Digital Photography
No Oregonians
No Washingtonians
No Hair longer than you Collar
No Fishing
No Spaming
No Sales Tax (Oops, wrong state)
Defiantly No Cats
Jul 27, 2026 at 08:27 PM
p.1737 #20Post your recent film shots!
bwcolor wrote:
https://live.staticflickr.com/65535/55418849067_37d1fde5f0_c.jpgAnother wonderful image. I’m a bit curious as to when and why you grab the R9? …. I ask because I have a Contax RTSiii, which would be the Japanese answer to the R9.. with the bit of Japanese high tech of the time. I love the camera and lenses. The vacuum pressure plate really does work, but I don’t use it much.
Honestly, when I’ve realized I have not used it in a while.
It’s an excellent camera with a super smooth and satisfying film advance lever - much nicer than the light floppy thing on my F3.
There really is no reason not to use it more, apart from the fact I find Ms more enjoyable! And a $20 N80 will nail focus quicker than any manual focus SLR including this R9.
Desmolicious wrote
R9, 50 Lux, Fojak 200https://live.staticflickr.com/65535/55418849067_37d1fde5f0_c.jpg
Honestly, when I’ve realized I have not used it in a while.
It’s an excellent camera with a super smooth and satisfying film advance lever - much nicer than the light floppy thing on my F3.
There really is no reason not to use it more, apart from the fact I find Ms more enjoyable! And a $20 N80 will nail focus quicker than any manual focus SLR including this R9.
Jul 27, 2026 at 09:29 PM