Stefan Official
Offline
• •
Upload & Sell: Off
|
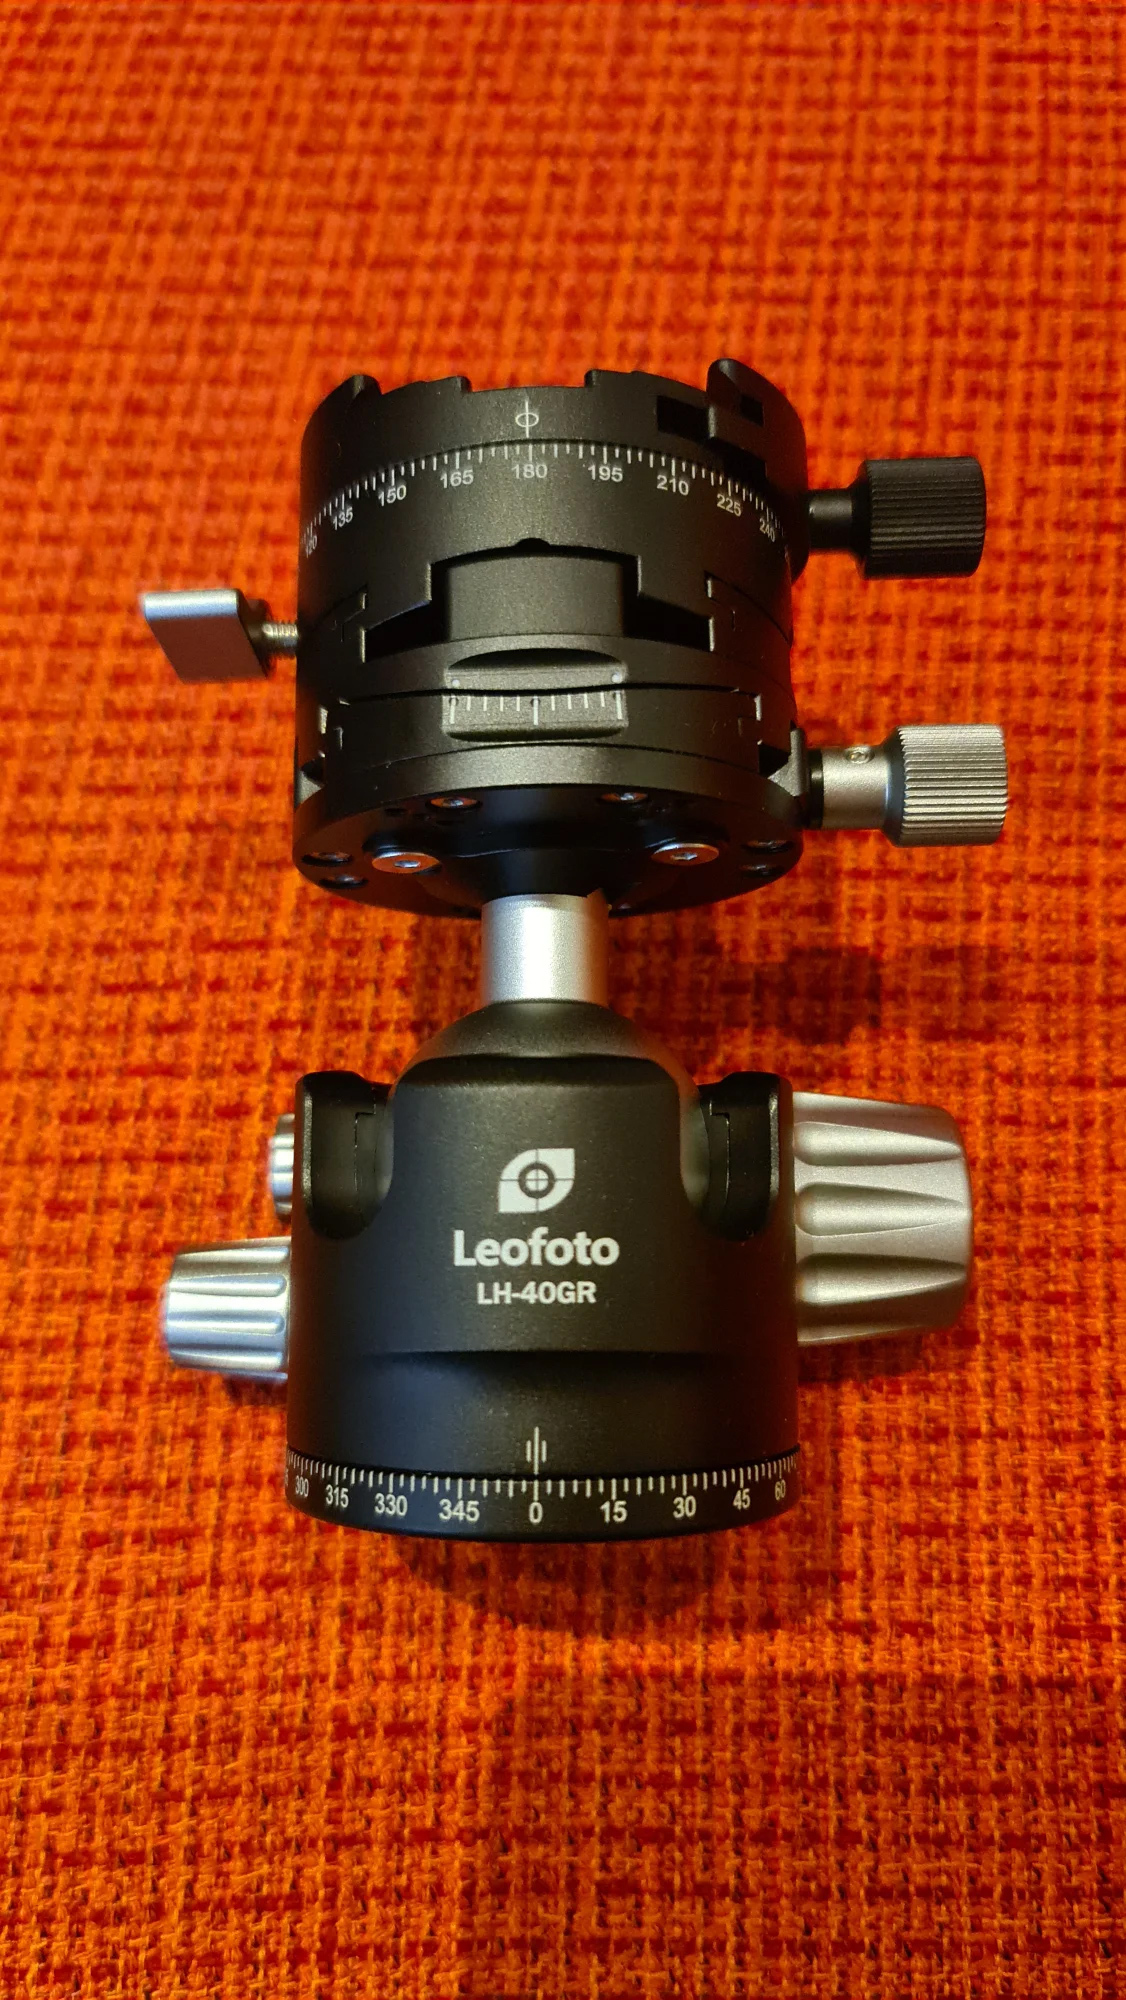
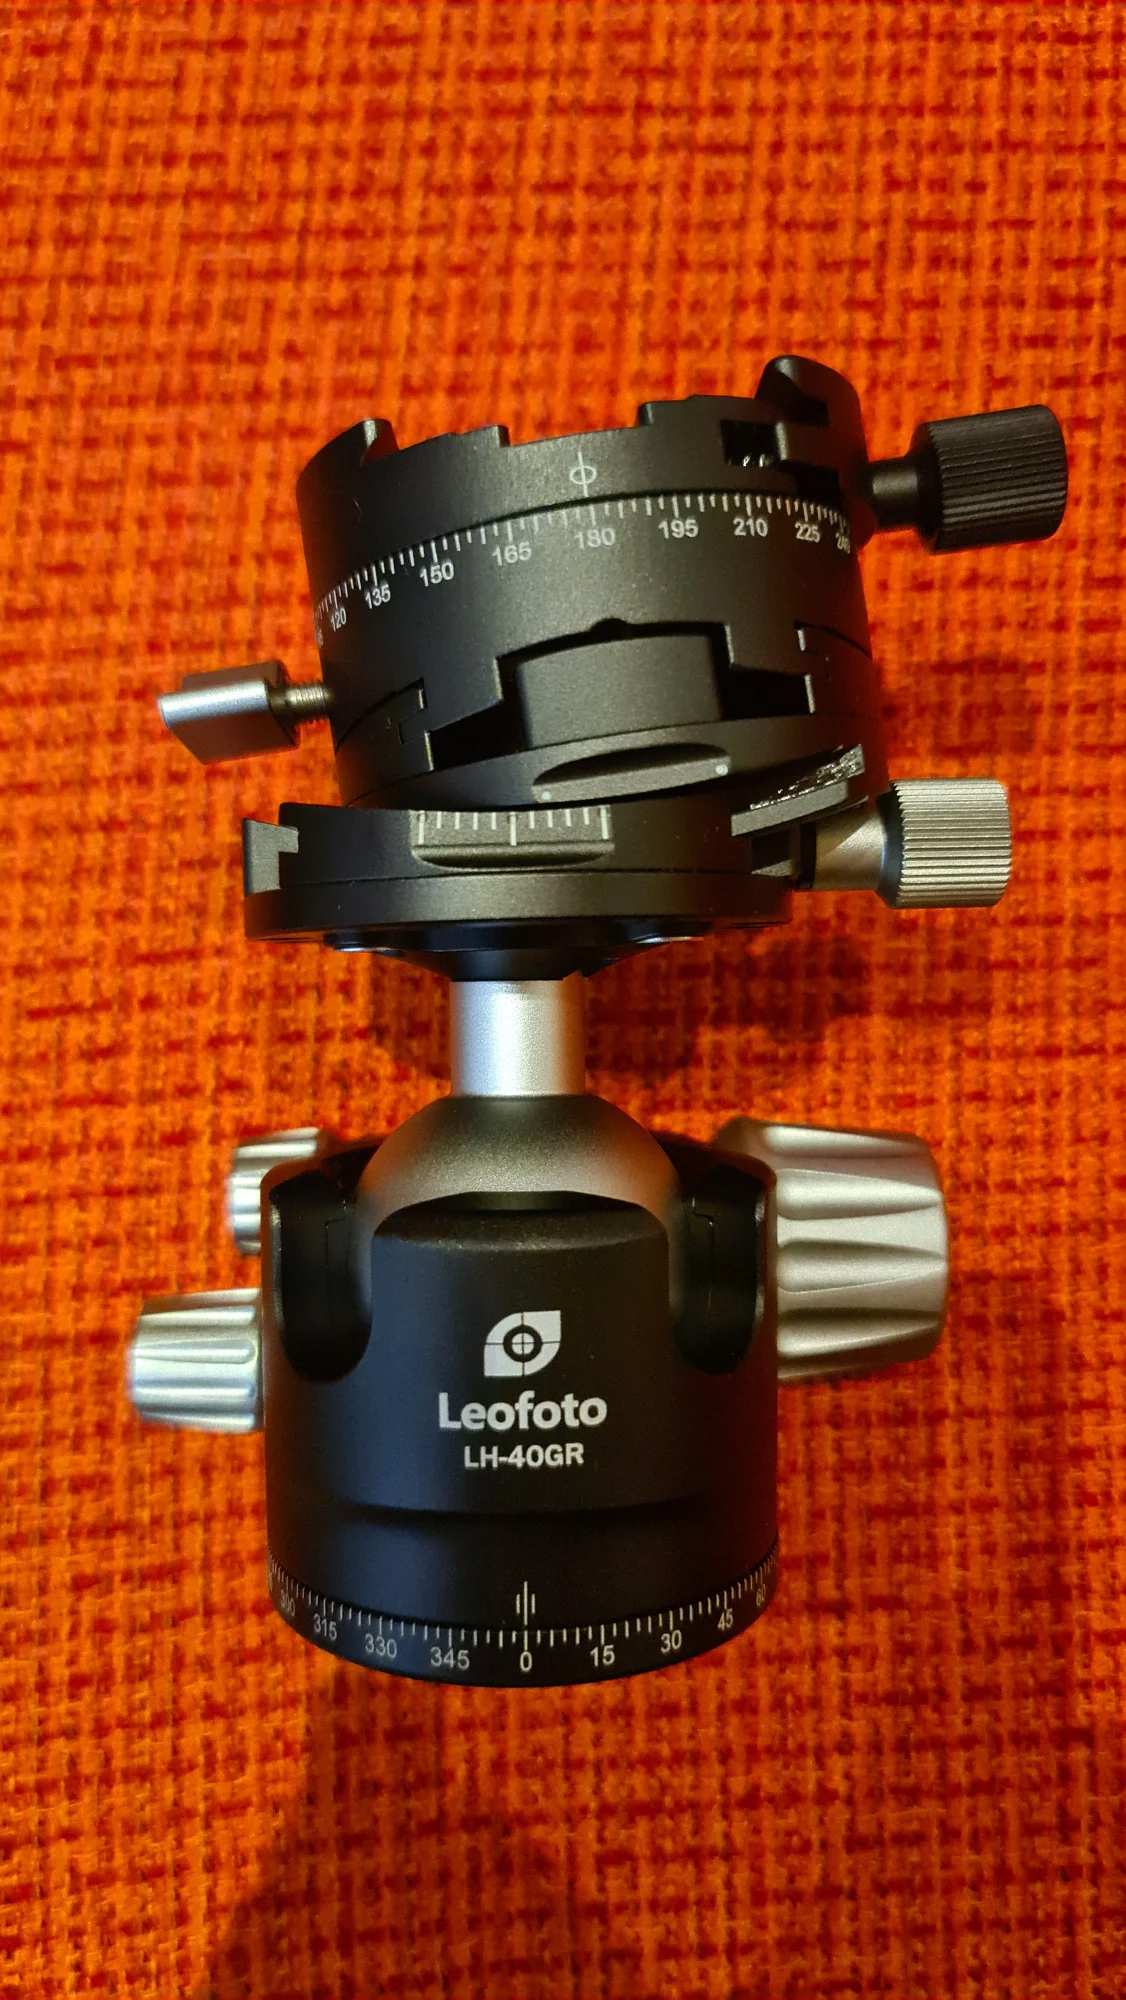
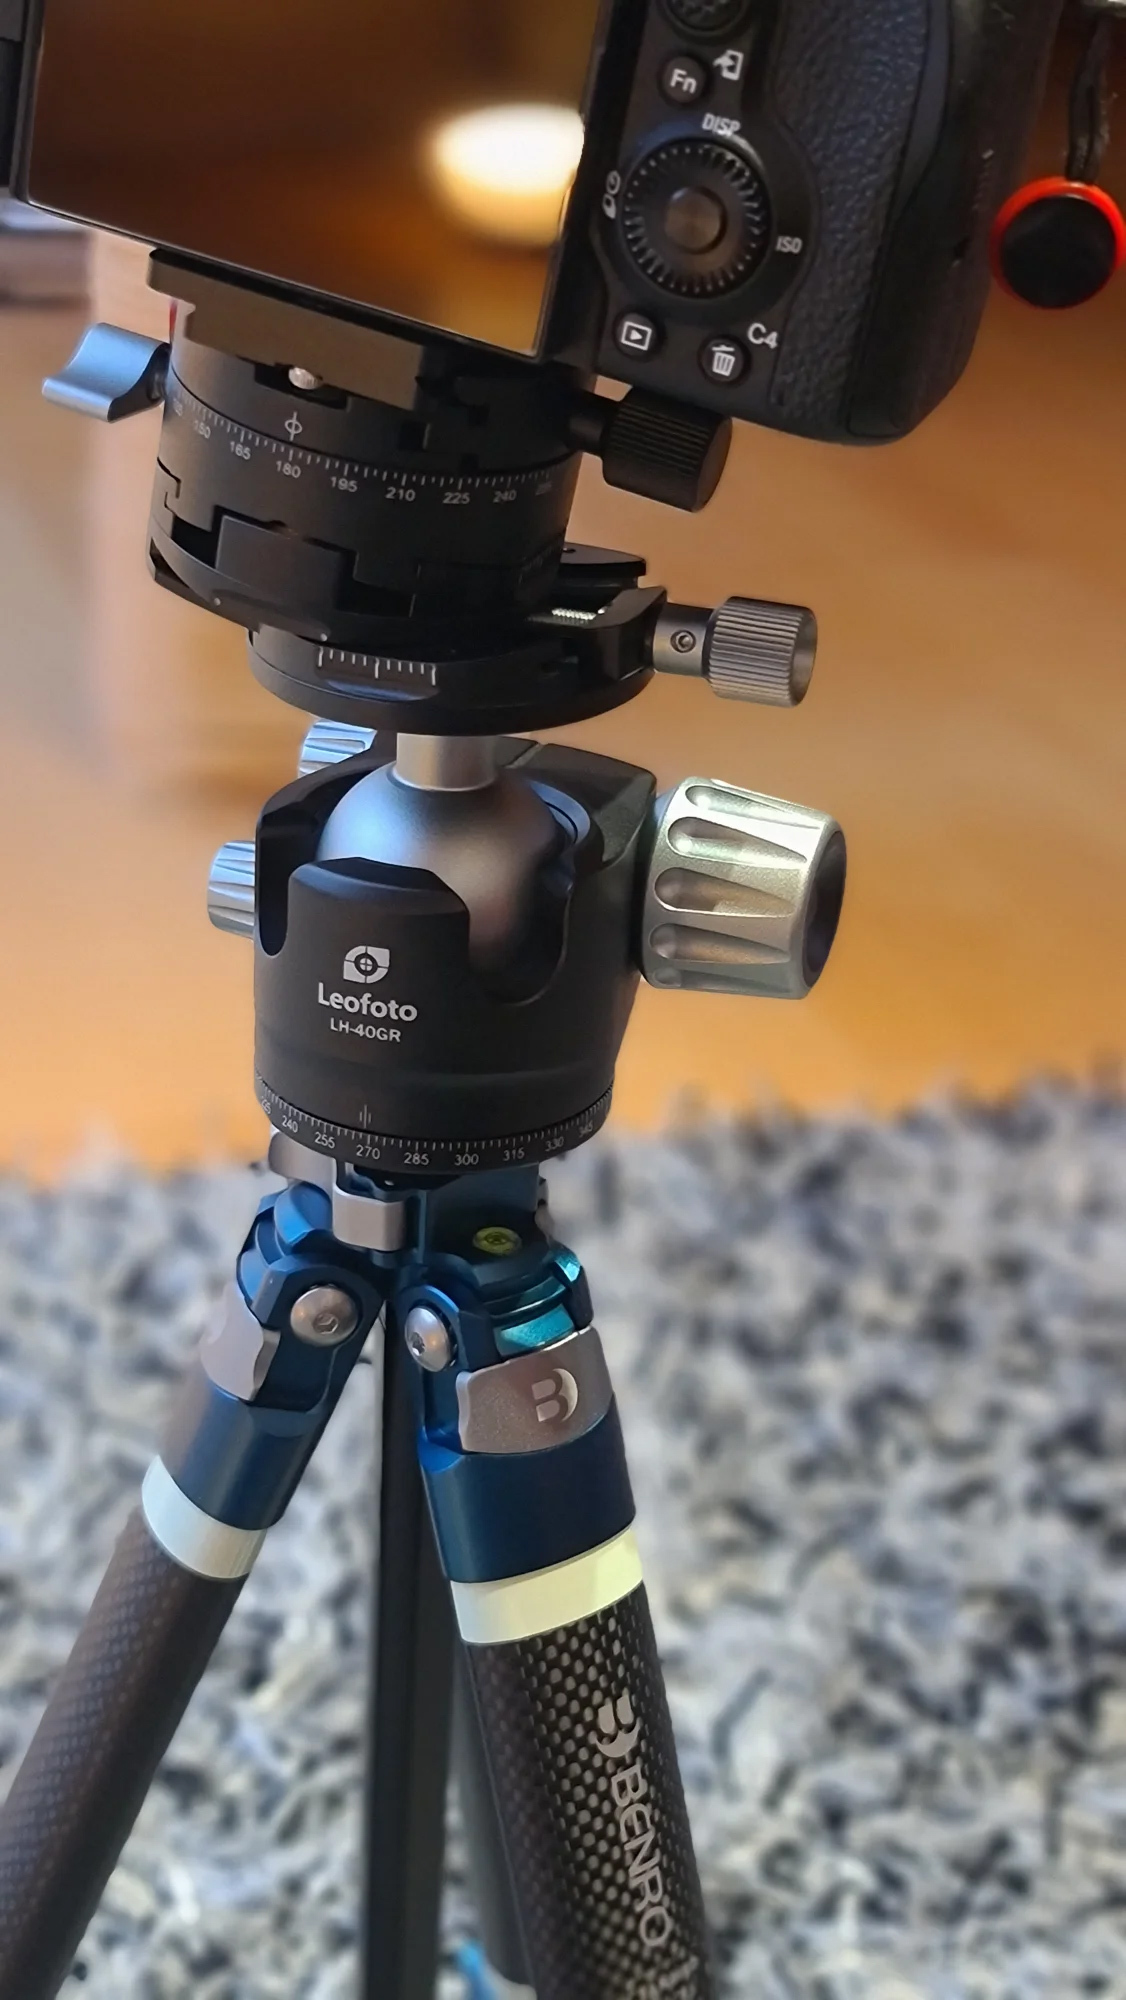
 p.1 #17 · Goodbye Fiddly Ball Heads � Why the Leofoto LH-40GR Rocks p.1 #17 · Goodbye Fiddly Ball Heads � Why the Leofoto LH-40GR Rocks | |
amv8 wrote:
I contacted Leofoto USA, and your hunch is correct. They can't market it in the USA due to a patent. I've been using an Acratech Pan-Tilt head with leveling base for everyday use. It's light, sturdy, and effective for doing landscape panoramas, etc.. That being said, there have been times where I want more precision control on the adjustments (I was in that situation last night). Stefan, since you've had a bit of experience with it over the last few days, what's your approach to leveling/aligning the head as there appears to be only one spirit level on the clamp (which would be occluded when the camera is mounted)?
On a side note, I've admired your work.
...Show more →
That�s really a shame. If someone is interested, I could almost offer to send one from Germany � (just friendly), but I suspect it probably wouldn�t get through US customs.
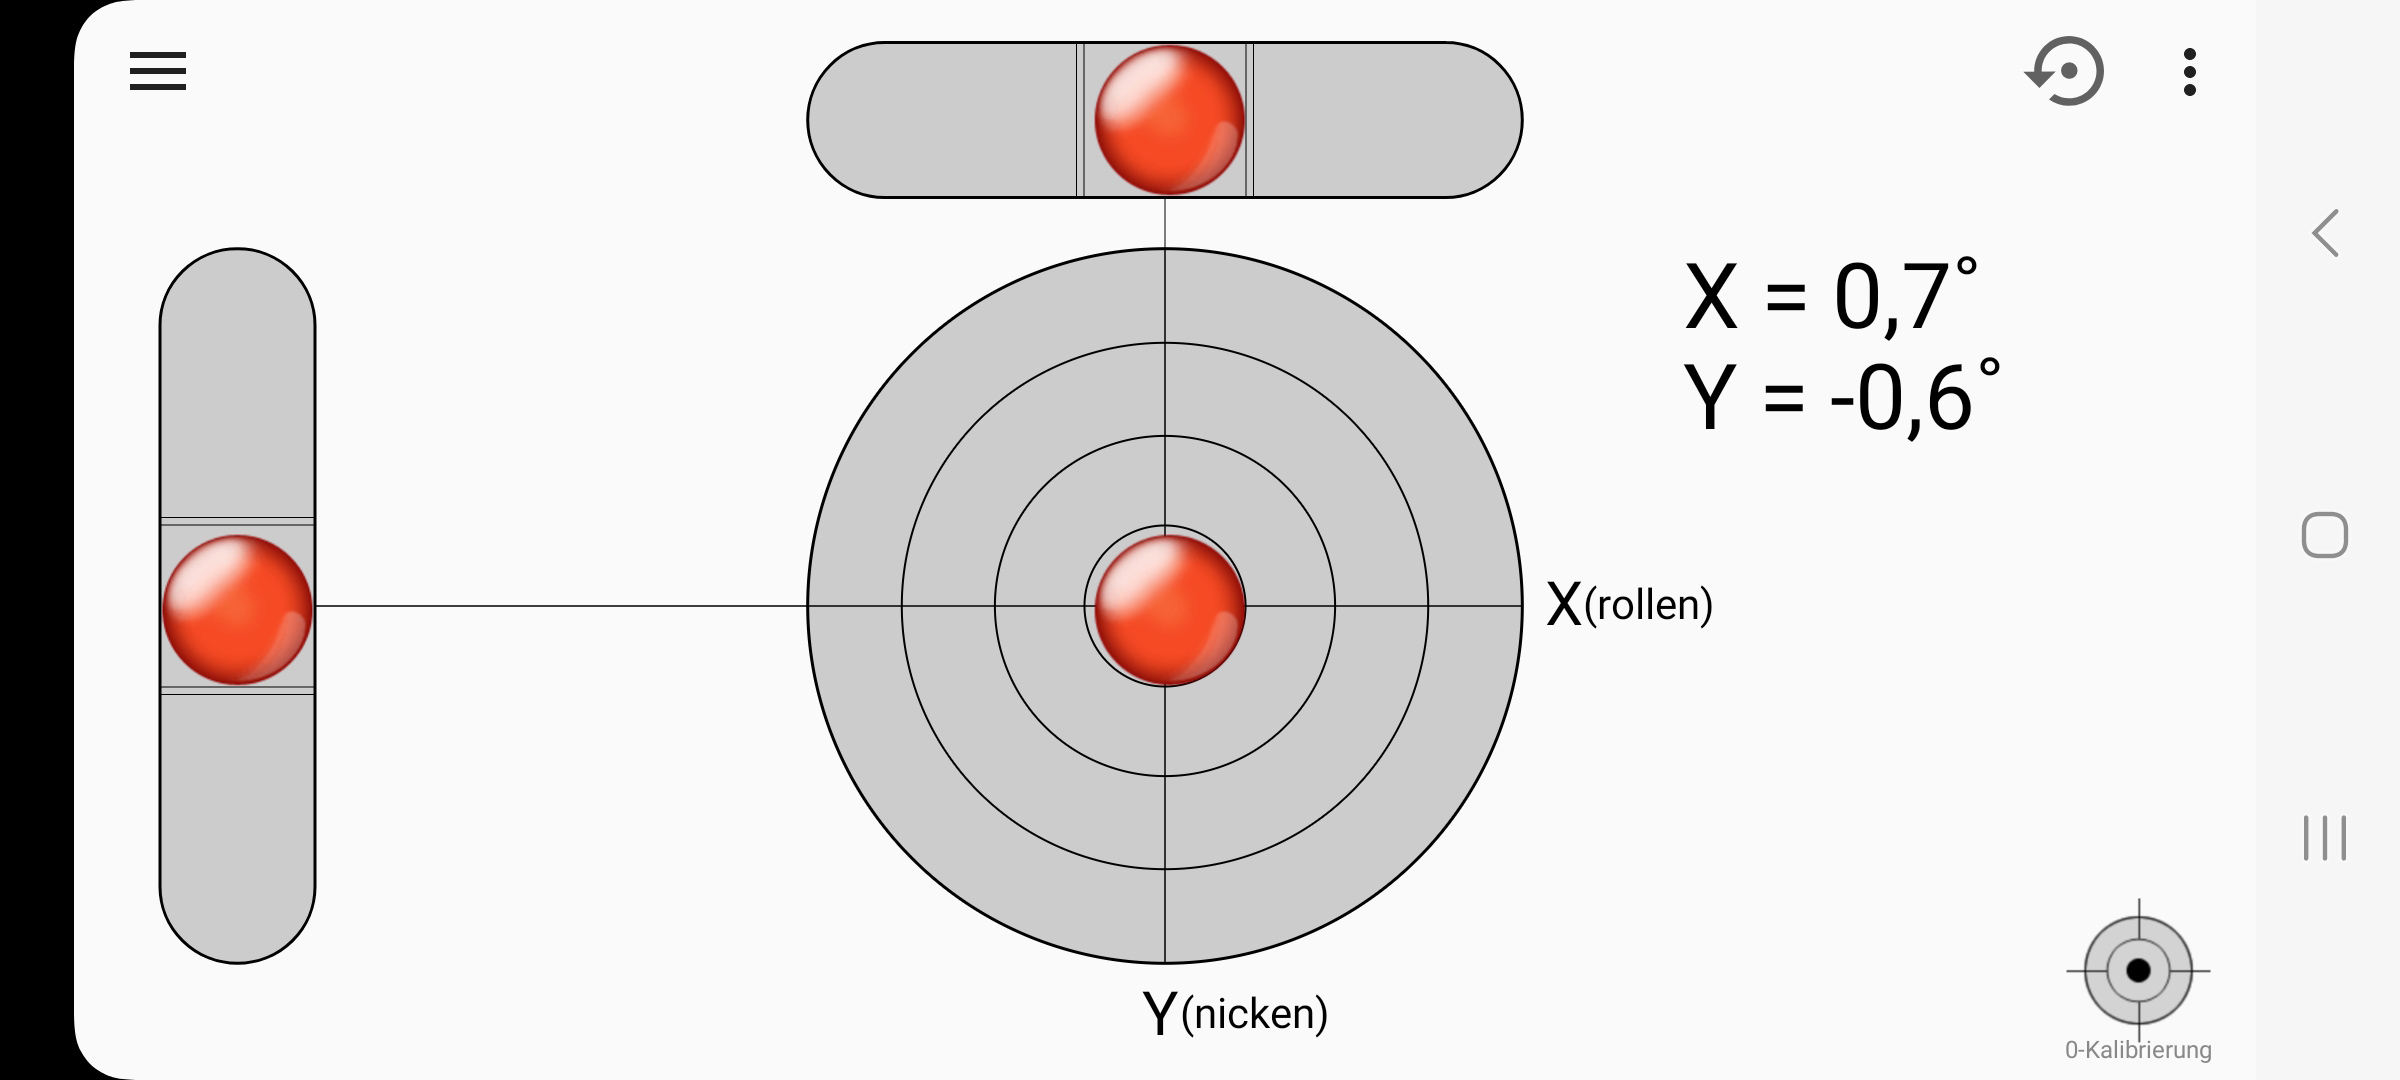
I actually never use these bubble levels on tripods or heads. I�m out shooting a lot at night, and it�s always annoying to have to check with a flashlight. Depending on the angle, the shadows can distort, and sometimes the tripod is positioned so awkwardly that I don�t get a good view at all. Also, many of these bubble levels are only accurate to about 1� � they often can�t do more. Just reading them already introduces inaccuracies depending on the angle of your eye. I think many people aren�t really aware of that.
I always use the built-in level in the Sony A7RV�s viewfinder. I�ve never measured it precisely, but the display seems to move in 0.5� steps. I often wish it could show 0.1�. You can also compensate manually: for example, turn once to +0.5� and then to -0.5�, stopping exactly when the indicator jumps. Mentally count the number of rotations on the geared head, set back half the rotations � that gets you very close to 0.0�. Usually that�s enough.
Through the viewfinder, I then check, for example in architectural shots, how the lines tilt on the left and right edges and whether it�s almost symmetrical. Depending on the subject, I use different approaches.
If extreme precision is needed, e.g., for astrophotography, that�s still not enough. Then I use my smartphone for alignment. It has 0.1� increments and, at least on my model, is perfectly calibrated. I can read the display easily at night without fiddling. Once it�s perfect, I carefully flip the camera onto the head.
Regardless of precision, I really like to frame my composition exactly according to my vision. It�s fun to fine-tune the final framing when the head allows that precision. Through the viewfinder, I can adjust the last degrees up, down, left, or right and consider how the mood of the image is affected. It�s important that the image doesn�t shake while adjusting, so you can track the whole scene clearly and live � otherwise, fine-tuning doesn�t make sense.
Some might say, �You can just crop later in Lightroom, after all, the A7RV has 61 MP.� But it�s also about slightly converging lines, which I often like to use in composition. I enjoy doing it this way because it looks more natural than just photographing perfectly straight ahead. Through the viewfinder, it�s easy to see and precisely adjust. I hope I�ve given you some insight into my approach. It�s important to me and part of my photography. If I only cropped later, I�d never pay attention to details like converging lines that can be accurately controlled with a geared head.
Soon I�ll be photographing the Northern Lights at the Arctic Circle. Here, I�ll mostly use a ball head and won�t worry as much about absolute precision. A day later, for example, during the day in a fishing village, it can be completely different: with ND filters, I want to align everything very precisely and have a very clear vision of framing and image impact. I really enjoy working this way.
That�s why I wanted a head that covers everything: it can be quick when needed, but also super precise and light enough to use anywhere. That way, I always know I have the right head with me, even on long hikes, without worrying about weight. It works for all my photography topics. I like all-in-one solutions whenever possible, but finding the right one can take a long time.
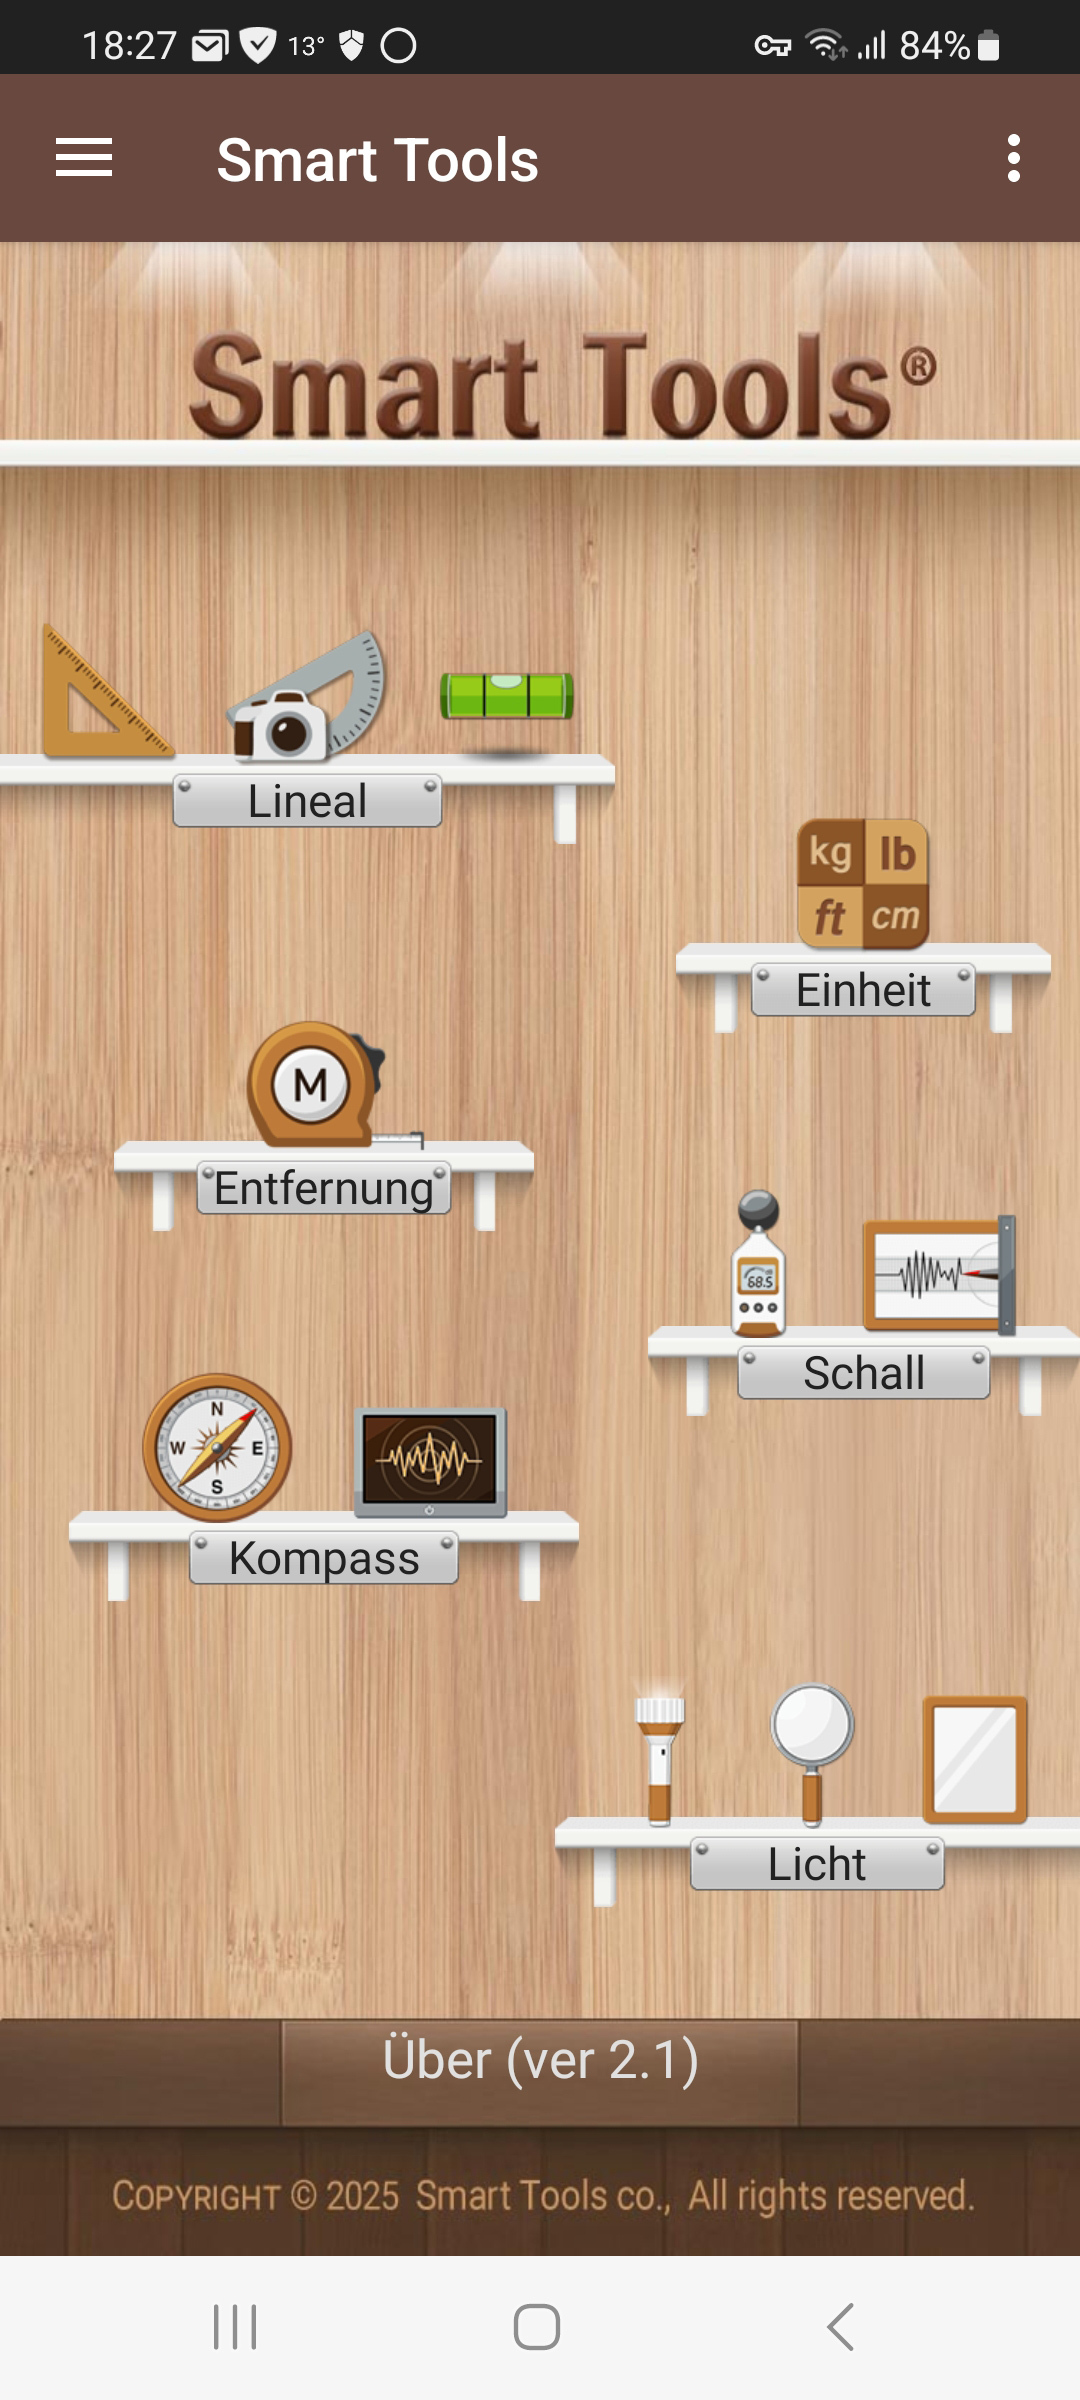
For a smartphone level app, I use this one � I�ve attached two screenshots. Hopefully, the explanation and my workflow help you understand my approach a bit better and get a clearer idea of how I work.
https://play.google.com/store/apps/details?id=kr.aboy.tools&pcampaignid=web_share
|


 .
.