Fred Miranda
Offline
Admin
Upload & Sell: On
|
 p.1 #1 · Anyone shooting with the Leica M-D Type 262? p.1 #1 · Anyone shooting with the Leica M-D Type 262? | |
Update: I've added some new pictures to this first post comparing the M-D to the new M11-D.
I wanted a backup for my M10-R and was deciding between an M9 and an M-D. I went with the M-D, which is based on the M262 body, and I'm really enjoying using it. There's no menu system, no buttons, no settings to change, no Wi-Fi, no Auto ISO, and no screen. 
It feels a lot like shooting with an M7. The shutter dial rotates in the "right" direction, and it has an "A" aperture priority mode. I've always wondered why Leica changed this, since it worked so well on the M6 TTL and M7 film bodies. My guess is that people used to the earlier Leica M film cameras complained enough to bring it back.
The files feel a lot like slide film, there's less highlight latitude compared to the M10-R and M11, but the tonality is pleasant and the colors look bold straight out of camera with the default Adobe profiles. It only outputs DNG files, and only in Auto WB.
Anybody shooting with the Leica M-D? It's my favorite Leica by far.
____________________________
Leica M-D Typ 262 pocket reference
This might only apply to 0.0000125% of the population, but Leica M-D Typ 262 owners just might learn something new here. Firmware 1.1.0.0 (Feb 2021) was the last update Leica ever shipped for the camera, mostly adding 6-bit lens profiles. To check your version, look at the Software field in a DNG’s EXIF data - the camera body keeps it a secret!
Many of the things below I've learned through pure trial and error and you won't find most of them in the user manual:
---
1. Battery percentage on wake
Turn the camera on. Battery % shows immediately in the viewfinder. Half-press the shutter and it vanishes.
2. Firmware update
- Format the SD card (in-camera if you can, otherwise on a computer).
- Copy the .FW file to the root of the card.
- Camera off, card in, bottom plate closed.
- Hold the function button and switch the camera on.
- Viewfinder shows UP. Rear LED stays lit. Can take up to ~15 minutes - do not power off, pull the card, or change the lens.
- Done: UP goes out and the camera restarts.
- Low battery: bc (slow blink). Failed / no file: Err (fast blink). Fully charge first.
3. Set date and time
- Main switch to the self-timer symbol.
- Hold the function button for 12 seconds.
- Year / month / day / hour / minute appear in the VF.
- Function button cycles fields; rear dial changes the number.
- Flip the main switch off the self-timer symbol to save.
4. Clean the sensor
Battery should be ≥60%.
- Main switch to self-timer.
- Hold the function button, then press the shutter. Shutter stays open.
- If the battery is too low you get bc and the curtain does not open.
- Work in a still, dust-free place. Do not touch the cover glass with anything hard.
- Switch the camera off when finished. Curtain closes after about 10 seconds.
5. Toggle battery % and remaining frames
Tap the function button to flip between battery percentage and shots remaining on the card (up to 999).
6. Exposure compensation
- Shutter dial on A.
- Hold the function button and turn the rear dial. ±3 EV in ⅓ stops.
- Compensated value shows in the VF while you hold the button.
7. See that compensation is active
A blinking dot on the left of the shutter-speed readout means EC is not zero. Half-press the shutter to read the current value.
8. Hide the manual-metering "> 0 <"
(This is a habit, not a Leica feature.) Set the shutter dial to B. Metering readout goes away so you can focus and compose without the triangles. Metering returns as soon as you leave B. Take the picture anyway; you will get faster at guessing exposure.
9. T mode (long exposure without holding the shutter)
Shutter dial on B, main switch on self-timer, tap the shutter. After the delay the curtain opens and stays open until you press the shutter again. Meter is off; the VF counts elapsed seconds. Useful with a cable release or when you do not want to stand there squeezing the button. Max is 60 s (ISO-dependent).
10. Frame-selector lever (front of the body)
Three positions preview the other frameline pairs without changing lenses: 28/90, 35/135, 50/75. Spring-loaded - it snaps back to the pair that belongs to the mounted lens. Handy for "would a 90 fit this?" before you dig in the bag.
11. AE lock in aperture priority
In A, first pressure on the shutter locks the metered speed. Recompose, then fire. Same two-stage shutter as every other M.
12. Slow-speed countdown
For exposures longer than ~2 s the VF counts remaining seconds after you release.
13. Auto power-off
From firmware 1.0.0.4 onward the camera shuts itself off after 10 minutes of no use. That is the entire "power management menu".
14. Viewfinder codes worth memorizing
UP = firmware update running / finished
bc = battery too low (update or sensor clean)
Err = update failed or no .FW on the card
Sd = no card / locked / unreadable
Full = card or buffer full
15. What this body actually records
DNG only. No JPEG, no video, no live view, no rear screen, no menu. ISO is the physical dial on the back (200–6400, ⅓ stops). White balance and most other "settings" are whatever Leica baked in. 6-bit coded lenses still get vignetting / profile correction in the file; firmware 1.1.0.0 just added newer lenses to that list.
16. Self-timer for actual photos
Main switch on the timer symbol, press the shutter. Fixed 12-second delay (cannot be changed; the 2s option only exists on the M 262, which has a menu). Front LED flashes for the first 10 seconds. Touch the shutter again to restart the countdown, or turn the main switch off the timer symbol to cancel. Exposure is set immediately before the picture is taken, not at the first press. Same switch position is reused for date/time and sensor clean - that is why those procedures start there.
17. Reset file numbering
There is no menu for it. The counter lives in the camera, not the card or the DNG, and a blank card will not clear it. The body only follows a number higher than its own, so planting a low file like L1000001 does nothing.
To reset the file number, format a card in the camera, then on the computer rename any Leica M DNG to L1009998.DNG. It cannot be L1009999.DNG. The source file does not matter, an M-D or any other Leica DNG works, only the name counts. Make sure it's in the DCIM/100LEICA folder, eject the card properly, and shoot. The next frame writes L1009999 and the one after that wraps to L1000001 in a new folder, and that sticks. Two pictures total to reset your M-D's file count.
18. Limit the card to "film rolls" (macOS)
Insert the card first. In Terminal run:
diskutil list
Find the external SD card and note the identifier (disk4, disk5, disk10, …). Do not guess. The next command erases that entire disk. Replace every disk10 below with your number.
- About 1 roll (36 estimated):
sudo diskutil eraseDisk FAT32 "LEICA M-D" MBR /dev/disk10 && sudo diskutil partitionDisk /dev/disk10 2 MBR FAT32 "LEICA M-D" 1500M "Free Space" unused R
- About 6 rolls - long trip (216 estimated):
sudo diskutil eraseDisk FAT32 "LEICA M-D" MBR /dev/disk10 && sudo diskutil partitionDisk /dev/disk10 2 MBR FAT32 "LEICA M-D" 7930M "Free Space" unused R
To format later without losing the limit, run diskutil list again to always confirm you disk number. If the Leica volume is disk10s1:
sudo diskutil eraseVolume FAT32 "LEICA M-D" /dev/disk10s1
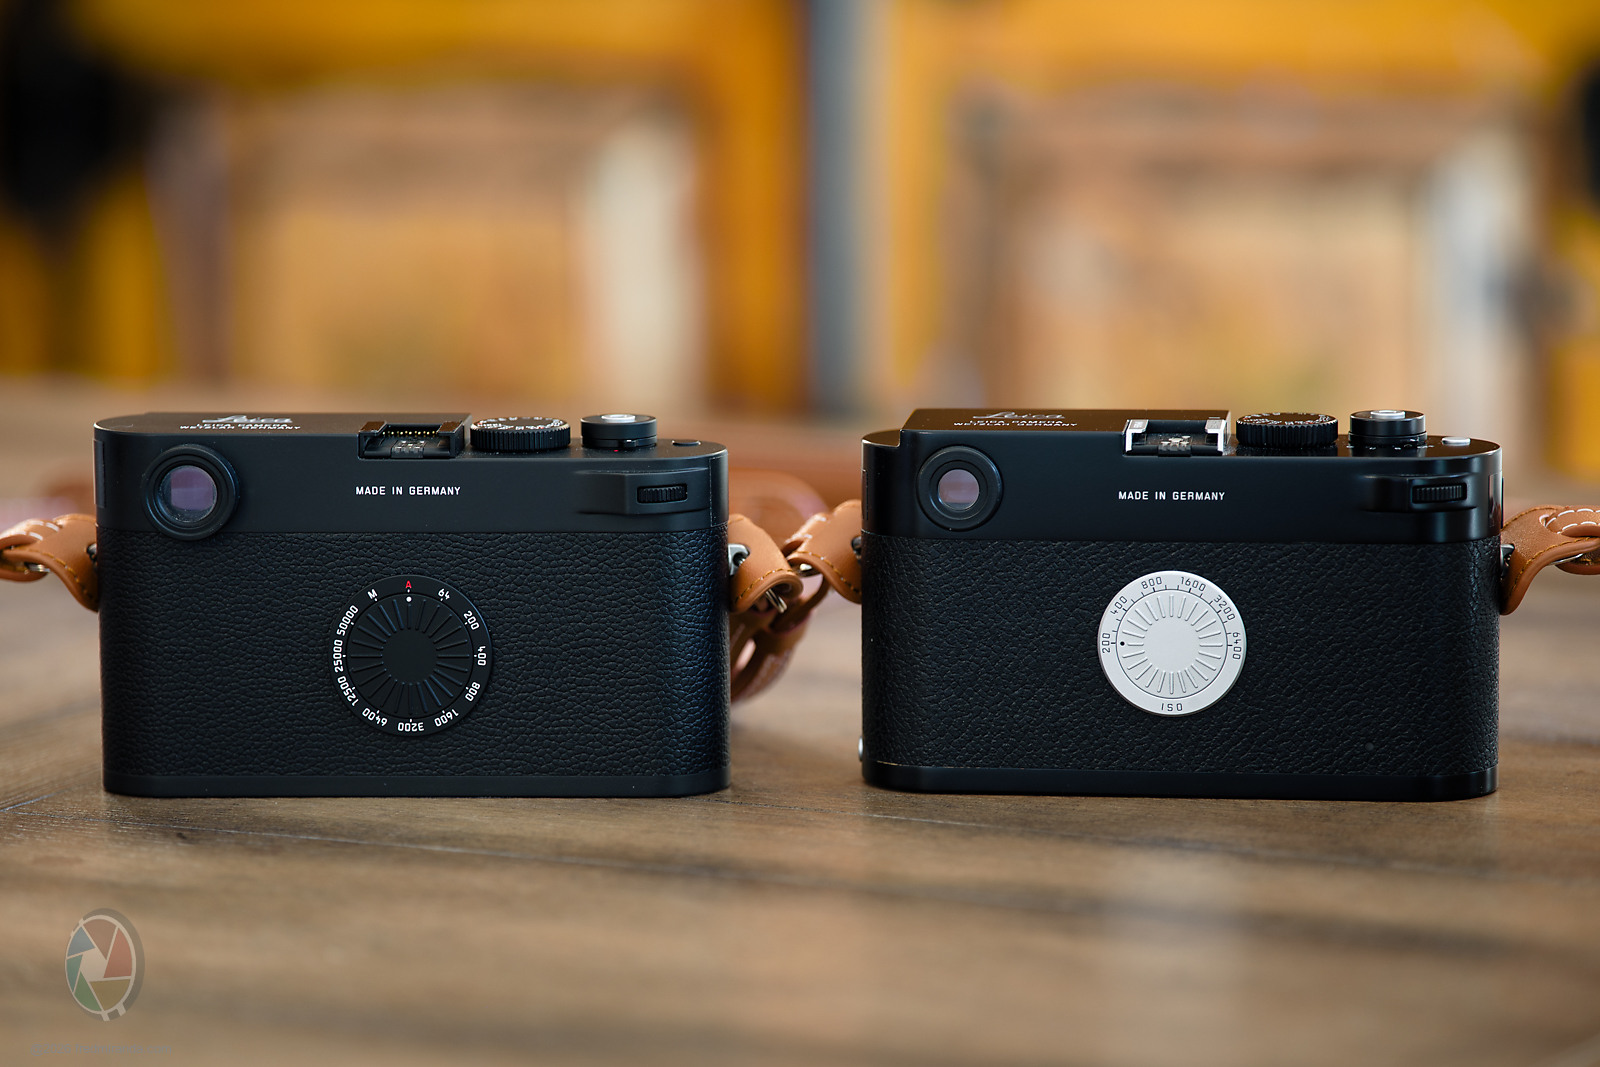
Back - M11-D vs M-D Typ 262: Very similar shooting experience, set the ISO like choosing film ASA. The M-D skips Auto-ISO too, so it feels even more film-like, and its base ISO is 200 instead of 64.
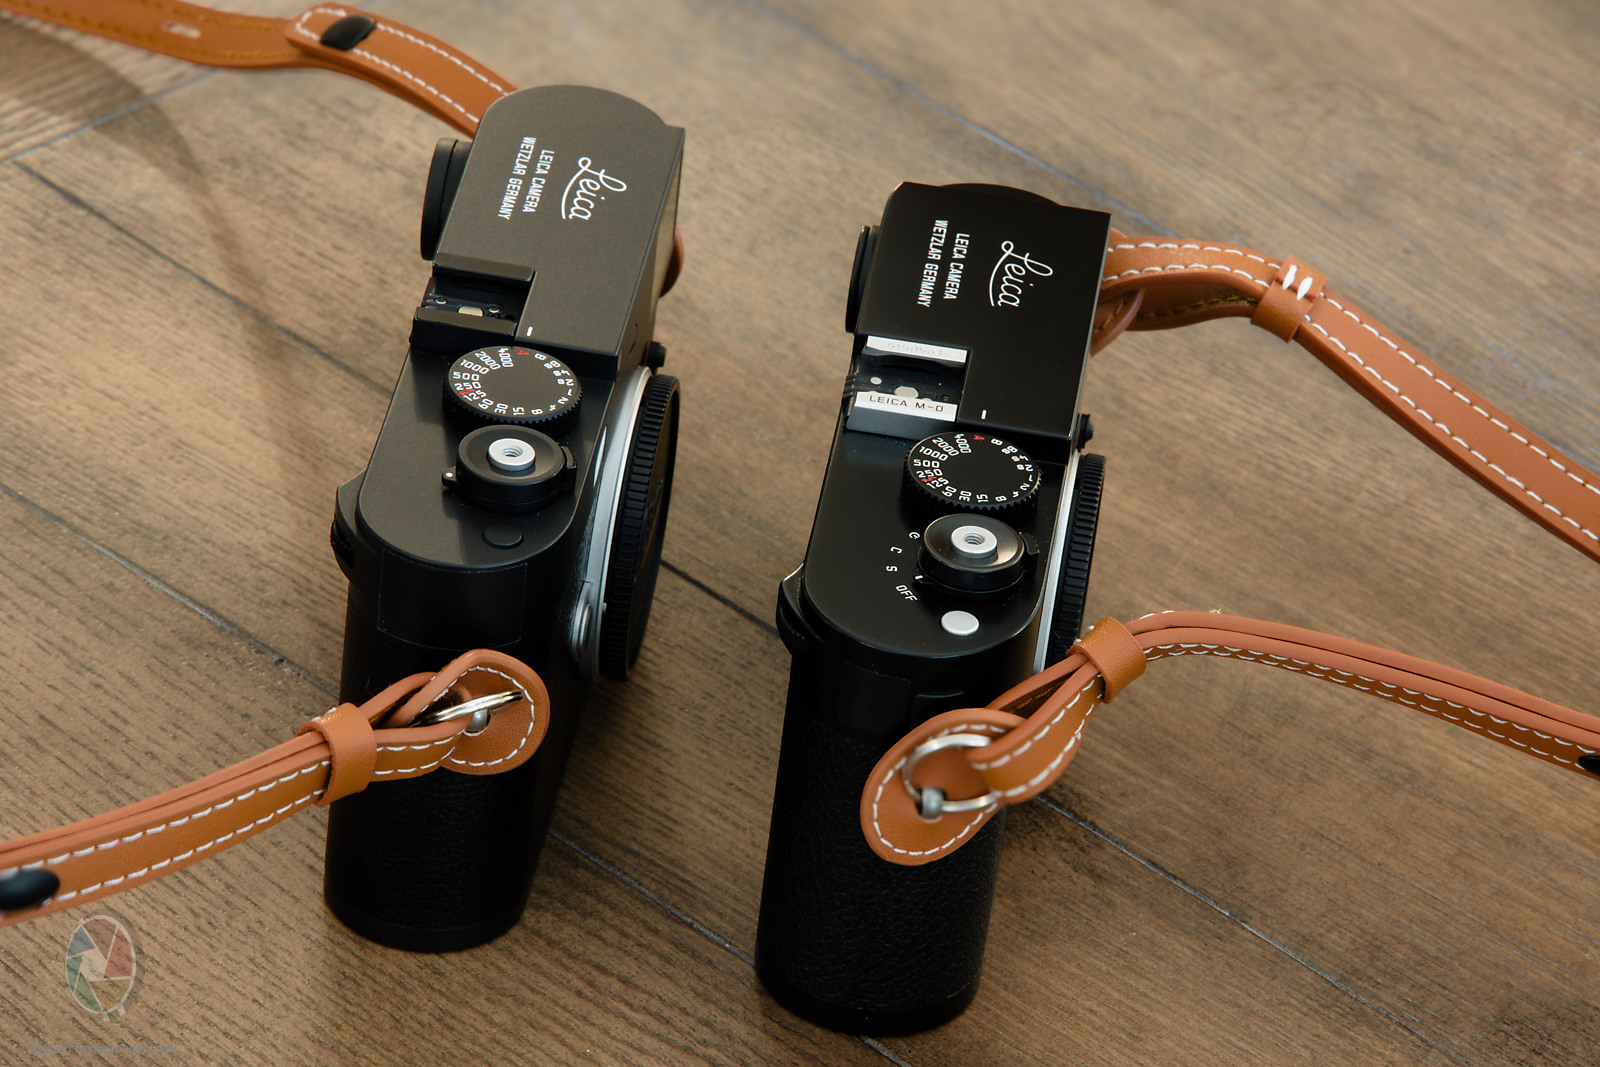
Thickness - M11-D vs M-D Typ 262: The M11-D is about 3.5mm thinner, more a cosmetic win than a grip one. I actually prefer the M-D's slightly thicker body for a better hold when shooting.
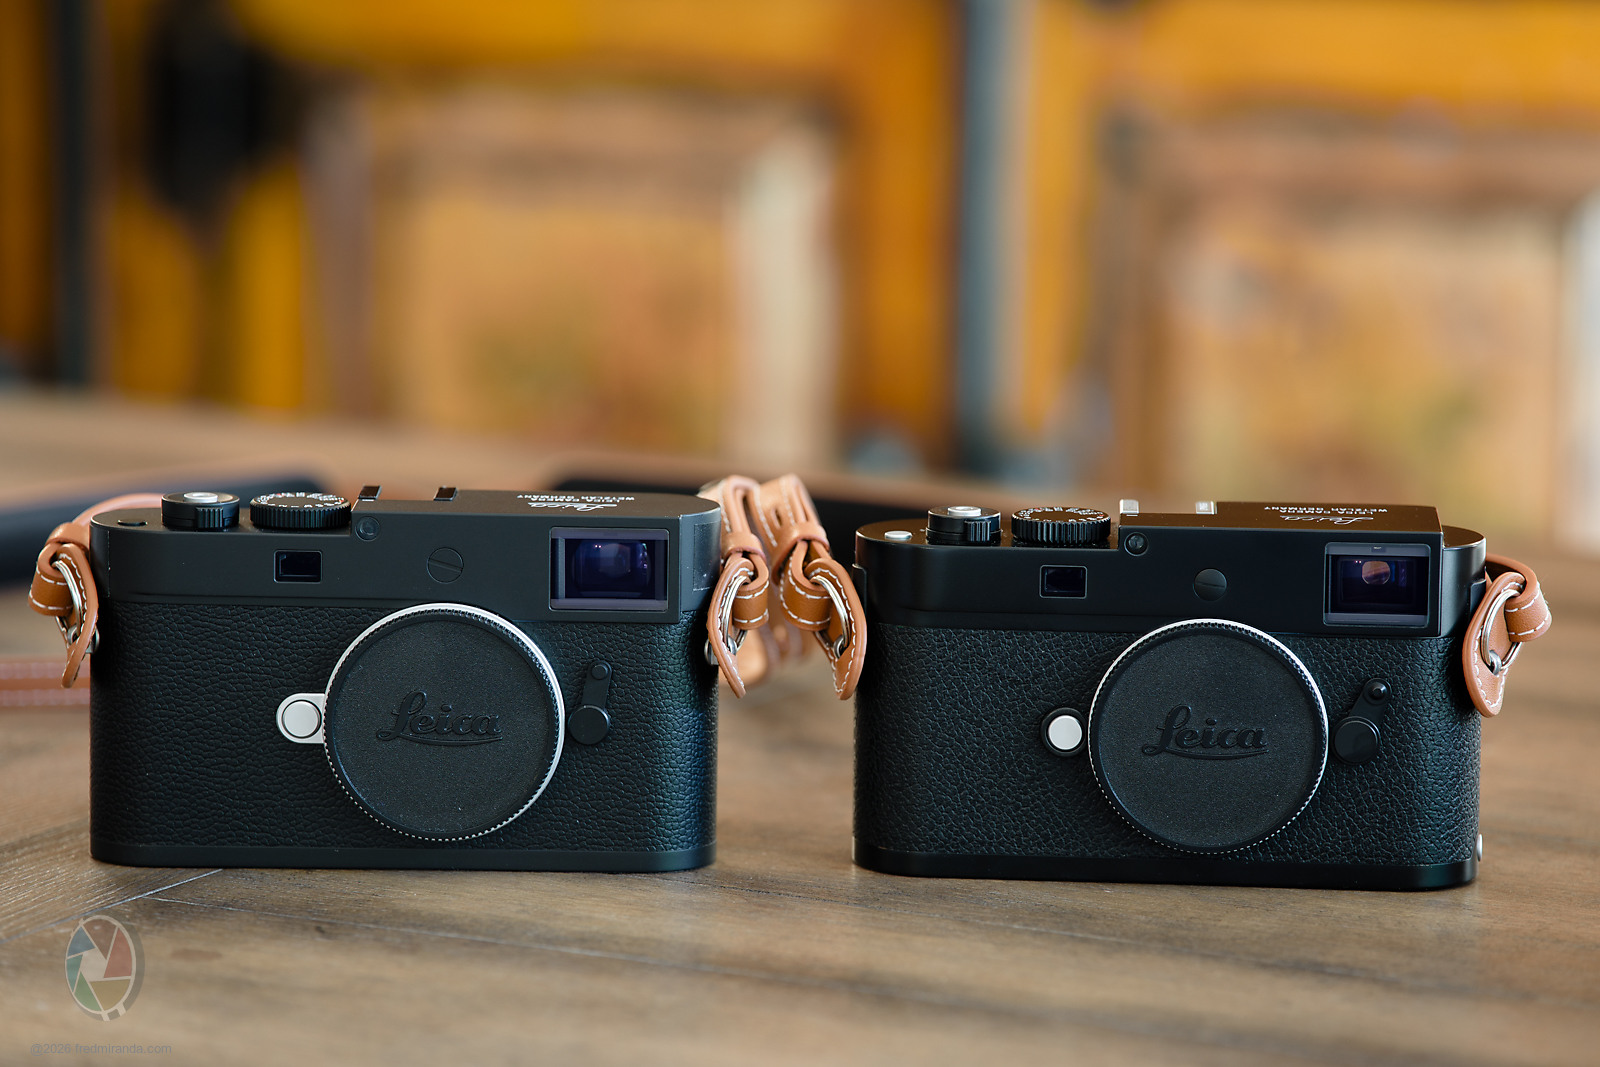
Front - M11-D vs M-D Typ 262: Very similar simplicity up front. The M-D's viewfinder is 0.68x, the M11-D's is 0.73x. Both come in black paint, but the M-D's is glossy black paint over brass.
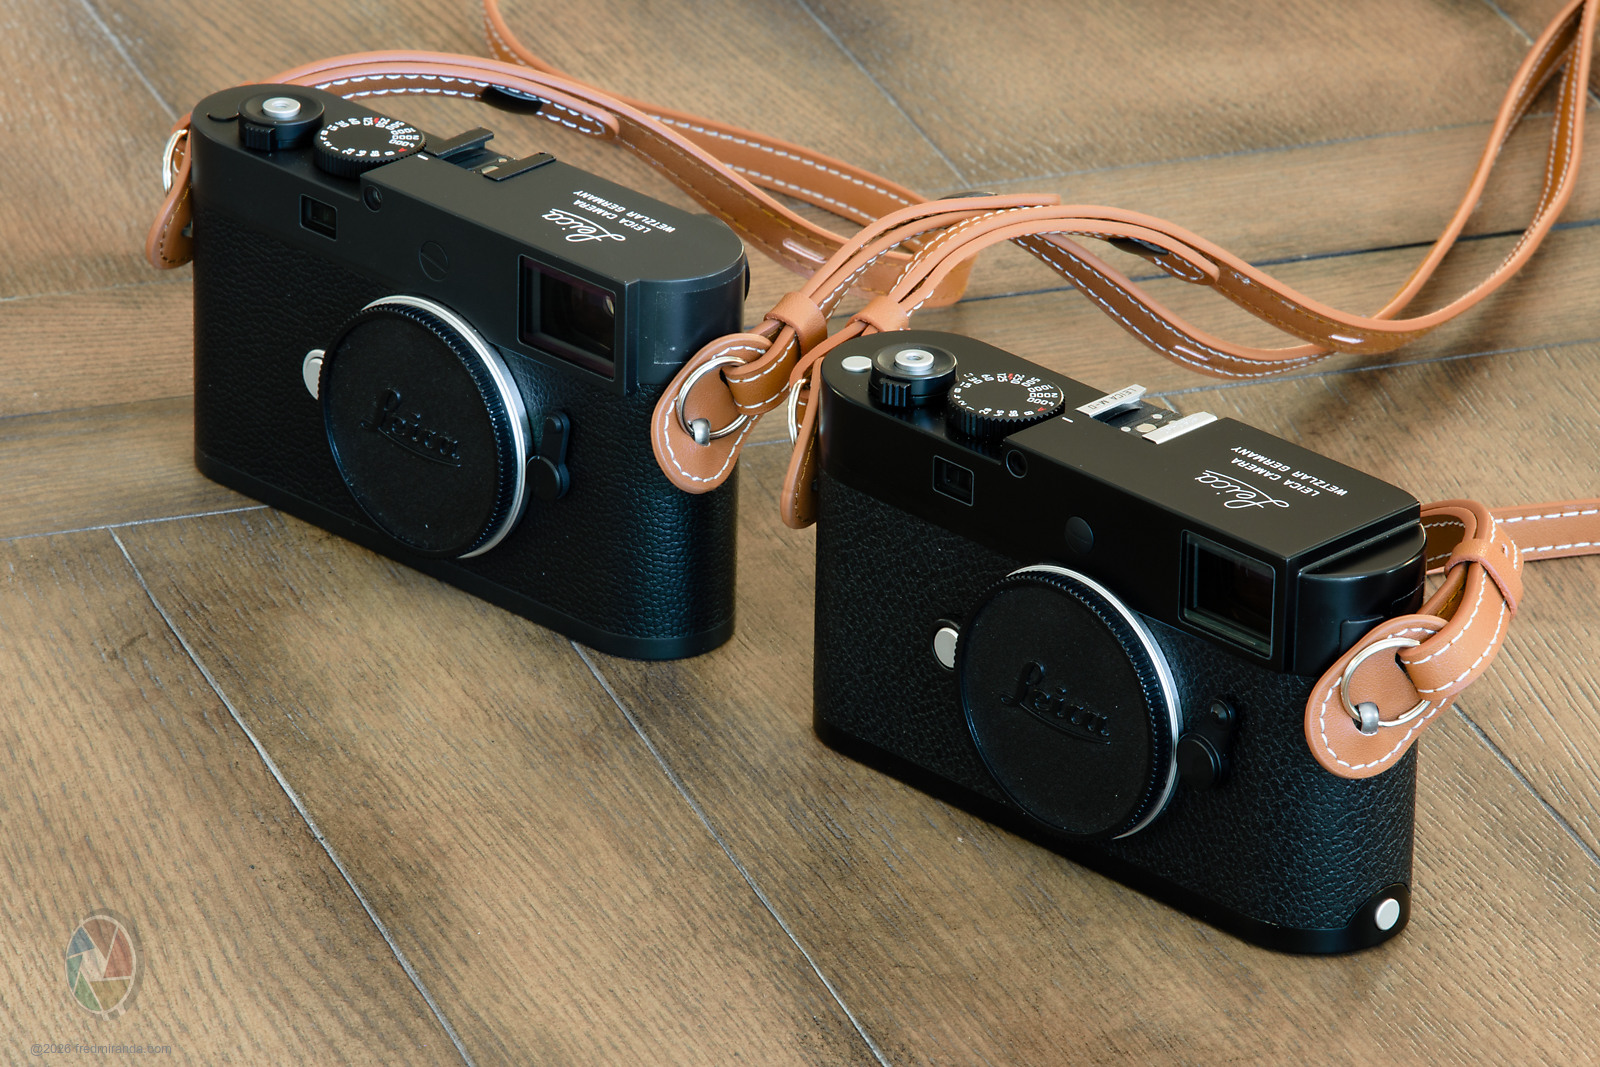
M11-D vs M-D Typ 262: Both have the ISO dial on the back and no pop-up ISO dial on top. Very minimalistic, I love it.
|