The Goods
p.1 #1The Goods
I live in paradise (Florida east Coast) and get the insane privilege of seeing/experiencing what is to me, the most photogenic area in the state. Here are a few.
No generative AI.
Techie Stuff 'll get back to this post later to share some techie stuff, that some may be interested in. I've pioneered a truly cutting edge noise reduction technique that allows photographers to shoot at any ISO without quality compromise, ways to use Adobe Lightroom Classic or Camera Raw to get unbelievable new levels of quality, found ways to NEVER miss the abundant lightning strikes we get here (no more lightning trigger), new far better ways to do long exposures, exploit ultra wide lenses for unique perspectives, and have pioneered too many techniques for print quality to count, to produce quality enlargements (at any size) at levels literally never seen before. I did a 50 FOOT, high resolution image (for a client) a couple months ago that you can look at with your nose on the print and see perfect micro detail, and have found ways to make even small to mid-size prints incredibly better than ever in history. I love my job!
Thank you for looking, be blessed, and get out there!
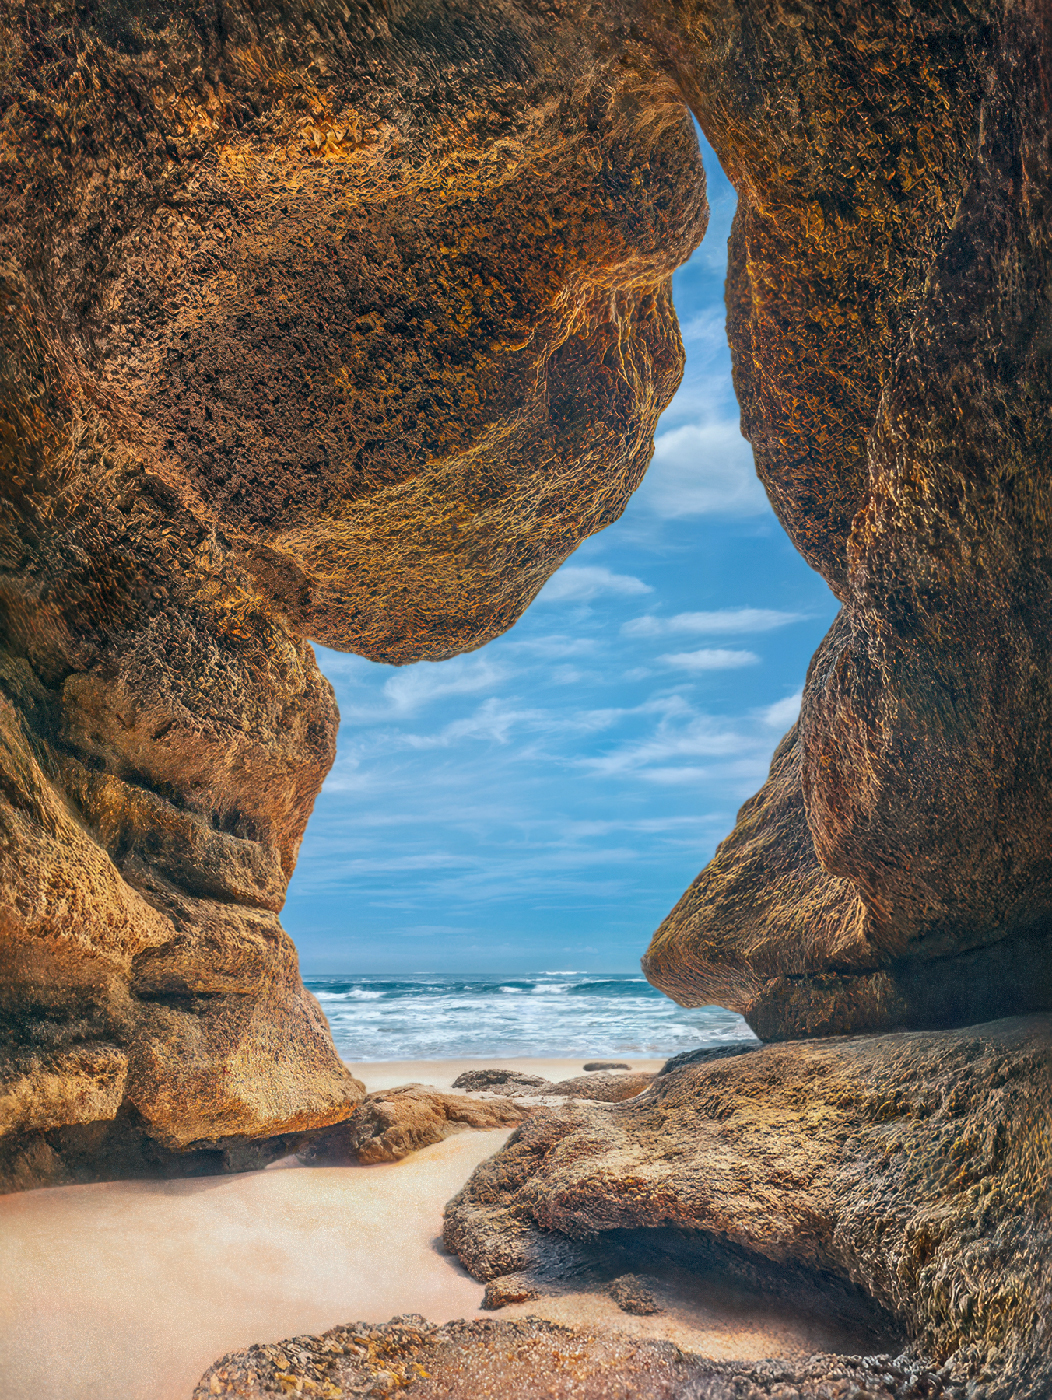
Coquina Cave, FL.
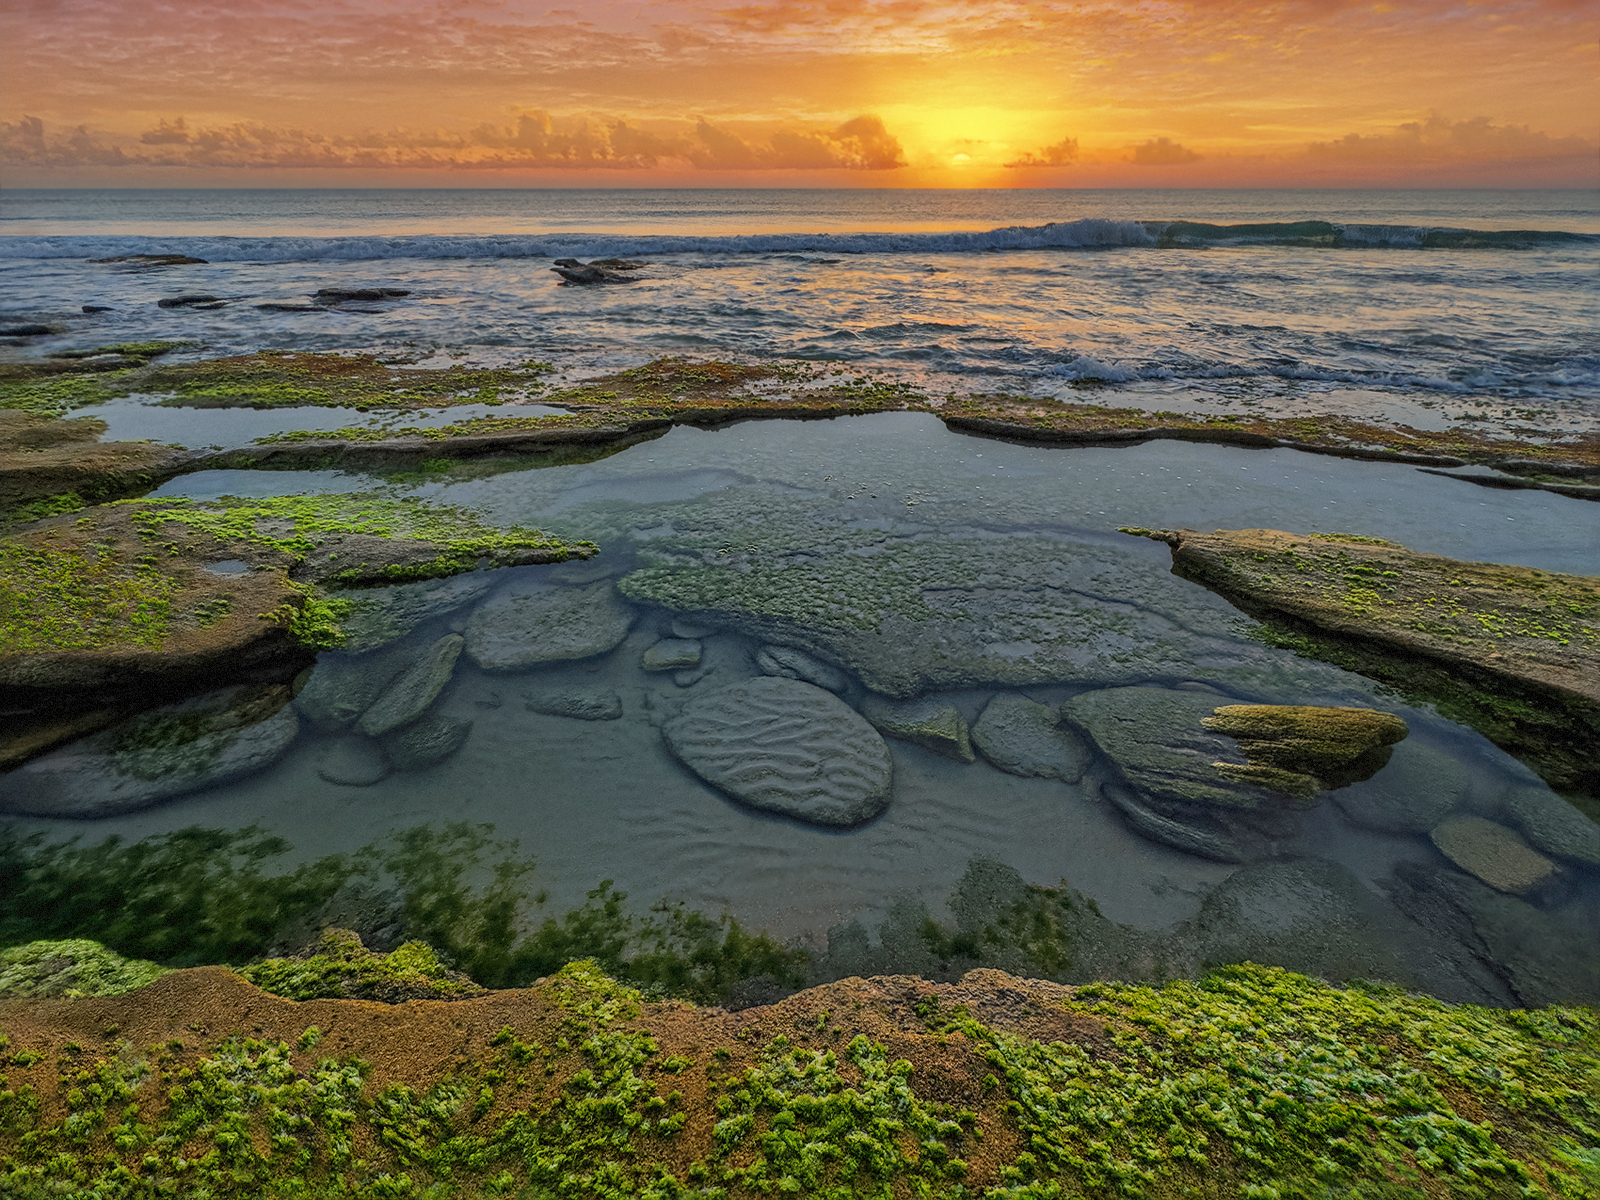
Green Algae morning walk
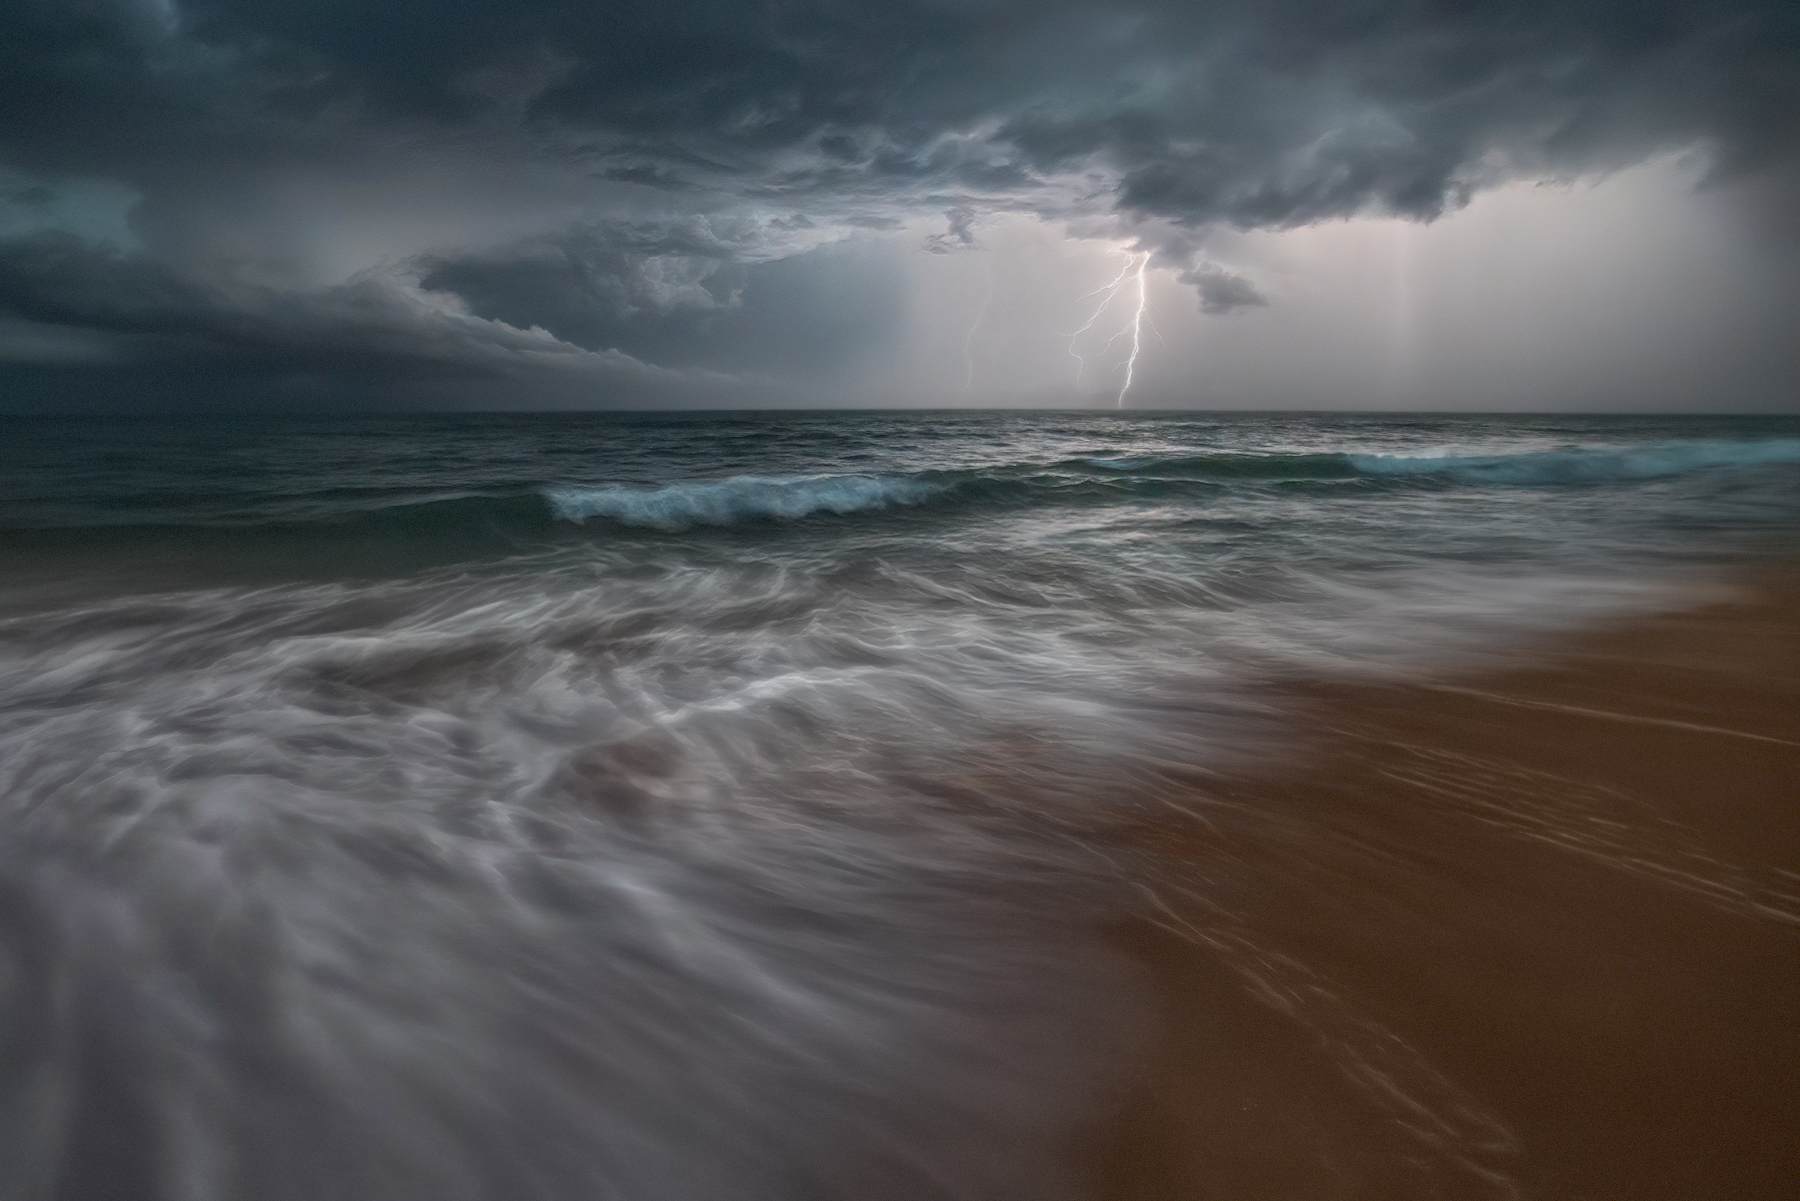
Dark Strike
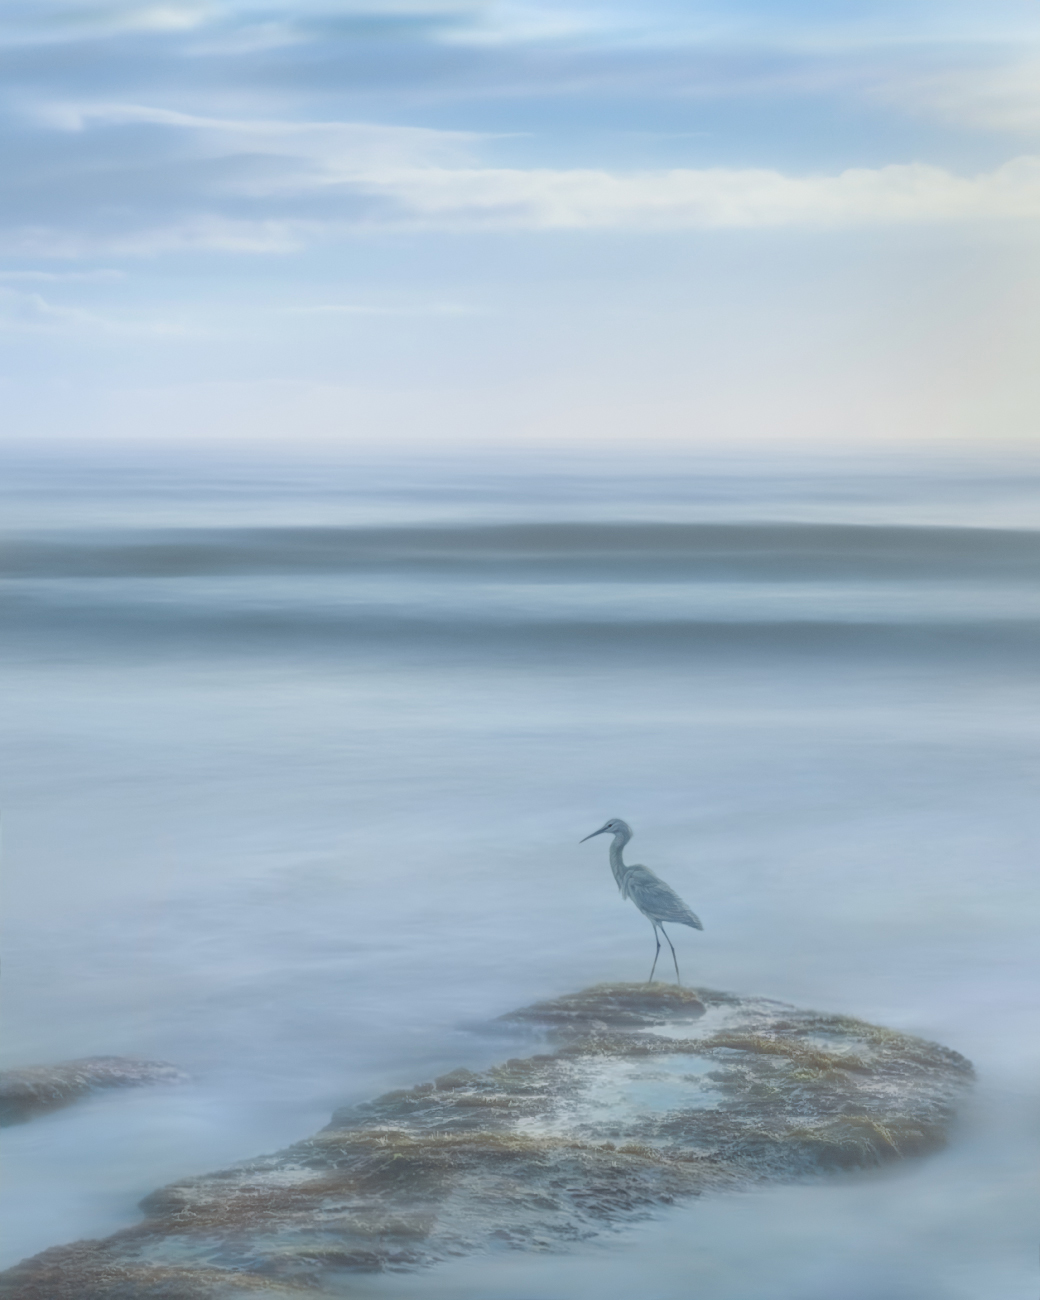
Egret Dreaming - long exposure - yes it stayed still enough!
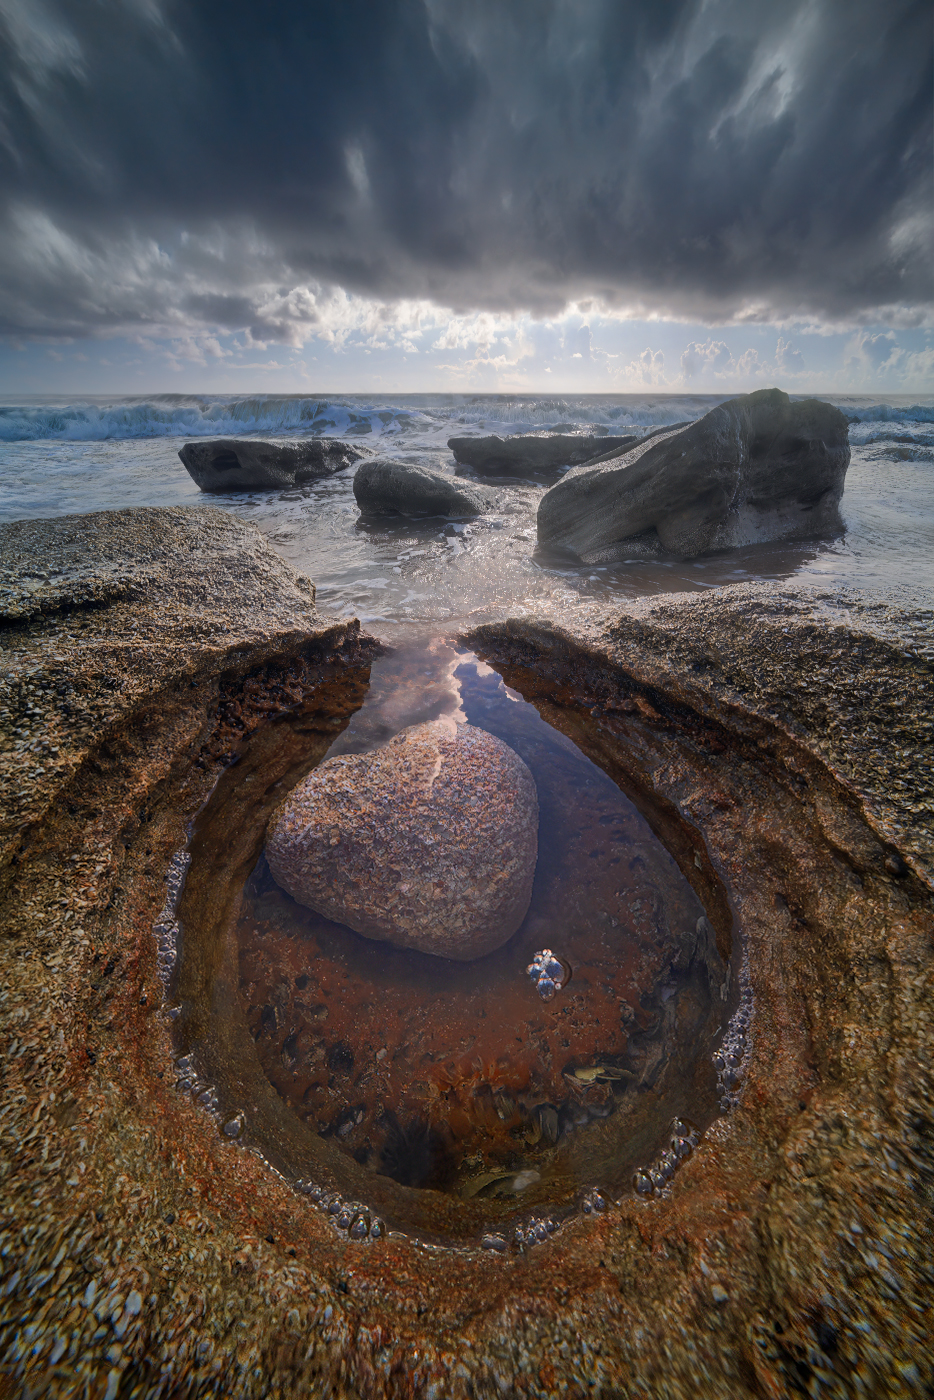
Wild Heart - 9mm - 7 inches from my subject matter that people would not even see
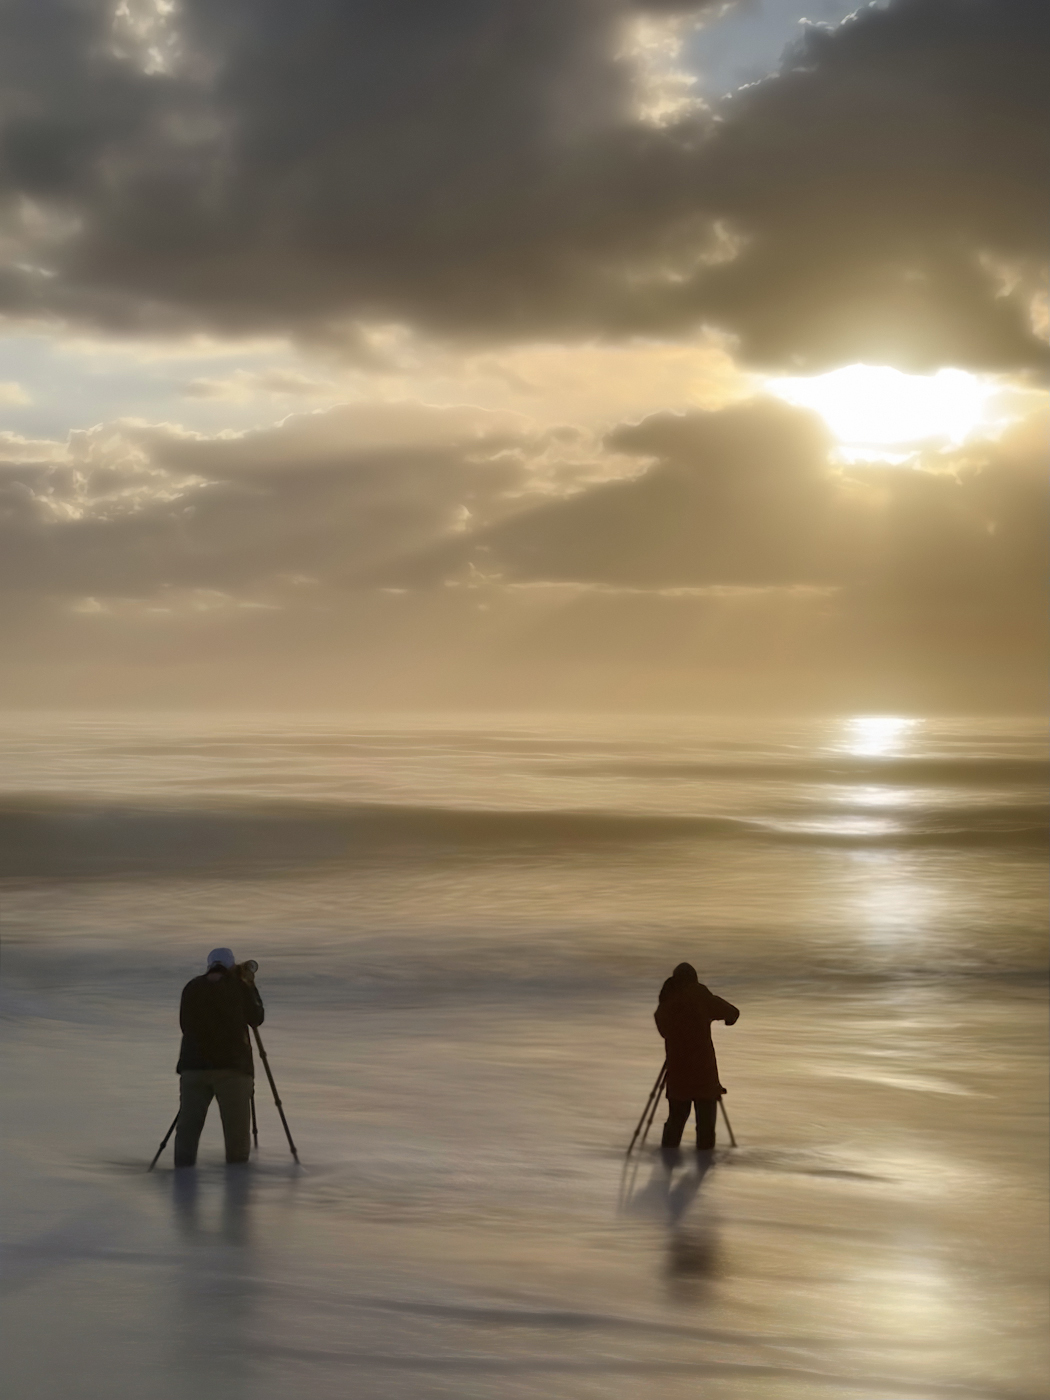
Clients Getting The Goods! - They too stood still enough to grab a long exposure.
No generative AI.
Techie Stuff 'll get back to this post later to share some techie stuff, that some may be interested in. I've pioneered a truly cutting edge noise reduction technique that allows photographers to shoot at any ISO without quality compromise, ways to use Adobe Lightroom Classic or Camera Raw to get unbelievable new levels of quality, found ways to NEVER miss the abundant lightning strikes we get here (no more lightning trigger), new far better ways to do long exposures, exploit ultra wide lenses for unique perspectives, and have pioneered too many techniques for print quality to count, to produce quality enlargements (at any size) at levels literally never seen before. I did a 50 FOOT, high resolution image (for a client) a couple months ago that you can look at with your nose on the print and see perfect micro detail, and have found ways to make even small to mid-size prints incredibly better than ever in history. I love my job!
Thank you for looking, be blessed, and get out there!
Coquina Cave, FL.
Green Algae morning walk
Dark Strike
Egret Dreaming - long exposure - yes it stayed still enough!
Wild Heart - 9mm - 7 inches from my subject matter that people would not even see
Clients Getting The Goods! - They too stood still enough to grab a long exposure.
Jun 27, 2026 at 02:50 PM
p.1 #3The Goods
Impressive image set - two thumbs up again
Highly desirable work - excellent composition
Highly desirable work - excellent composition
Jun 27, 2026 at 04:10 PM
p.1 #4The Goods
All are quite impressive but that motionless Egret...that one does it for me! I note you get some great work out of your 9mm. Well done!!
Jun 27, 2026 at 09:34 PM
p.1 #5The Goods
Those are all spectacular Mark, can't even pick one - they're all equally stunning!
Jun 28, 2026 at 05:31 AM
|
p.1 #6The Goods
Thanks, brother.
guidostow wrote:
Dazzling set of images Mark! Wonderful work...
guidostow wrote:
Dazzling set of images Mark! Wonderful work...
Jun 29, 2026 at 08:07 PM

p.1 #9The Goods
Because I said I would explain some of the technical stuff, here is a little info on the first photo and a crazy cool tip for lens edge softness!
That “cave”, you could almost fill up with your foot!
Because I walk the beach across the street from where I live almost every day, and I live in the most photogenic area for seascapes in all of Florida’s thousands of miles of coastline (in my opinion) I literally have a strip of endless possibilities of at least 2 miles to explore daily. Because it’s like an incredible playground for me, I often bring my iPhone, and as soon as it finally had an ultra wide angle (12mm) I started putting my phone in crazy places for fun, at 12mm. In holes and in channels and all sorts of things. It’s just like a kid on a playground. I got so into this for a while that I bought a remote trigger because sometimes it’s hard to get my body in the right position to put my camera down inside a hole and trigger it.
Then, in this case, I loved the composition so much that I came back with my Leica SL2. And I used the Canon 11 to 24, at 11mm and did a focus stack. That was a little bit tougher to do with a bigger camera.
Then, because the 11 mm makes the ocean look so far far away, and not like reality, After I took the photo, I just put my camera on top of the rock and shot the same waves at 24 mm.
So it is also a focal blend.
My goal for the future attempts was to get water coming all the way up to my camera (and retreating long exposure) so I started studying the tide height that I would need. But then just one high tide, and there were some big rocks in front of this composition.
I haven’t checked it recently, but when I checked it, it was not possible.
I literally have hundreds of these shots now that I haven’t shown yet to the public. And the 9 mm is opening up wild worlds that just blow my mind! Next time I post one of these, I will try to post a little bit of video so people can see what it actually looks like to take one of these photos.
All I can say is that there is a great world of photo opportunities with the ultra wide angle, put into very small spaces, that look incredible but you can NOT know unless you go out and put your camera all over the place! So fun!
And that’s why using the iPhone is so good at just testing all kinds of compositions (which I do almost every morning when I do my morning walk on the beach). Endless exciting things to do!
So this image was taken before I had refined the techniques further.
I hope it helps someone or opens up a new world of creativity for some. I am 100% addicted to that 9 mm! I could do it every day the rest of my life!
And as far as any color issues or softness in the corners, I have found some really cool ways to deal with that very easily.
COOL TIP: So you have a lens that is softer in the corners? No biggie! Try this:
Process the photo in Adobe Lightroom Classic. Always choose “raw details“ which is better demosaicing.
And after you have done the best you can with it, always keep the sharpening off! But open it into Photoshop.
*Now go back to that raw photo in Lightroom Classic, and choose “super resolution“.
This does some AI upscaling that also, to a
substantial extent, enhances most types of details.
*Here is the cool twist: take the same photo, and use “super resolution” and on this one, use the detail tab (sharpening) in Lightroom and slide the “radius” to the left, and the “detail” to the left (this pins/prevents any potential halos) and generally, you can turn the “amount” all the way up (trust me for a moment!), and use no “threshold.”
Import that into Photoshop as a separate second file.
Make careful note of the pixel dimensions of your original file. At least the longest side. Maybe write that down…
Then in Photoshop under image/image size, choose the “pixels”option, and downsize the photo to the same pixel size as your original. And before doing so, in the pull down option, choose “nearest neighbor”. This algorithm can make images look a little bit too detailed, too crunchy, too finely detailed… when downsizing.
But go ahead and size it down to the same size as your first file.
Then copy and paste it into your first file. Have it as the top layer. Put a black mask on it to hide it.
Then you can just brush (or graduate) in just the right amount of the super resolution, nearest neighbor into the corners! 😮🍾👏
When done with care, this can work quite often to the point where the edges of your various lens are actually more detailed than the middle! 😲
This is one of the easiest ways to do it, and in most cases can make lens fall off a total non-issue! Yeah! 👍🏼
Have fun out there!
Jul 11, 2026 at 12:35 PM