CharleyL
Offline
• • •
Upload & Sell: On
|
 p.23 #11 · New macro shooters Post pics here . p.23 #11 · New macro shooters Post pics here . | |
@misterboxhead,
Yes, I've wanted a studio of my own for my whole adult life, but my paying job requirements (Automation Engineer-(EE) and the cost of raising 4 kids made it impossible, until about 5 1/2 years ago. After High School Graduation I worked that Summer as the stage manager (one man everything, but with a helper) for an Off Broadway Summer Theater, and used the stage with all of the curtains closed a few times as my studio, and rented a studio for a few times, but I never actually owned my own studio, until I built this one. It's in what was a second master bedroom suite, upstairs in my home. There is another slightly smaller master bedroom suite downstairs, which we use for our bedroom. This upstairs room is small when compared to most studio photo/video studios at 19 X 26' but quite large for what it once was. The upstairs hallway is large too, so it's now the hair/makeup/break area. Well at least where the drinks and snacks are located. The actual breaks always seem to end up in the shooting room (former master bedroom). There is a walk-in gear closet, and at present a partially finished bathroom off the shooting room through doors behind the camera. Another very long closet is off the hallway, but it's mostly storage for family needs. My biggest limitation has been the ceiling height, which is eight foot. Ten or twelve foot ceilings would be great, but cost prohibitive, since the roof is directly above and a complete roof restructure would be required. So I'm "making do" with what I have.
I'm very retired now, having "retired" five times, as each new job offered after my first retirement was either something that I have "always wanted to do", or that paid way more and with better benefits, making them too good to refuse. When the last of my children moved out to start a life of their own, I realized that this, now empty, very large master bedroom suite could make a small, but acceptable, photo/video studio, so I set about designing and fitting out this space to become my long desired studio.
I wanted to be able to provide pro level photo and video capability for my family and close friends, as well as a place for me to experiment with new lighting ideas and kinds of photography that I have done very little of previously. Still Life, and Macro were two of these. While my kids were growing and my photo budget was very tight, I was using my living room as a studio whenever the need arose. I would push the furniture aside, drag my photo gear out of the back of a closet, use an ironed bed sheet as a backdrop, and shoot away, but then after only a few hours I would have to return everything to normal again and pack the photo gear back in the closet "Until The Next Time". Trying to get good results for "Still Life" and "Macro" shoots in the film days was very difficult to do when I couldn't see the results of the shots for several days, yet had to pack everything up and put all the gear back in the closet and return the living room to it's more normal arrangement, so the kids could access the TV again. This made "Still Life" and "Macro" shoots indoors nearly impossible. Now, I can see the results almost instantly with digital cameras, and try again, or leave everything set up so I can return tomorrow or the next day and try again, exactly from where I left off. This is the true benefit of having a dedicated photo/video studio in my home.
For safety, minimizing studio trip hazards was very high in my studio design requirements, and I thought a lot about this before starting to build my studio. Tripod light stands, camera tripods, and cables running around on the studio floor, and needing to work in the dark, or nearly so, and my walking abilities at my age (now 83) required that I come up with a design that would minimize or best, eliminate these hazards somehow. So I built a ceiling lighting support system attached to the studio ceiling that's 10' wide and about 22' long. I added power strips on the ceiling running both sides of this ceiling lighting support grid so there would be an minimum need for power cables on the floor. Even when a light is on a light stand below, power can come from above it within 5' of wherever the light needs to be located on the stand below or when hung from the ceiling lighting support grid. It was built using 1 X 1 X 1/4" steel angle and I spaced it down about 4" from the ceiling. There are 5 steel angles spaced about 4' apart running parallel with the backdrop system. Using 5' long pieces of this same steel angle, I can bridge between any two of these 10' steel angles, so I can hang a light almost anywhere from the ceiling grid. I use "Electricians Beam Clamps", a sort-of small C-Clamp" with two 1/4-20 or 3/8-16 threaded holes at 90 deg to each other, and a 5/16 bolt that secures this little C-Clamp to the steel angles at any position desired. Two of these "Beam Clamps" bolted together let me attach the 5' long angles to the 10' long steel angles to secure them, with the 5' angles positioned above the 10' angles so if it does some loose, it won't fall.
I also use one of these Electrician's Beam Clamps to hang a light from one of these steel angles. I modified my tripod light stands, so each now has a 1/4-20 threaded stud hanging out of the bottom of the center column of each light stand. A snug fitting piece of wood with a 1/4" center hole was epoxied into the bottom of the light stand center column and then a 1/4 X 1 1/2" Hanger Bolt (a no headed bolt with 1/4-20 threads on 1/2 and wood lag screw type threads on the other, screwed into the center hole of the wood until only about 1/4" of it's length is exposed. I can attach the light stand "Upside Down" to the ceiling grid and extend the light stand legs up against the studio ceiling for stability. Then I attach the light in the usual way, but upside down, to the light stand. Power for the light comes from above within 5' of anywhere on the grid that the light is hung.
Even my tether cable runs along this ceiling grid to a point over my usual shooting position, with enough slack to allow free movement around the camera half of the room. When carrying the camera, the tether cable rarely touches the floor. The computer end of the tether cable drops down to my computer, located on a computer table in the corner, camera right, in the studio. For anything hanging from this ceiling lighting support grid, I always use a loop of safety chain around a sturdy part of the light and up over the ceiling grid. I never trust the "Spigot design" of the light to light stand connection, since if this connection should fail, the light will never fall to hit someone or the floor.
I now have a 10' wide powered backdrop system that holds six 10' wide backdrops. It is operated by a wireless remote at the camera stand or the camera tripod. I can change backdrops during a portrait shoot without the model knowing that I did it, until they see the shots. I have a 60" Smart TV on the wall above my computer that's connected to the computer as a 2nd monitor. When I take a portrait shot of someone, they see the shot on this TV within about 8 seconds, and it only takes a few shots before they significantly improve their own poses.
For video work I wanted a near shadow free stage area, so I have eight LED Light Panels attached to the ceiling lighting grid in a kind-of wide leg "U" shape. Most of the videos made so far have been "Videomercials" about 15 minutes long about health foods. These LED light panels were positioned as close to the ceiling as I could get them, so I can leave them in place while using the studio for portrait, still life or macro shoots. I can set up lights with 32" soft boxes on light stands or the ceiling grid, below the ceiling mounted LED Panels, so these panels can remain in place during other types of photo shoots. I have a wireless control at the camera location that lets me power up each type of lighting, whether it is on the ceiling grid or on light stands, so I rarely need to climb ladders for working on/with the ceiling attached lights, making change over from one type of shoot to another very easy and relatively quick.
I am constantly refining my studio, but it's not happening as often now, as in the past. I have 9 studio strobe lights, 8 LED light panels (soon maybe 10) , 2 Studio constant lights, various props, etc., and keep adding as I find that I need something that I don't have. I did add three Godox AD200 lights to my field kit in the last several months, though. It had 5 speedlites in the kit before these, but one is still in the camera bag, just in case I need an "on camera" light. I like the AD200 lights, but they are not good for hot shoe mounting.
Attached is a shot (not the greatest and out of focus (from 20 yo digital camera.) of one of my light stands and a studio strobe attached to my ceiling lighting grid with power coming from the above outlets on the ceiling. I hang my soft boxes on hooks along the North wall of the studio when not using them. I have others that I don't use often, that are collapsed and stored in the gear closet (wall not big enough for all).
Charley

|


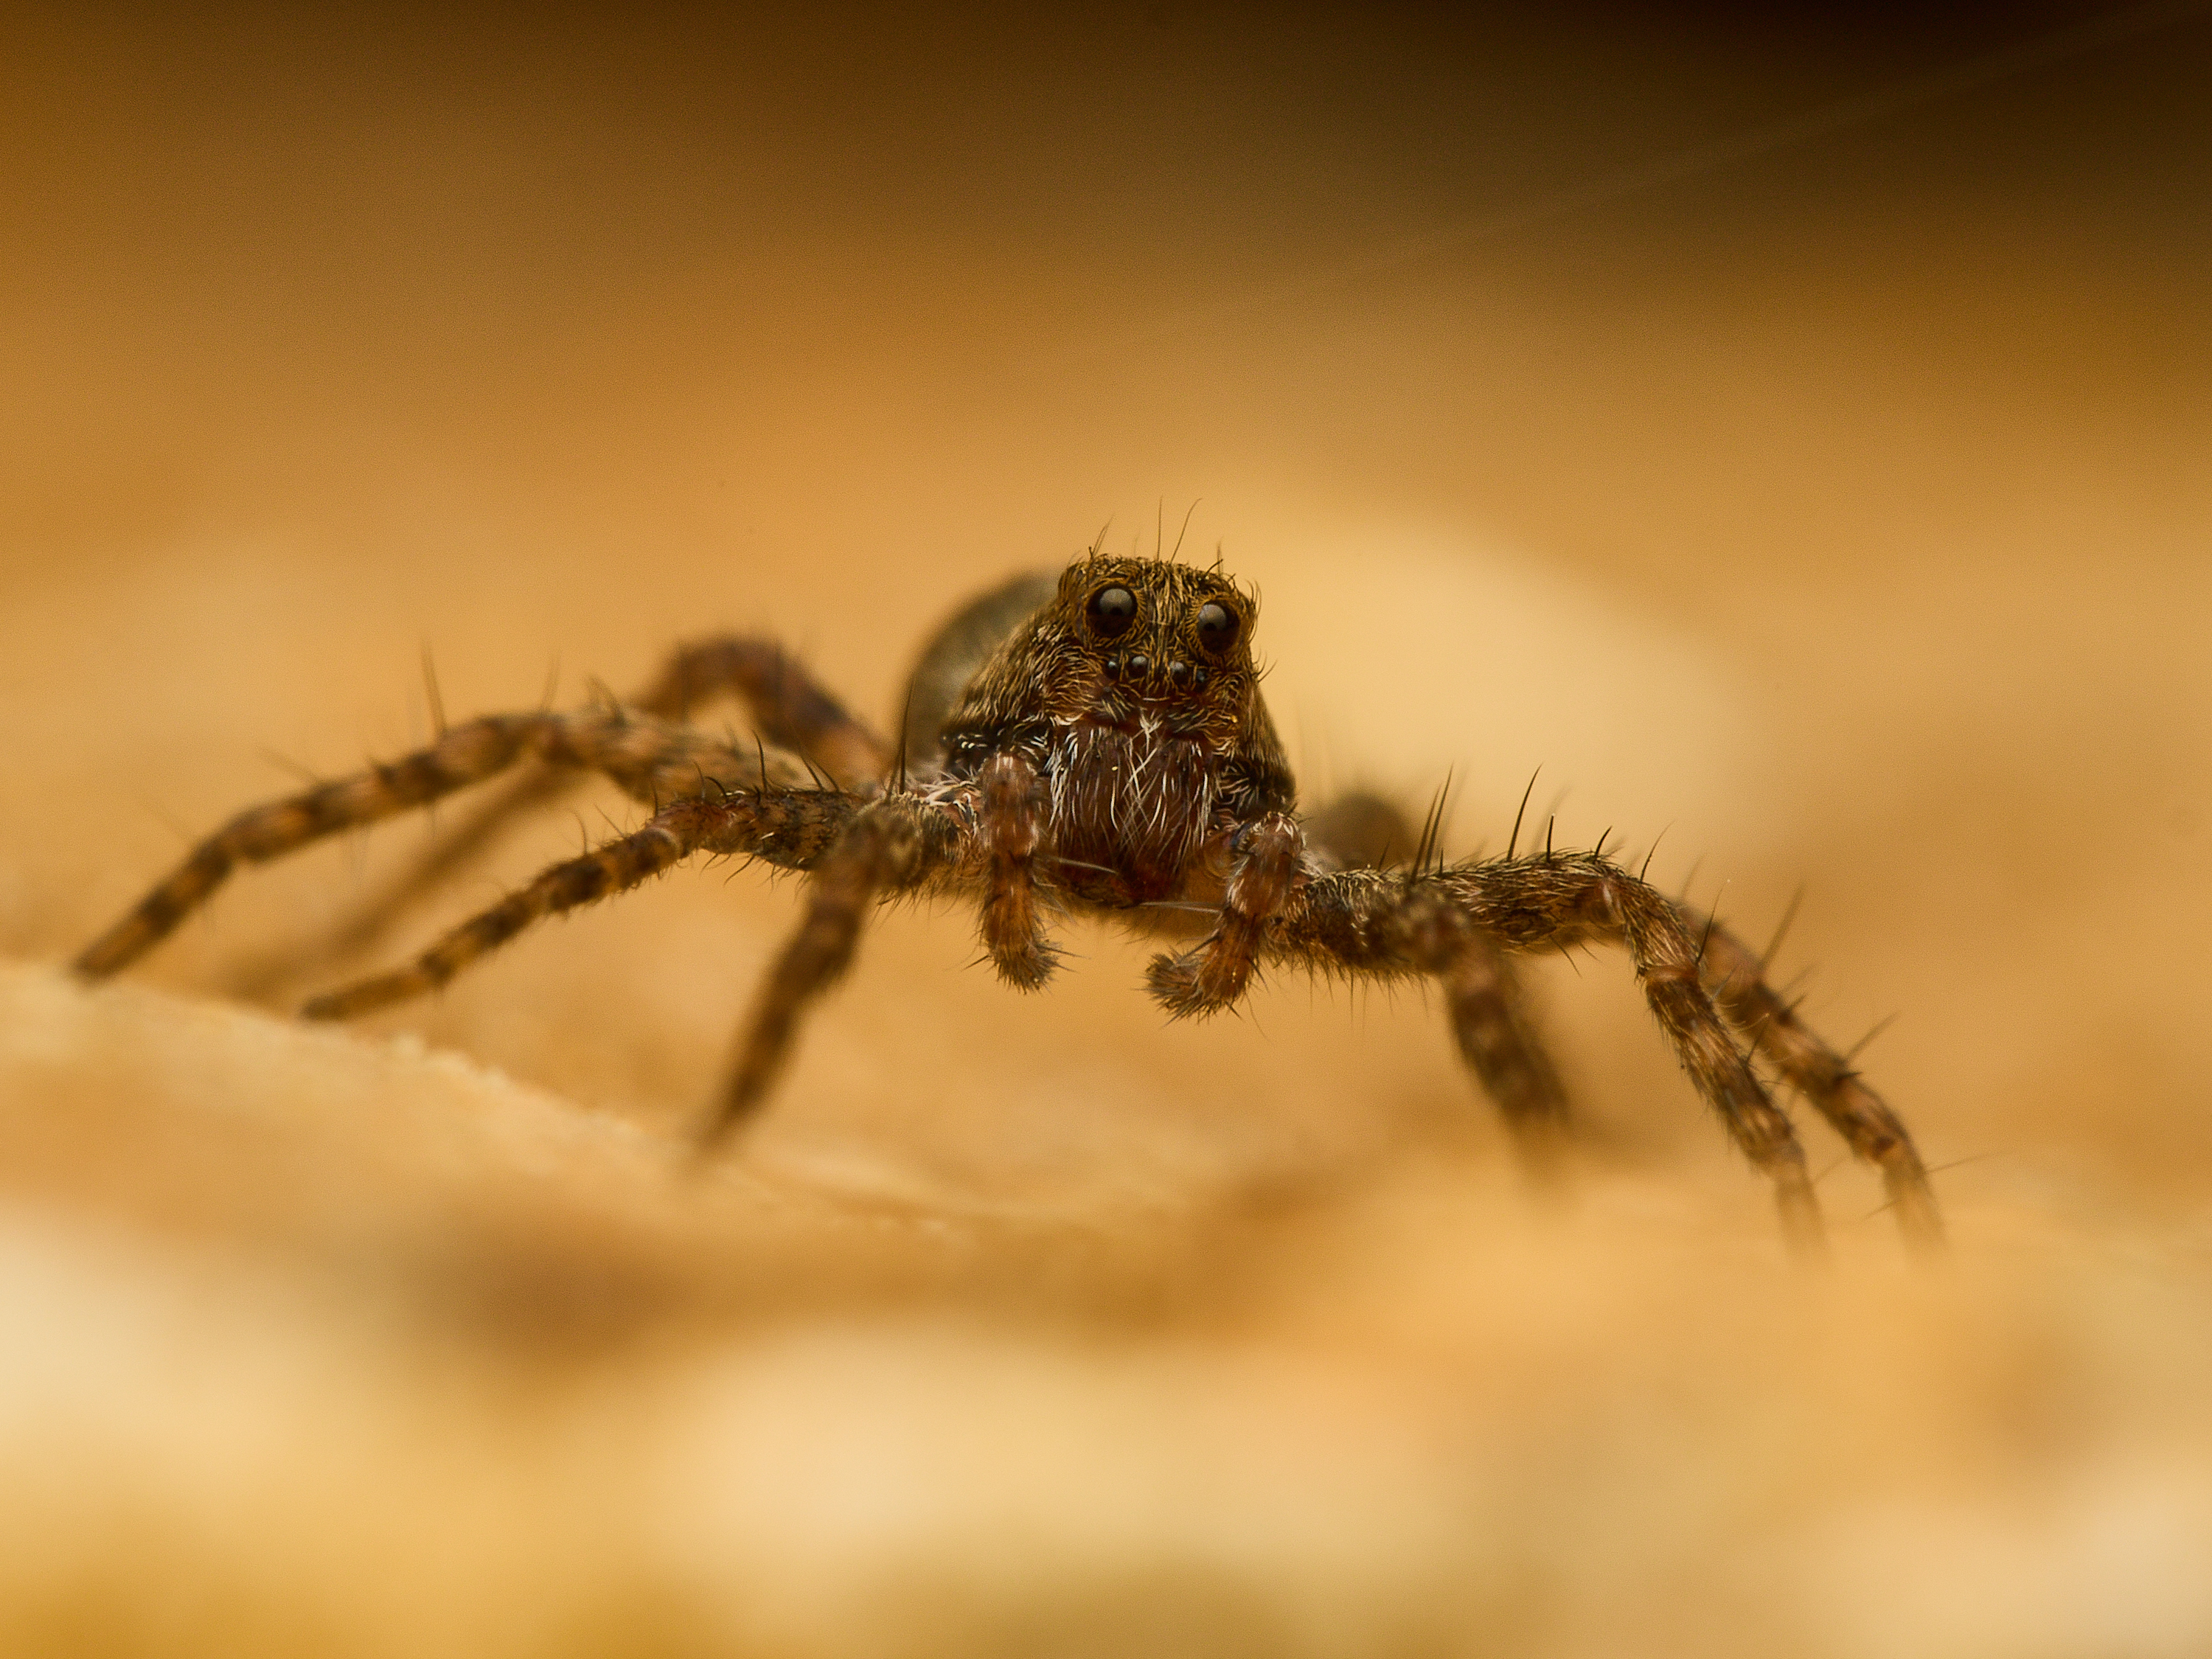
 I'm new here and also new to taking macro photos. I am not totally new to taking photos in general though.